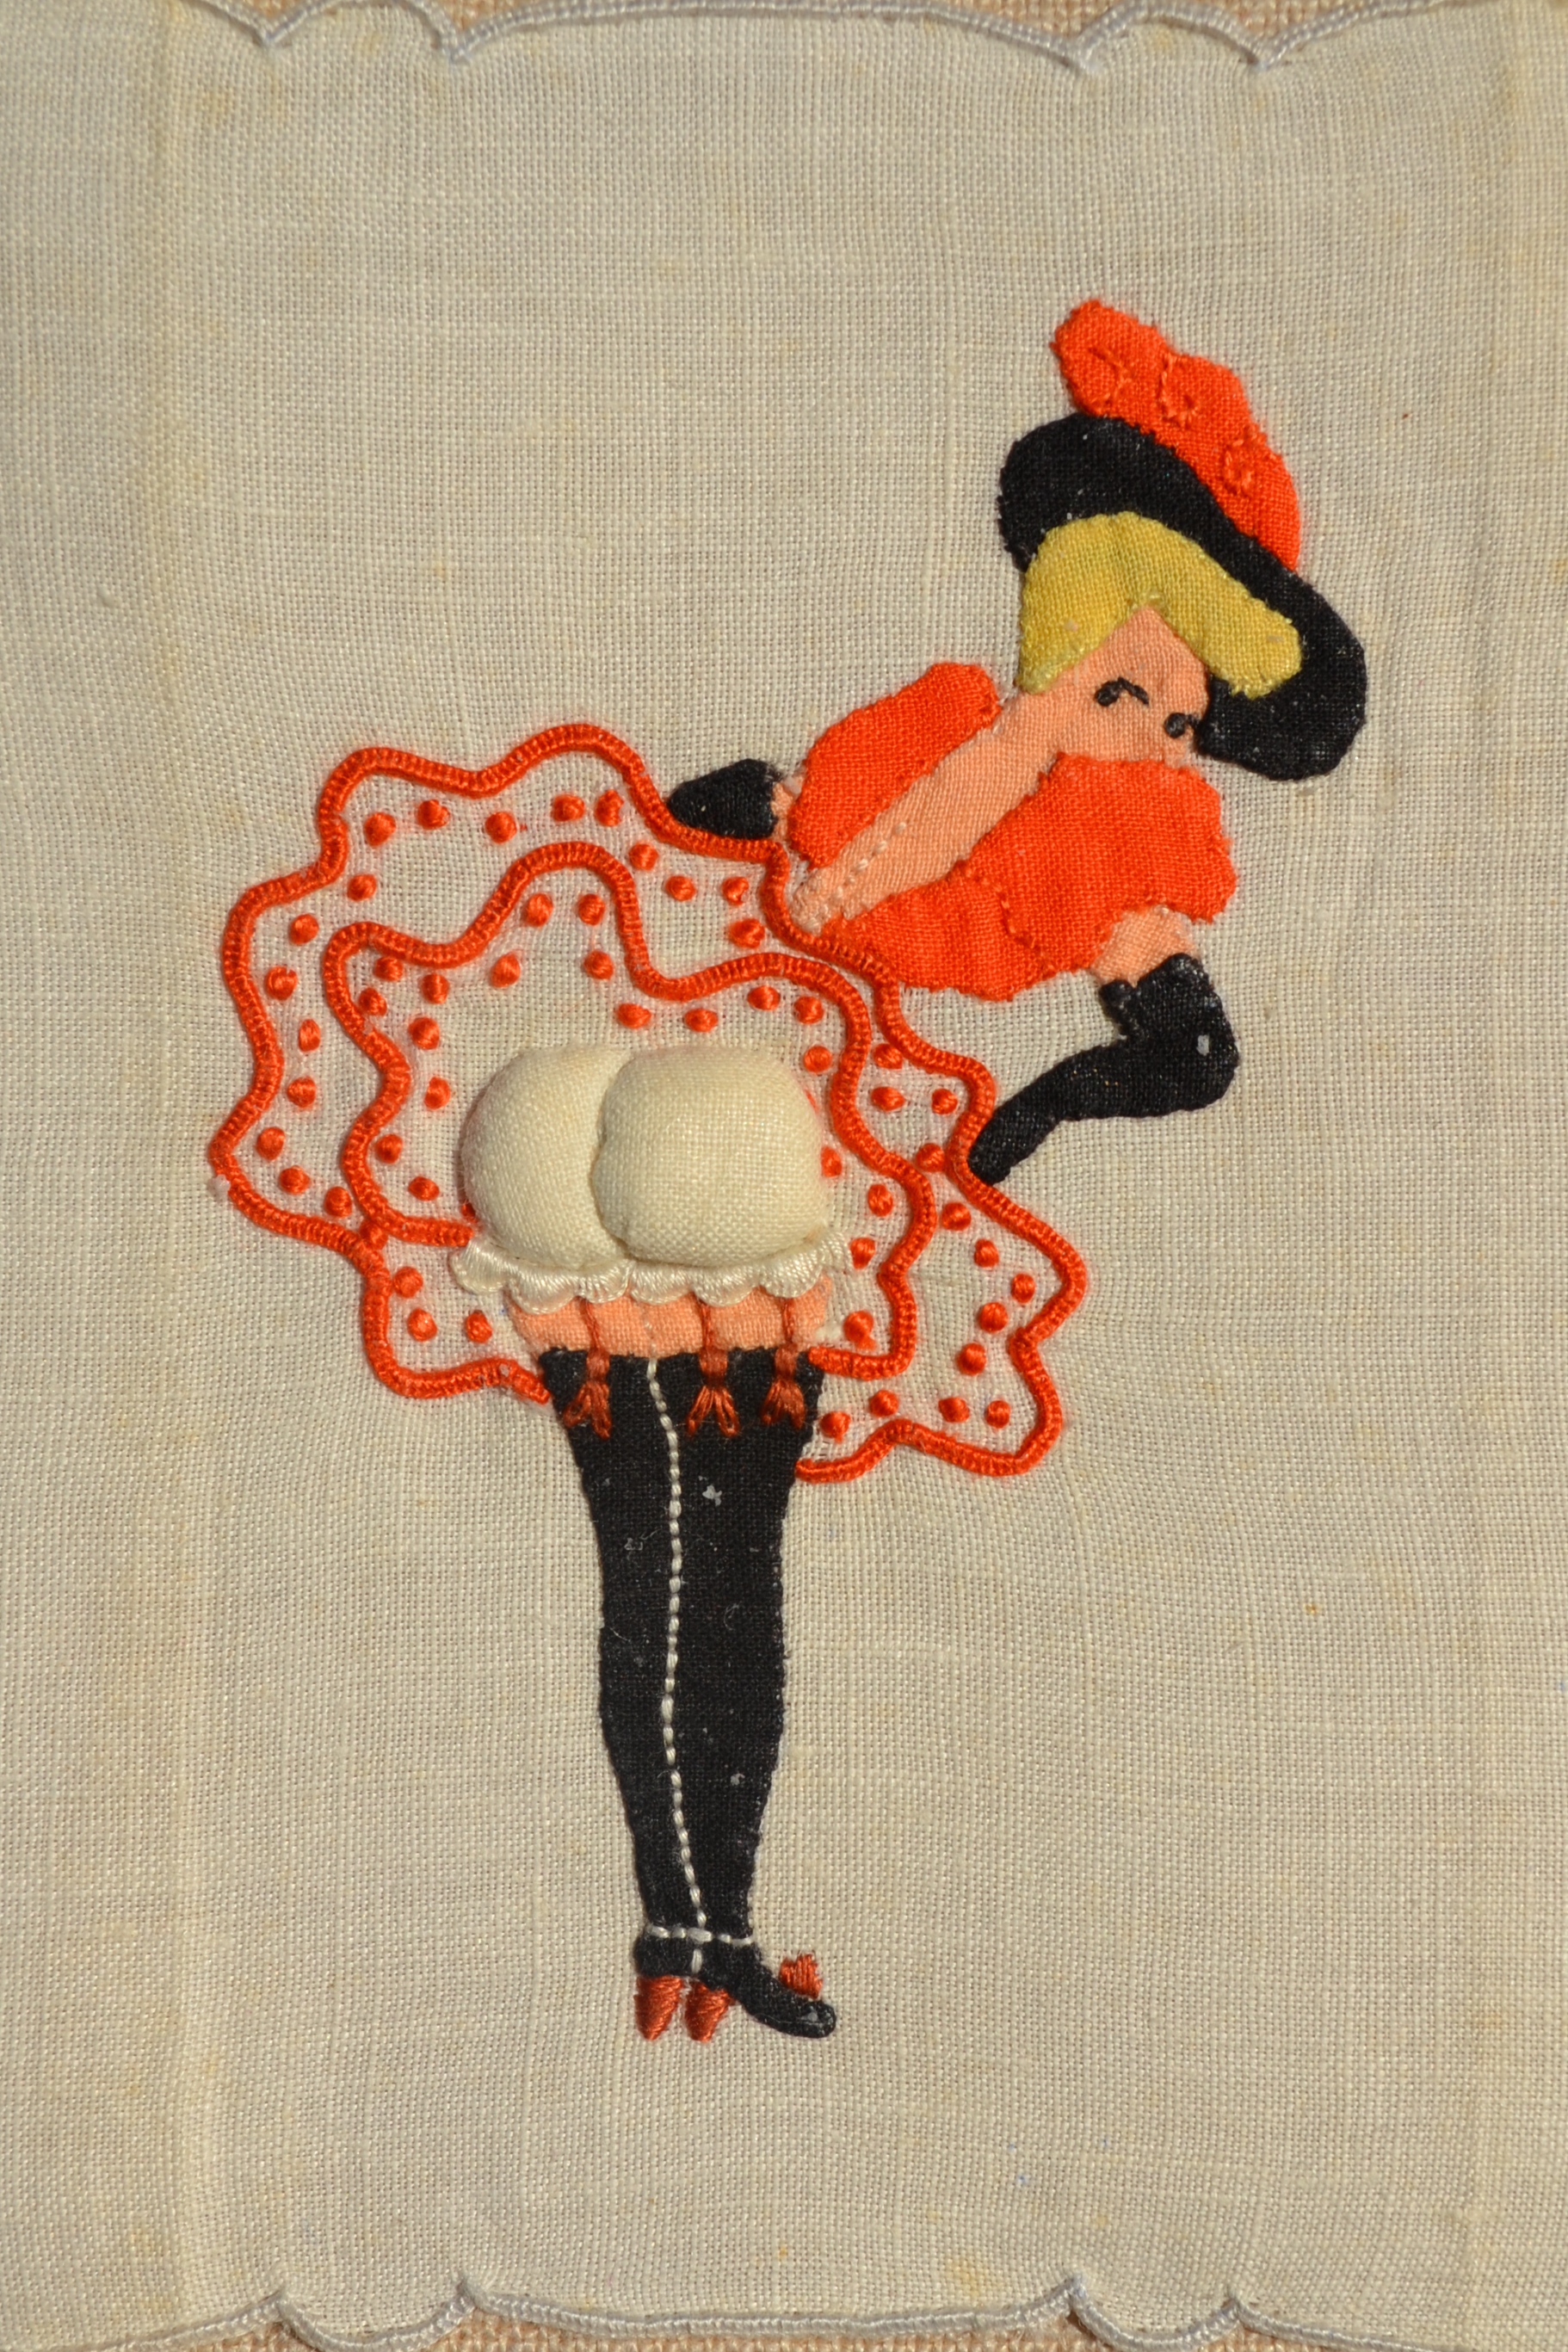
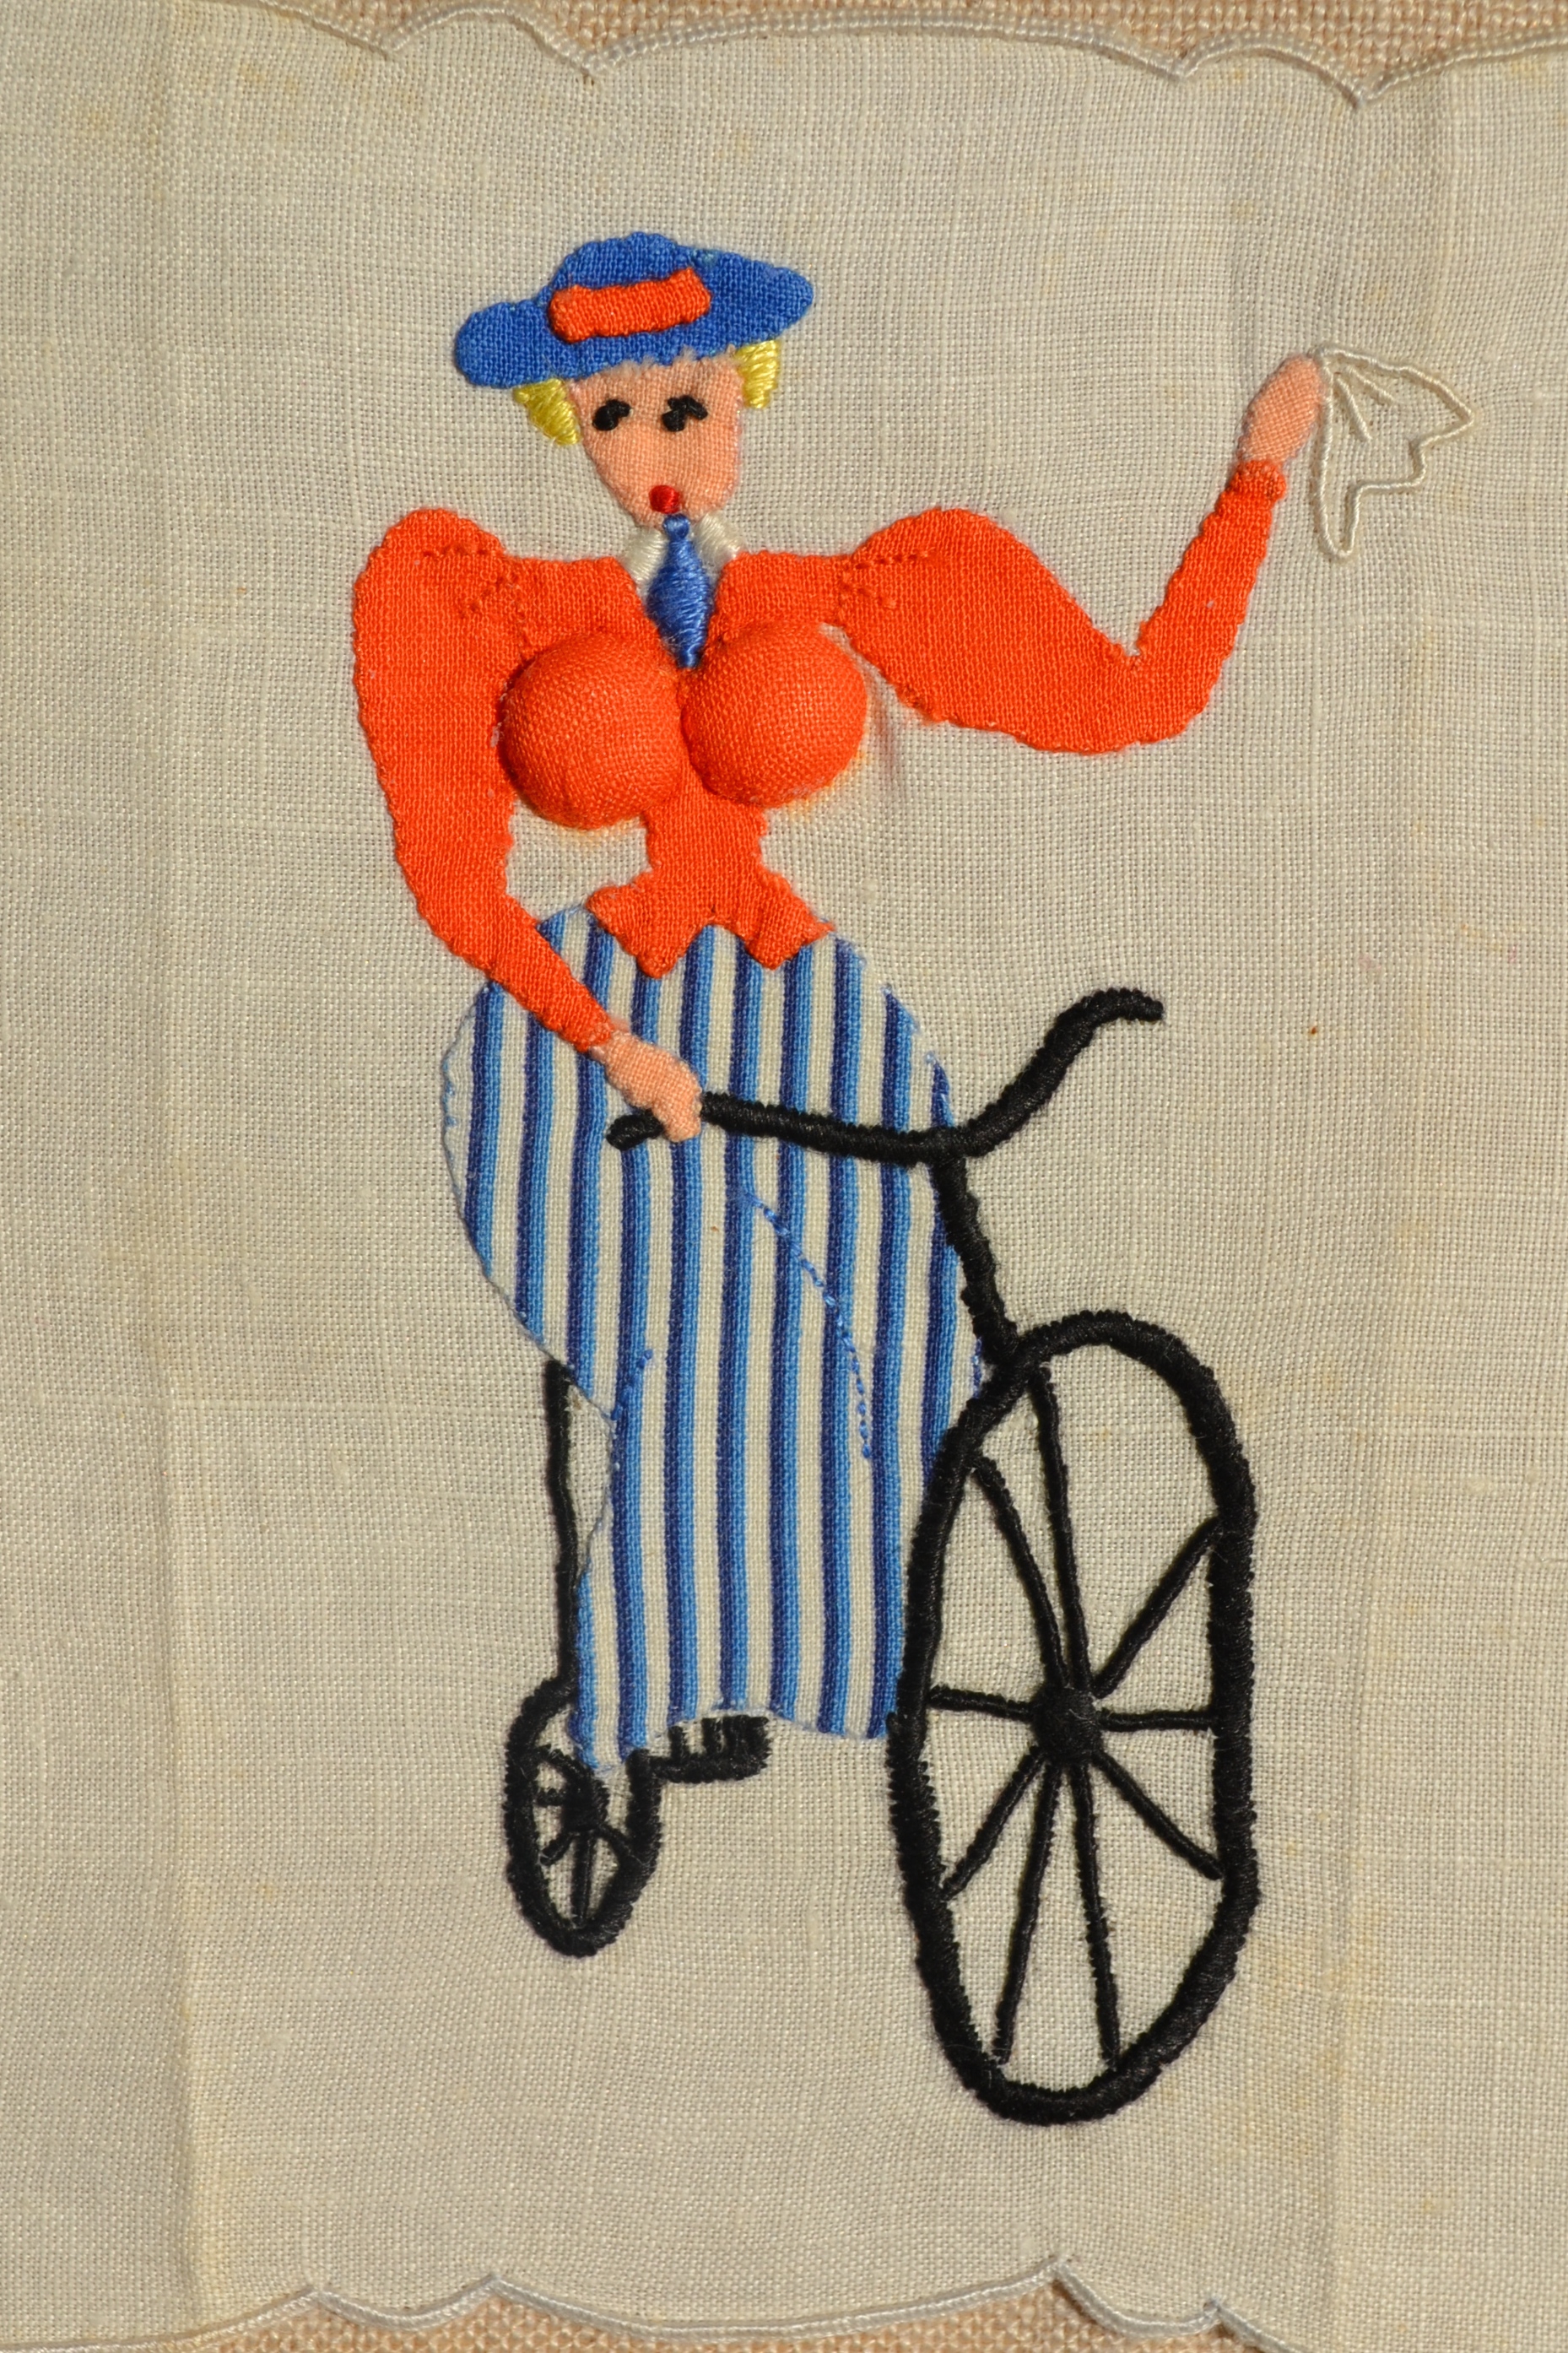
I have a new entry on my Things To Grab In A Fire list. My mom found a set of six vintage pin-up girl cocktail napkins that used to be my grandmother Tinker’s and let me have them. Here they are in all of their buxom glory:


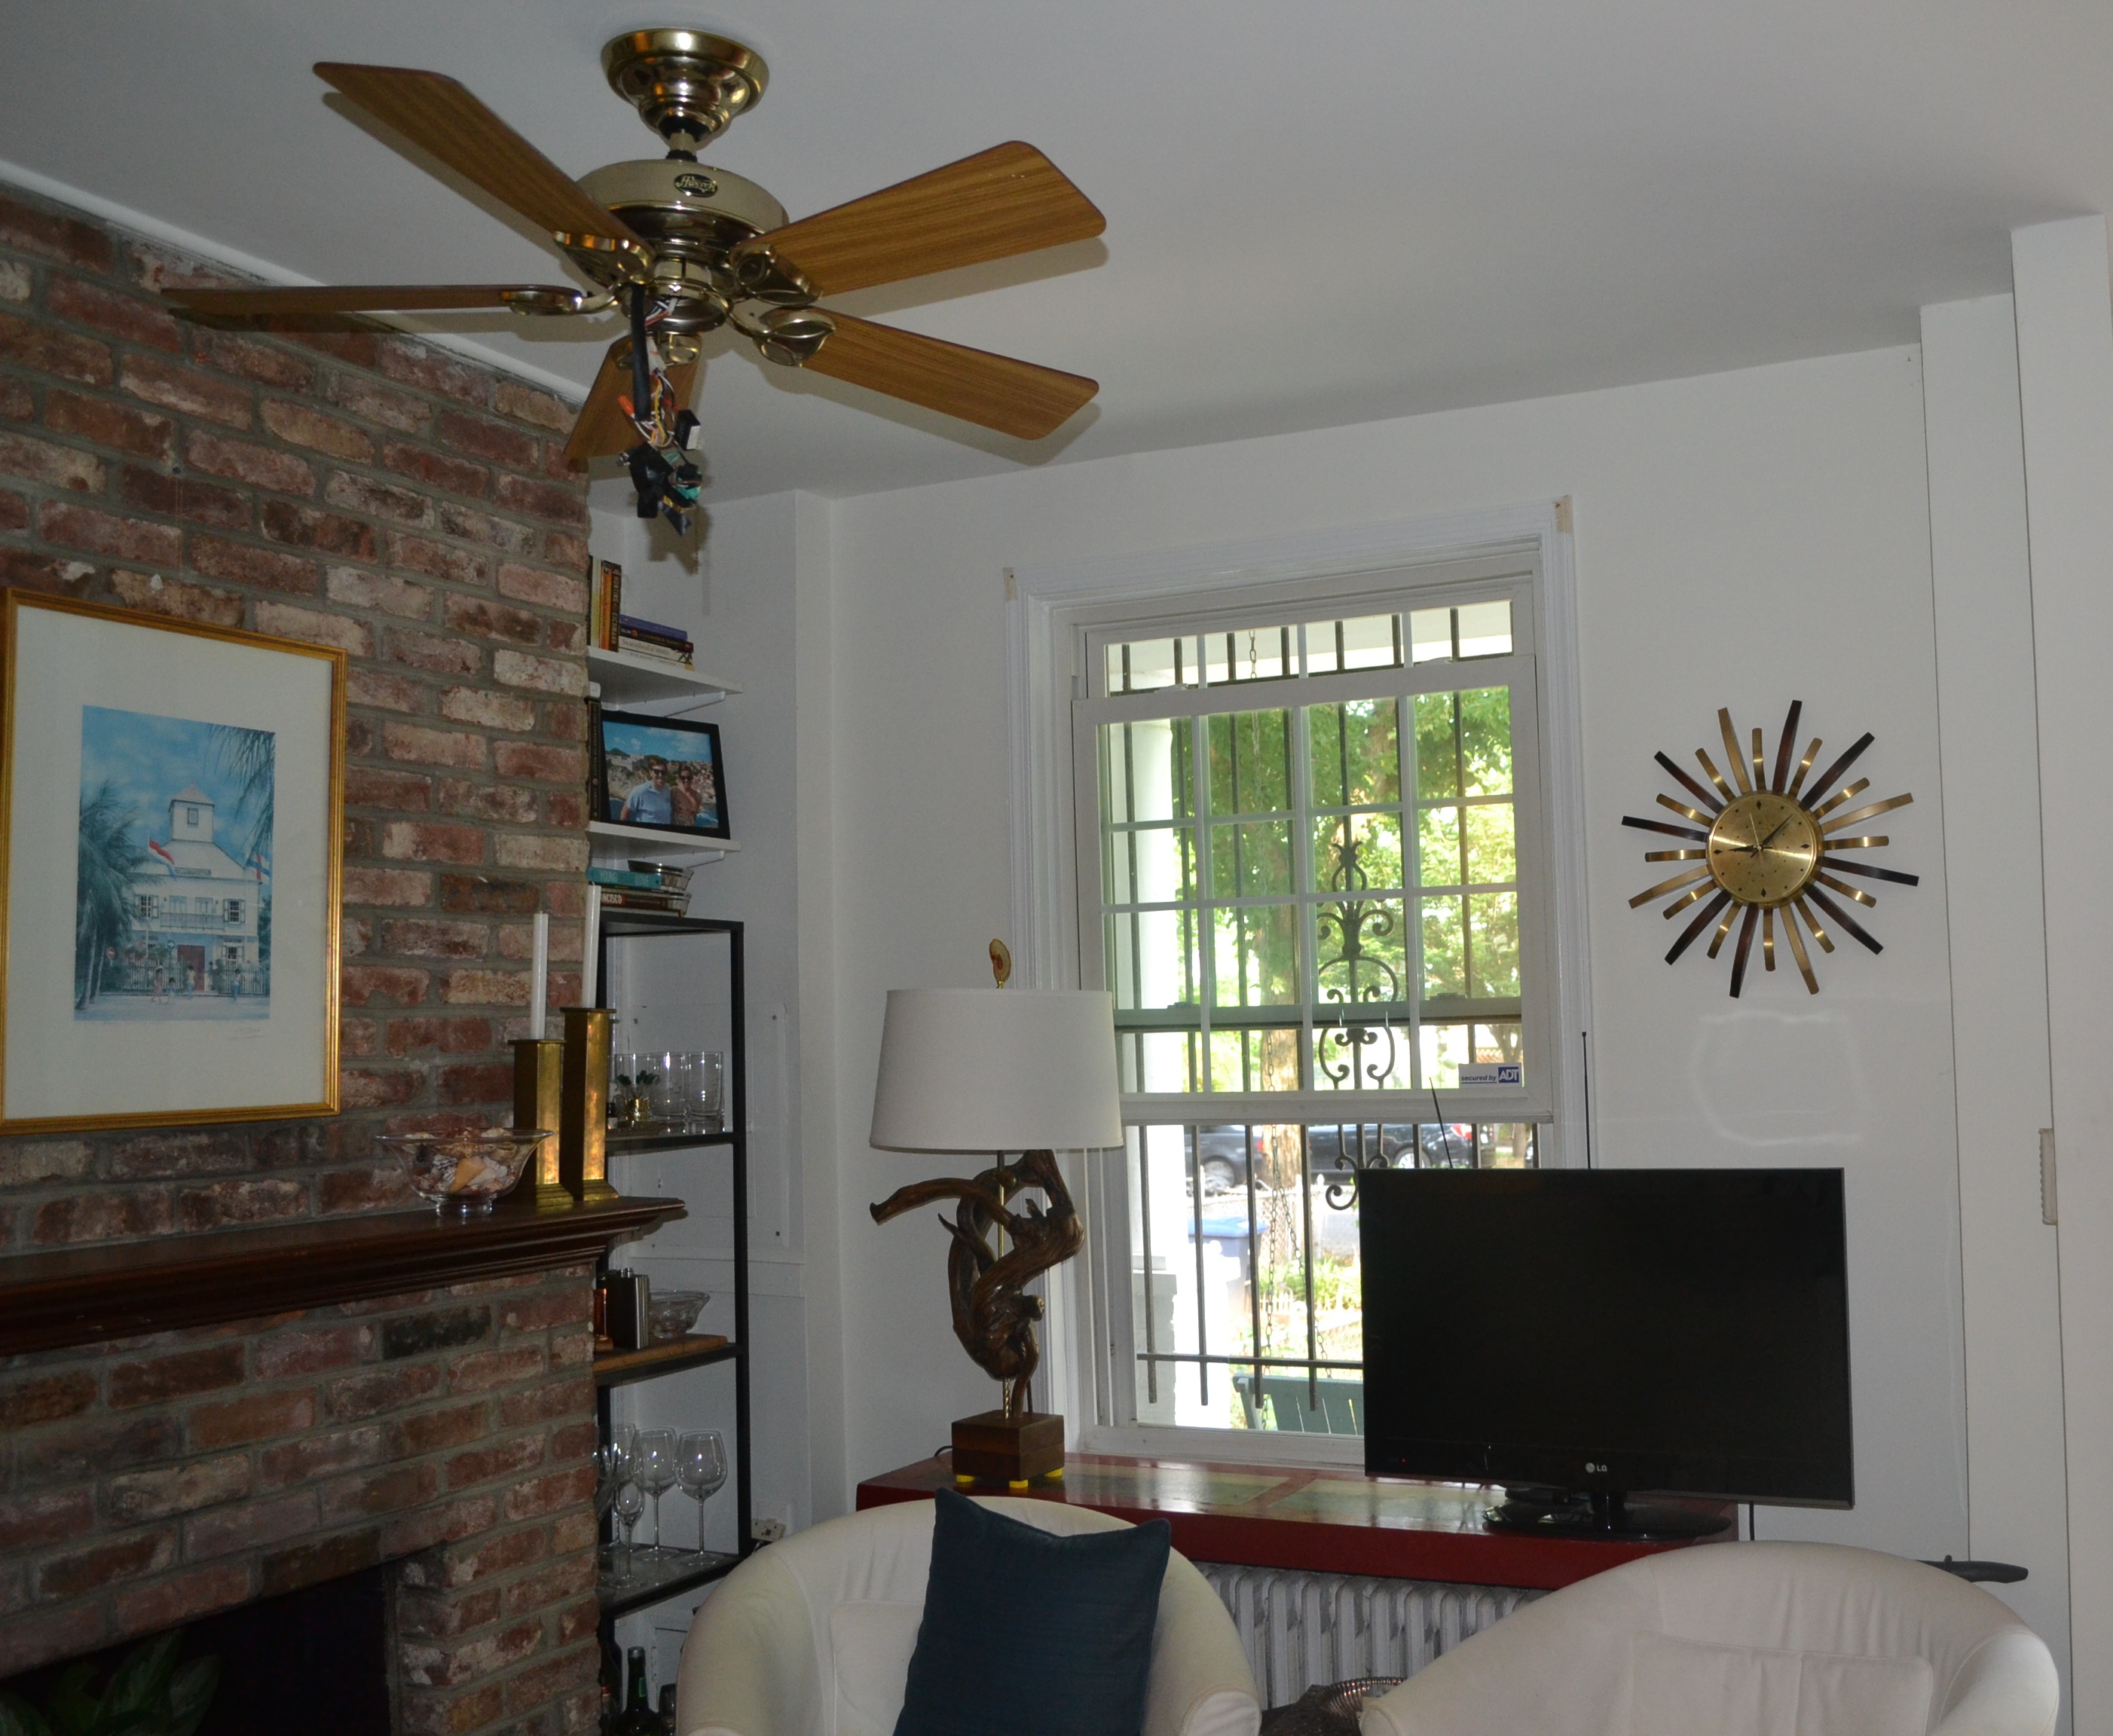
They are too fantastic to keep in a drawer or risk staining by actually using, so I decided to frame them and hang them in the living room next to the bar. I measured them and decided to use one long 40″ x 10″ frame. I blithely went to the framer who quoted about $250. I thanked her and fled the building. Next plan – copy the fabulous Jenny over at Little Green Notebook and shrink an existing frame. Fragers quoted me about $25 for the glass I would need, so I was feeling pretty good about reducing this price of this project by an order of magnitude.
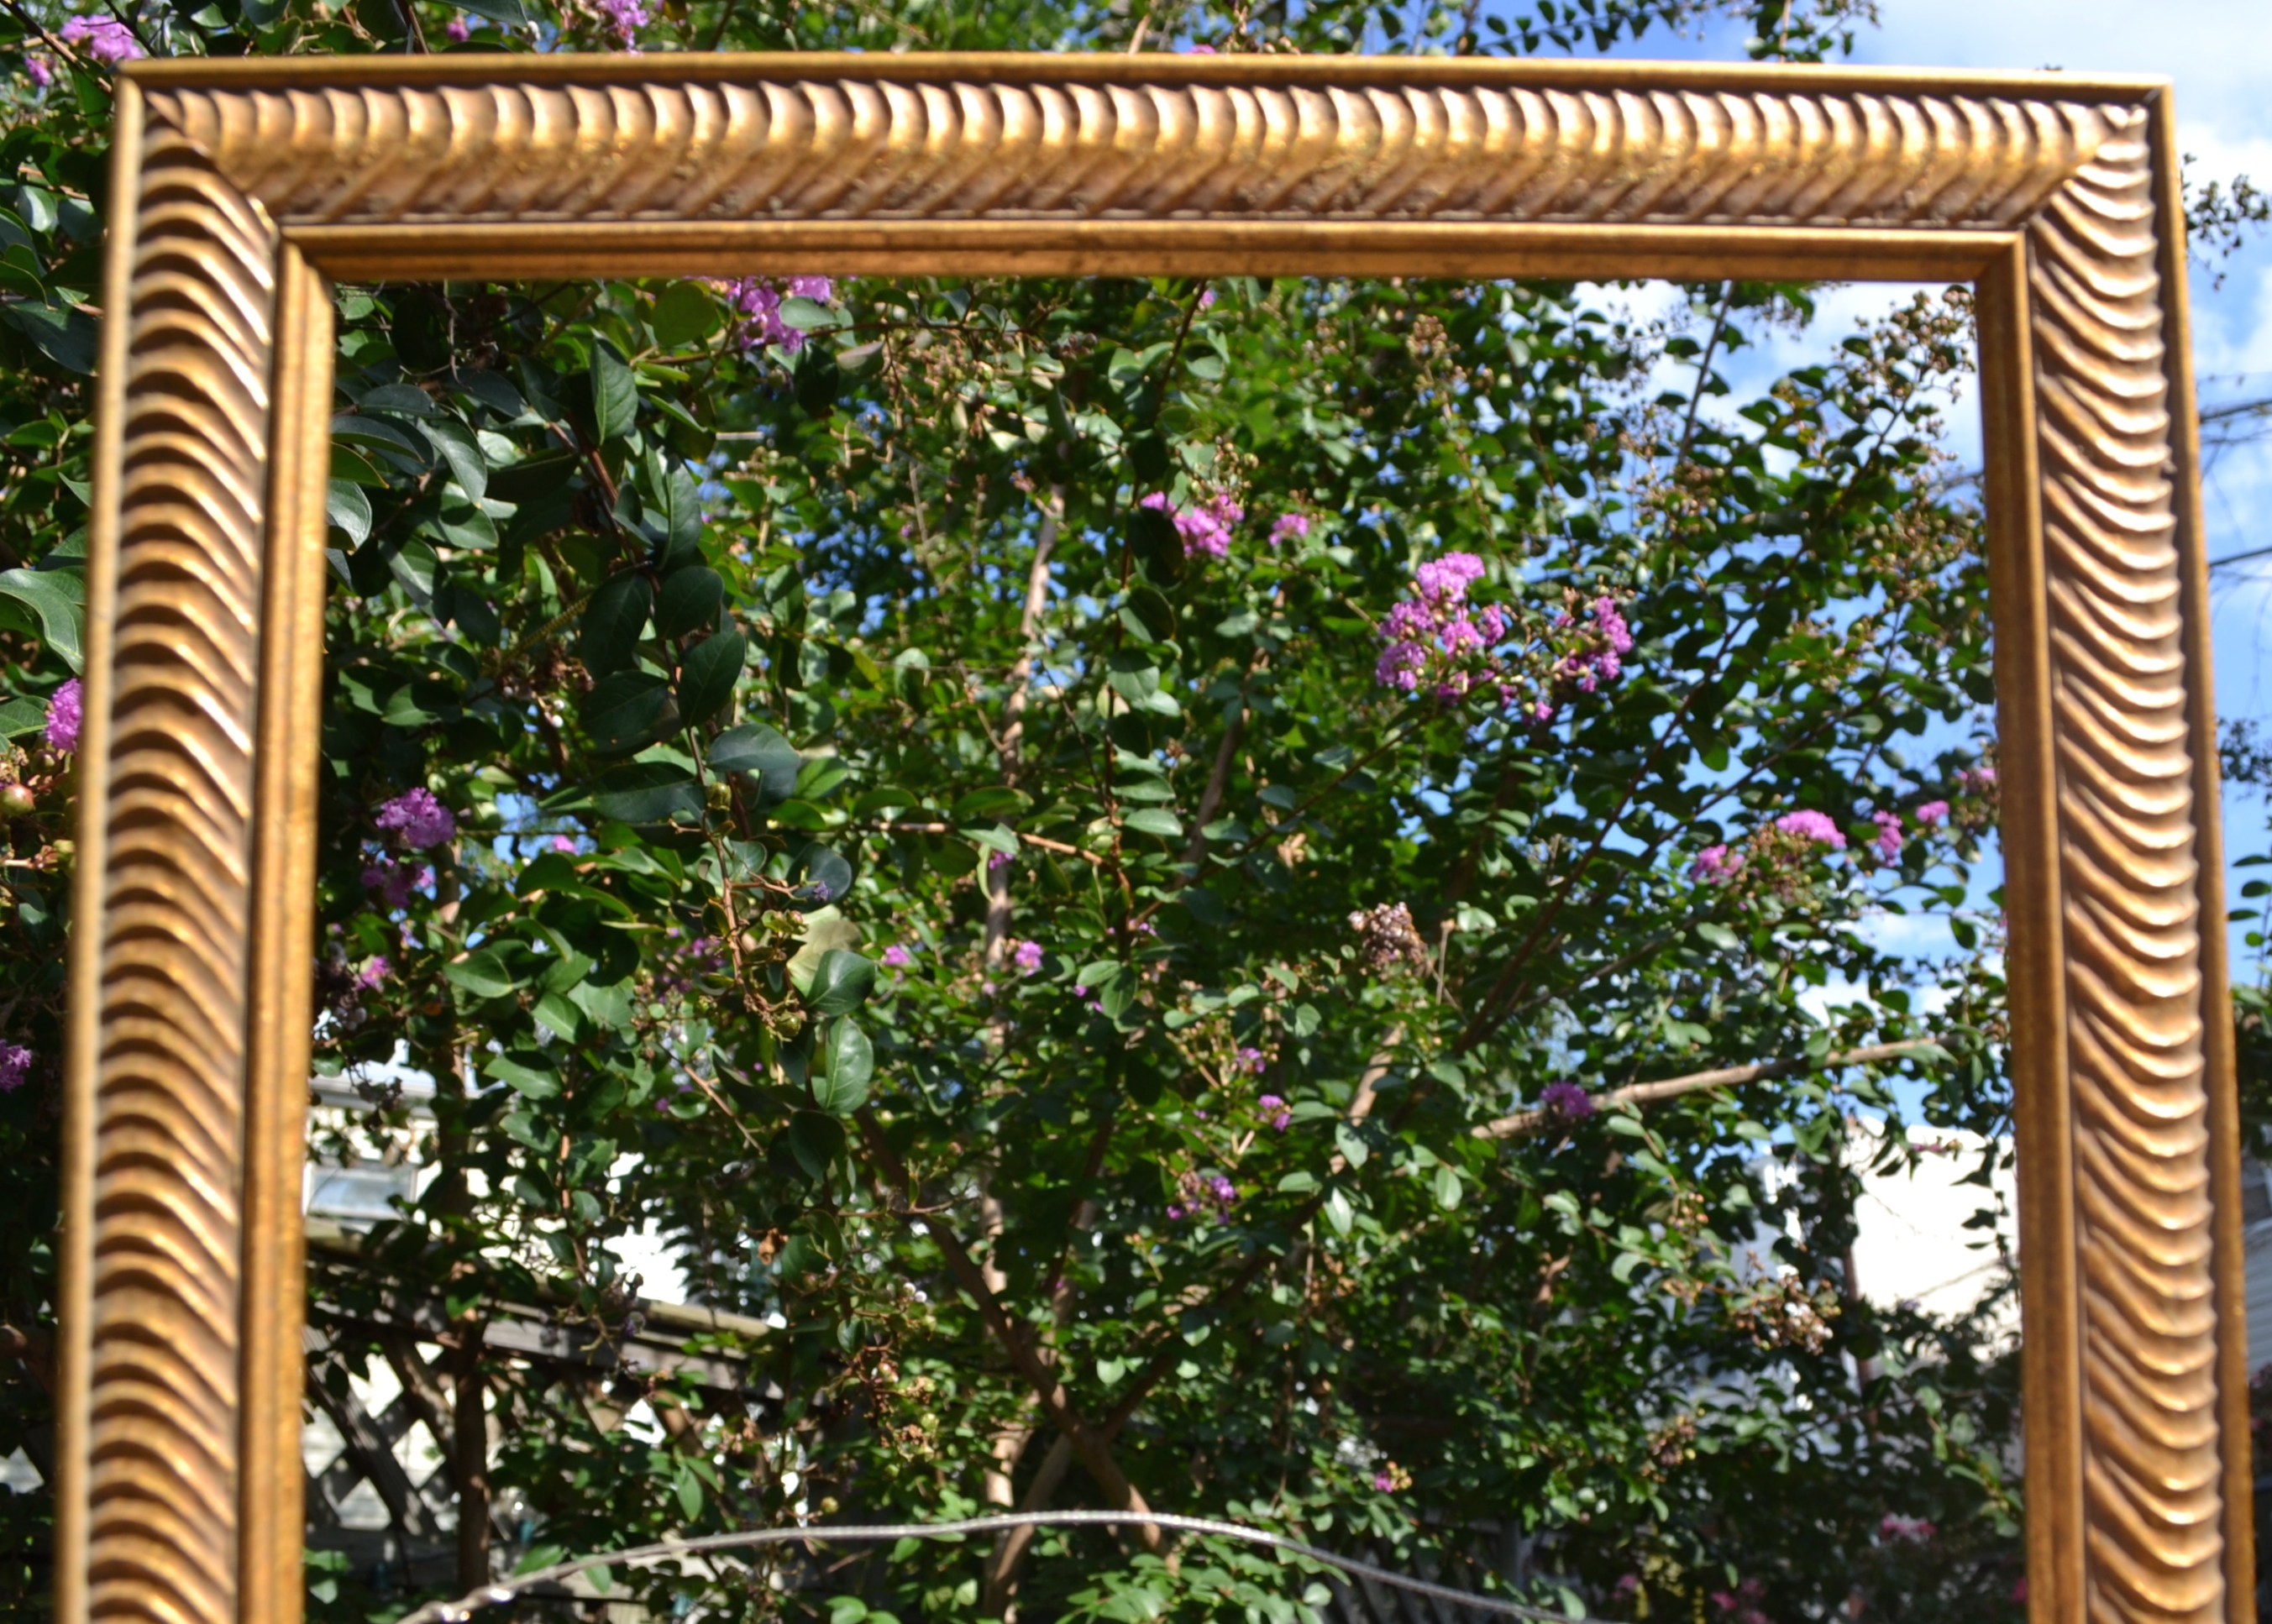
I headed up to the Goodwill in search of a frame. The only suitable one was a pretty beat up black one. However, there was a reasonably attractive 30″ x 11″ frame and it occurred to me that it would work perfectly if I only frame 5 of the 6. Done. Since there are two of the women bicycling in the set, I decided that nixing one would be fine and I could be off and running for $9.95. So here is where we start. In case you are wondering, yes, that is painted velvet.
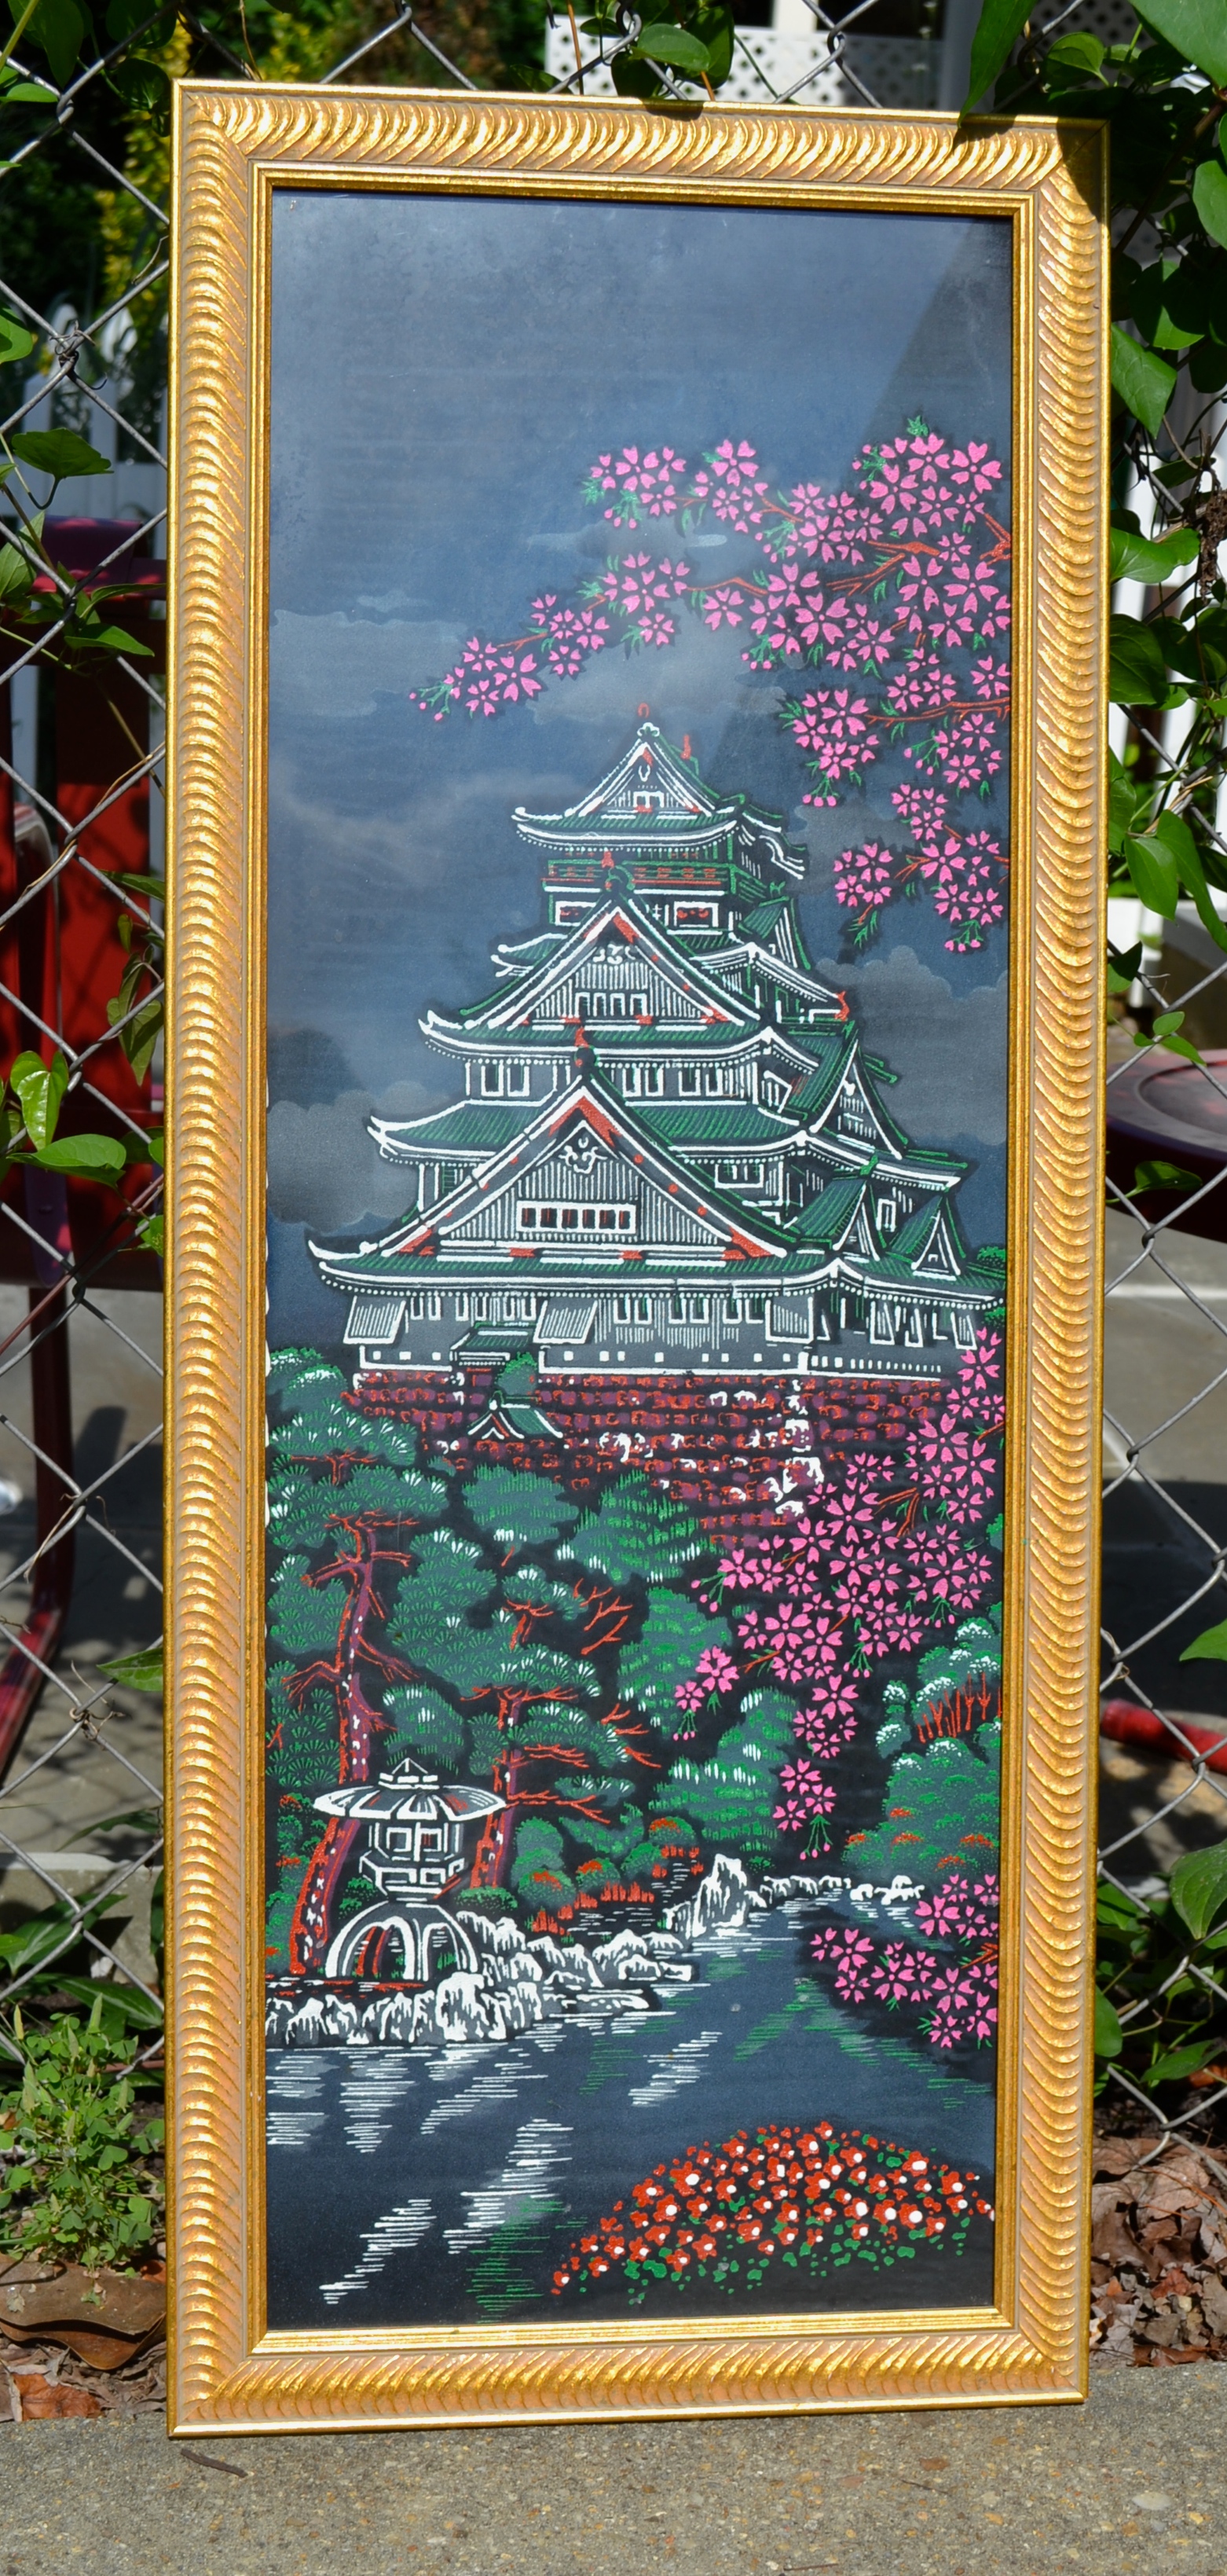
The finish is that sort of fakey-patina-ed gold, so I decided to try gold leafing it and mount the napkins, while making sure they are not damaged and I am not doing anything permanent to them.

Supplies (I am trying a new format here)
Project essentials:
- Frame
- Gold leaf – I used Speedball Mona Lisa Composition Gold Leaf (not real gold) that I had already. Had I noticed that when I bought it, I would have used real gold. Not at all as extravagant as it sounds.
- Adhesive leaf size (glue)
- Vintage napkins – I found similar ones by searching “Pin-Up Napkins” on eBay
- Linen
- Spray adhesive – I used 3M Super 77
- Flathead pins
- Extremely sticky double sided tape – I used this
Other tools:
- Utility knife for cutting the existing paper on the frame
- 100 grit sanding sponge
- Scissors
- Needle-nose pliers
- Paintbrush for glue
- Foam brush for smoothing the sheets of leaf
- Iron and starch
- Carpenter’s square
First I removed the paper backing of the frame with a utility knife to find out what I was working with. All was well, nothing weird. I used needle-nose pliers to pull out the small nails holding the picture in and set those aside to reuse.

The velvet was backed with foam core! Perfect. I set the glass and the foam core aside, and got to work on the frame. I used a 100 grit sanding pad to rough up the existing finish and then wiped off the dust. Next, starting at one end and working my way to the other, I spread a thin coat of size over the parts of the frame that would show.
After about 10 minutes (much faster than the bottle predicted), the size had gone from milky to clear so I started applying the leaf. I cut it into strips as I went, making it much easier to put on. After putting a section of leaf onto the frame, I used a foam brush to tamp it down onto the frame and then used my finger to sort of burnish it into the grooves. There were lots of flakes, so I would recommend doing this outside. I tried to stick the larger flakes onto bare spots as best I could. Once I covered the whole thing, I let it dry overnight before going back.
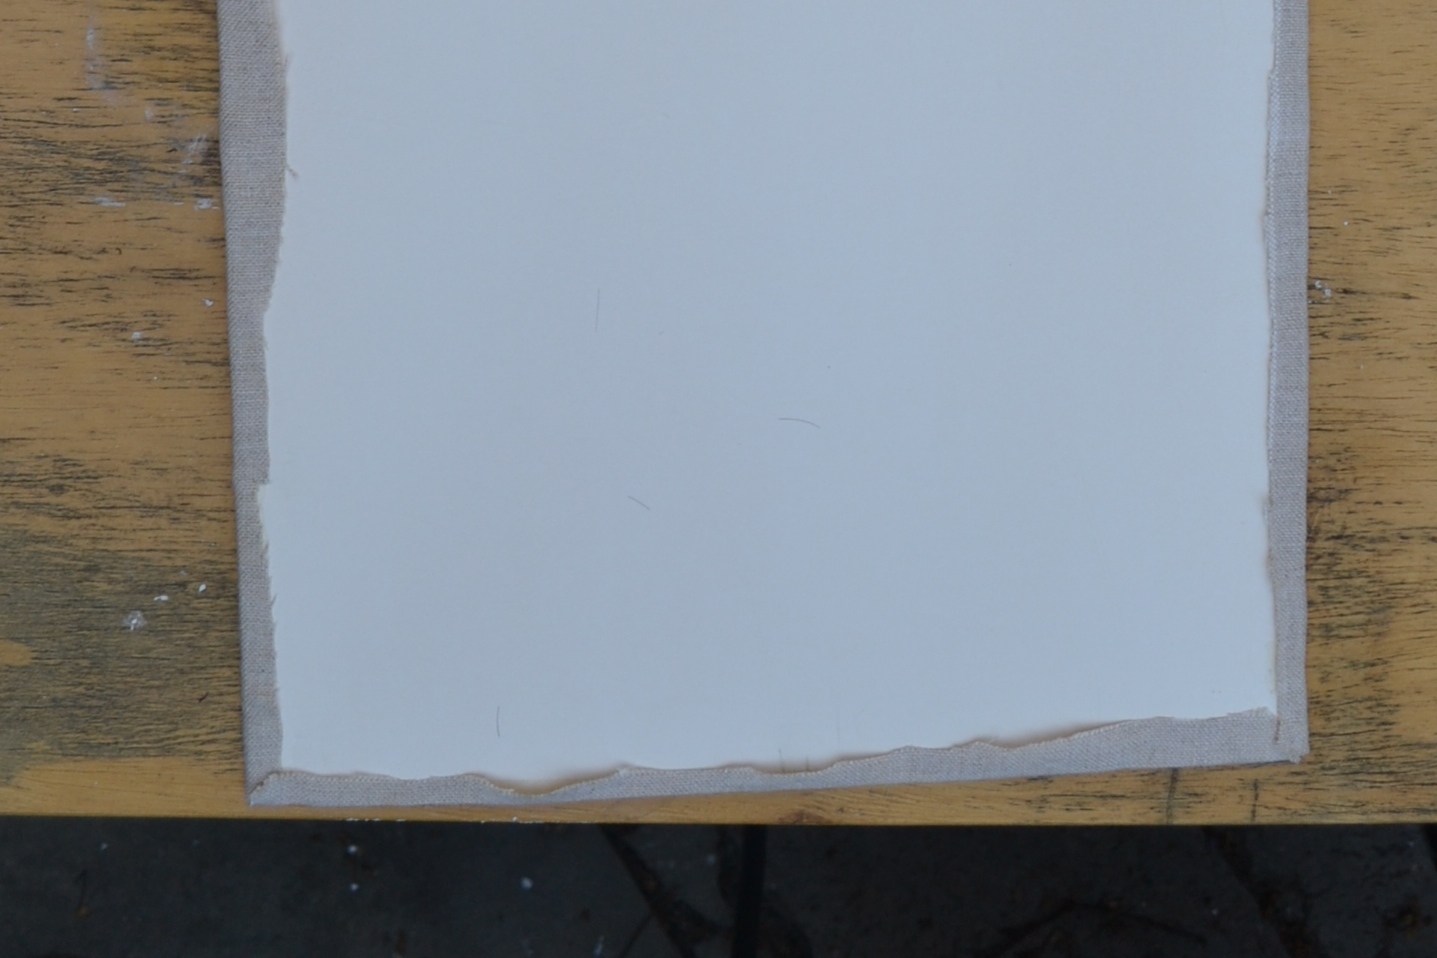
While the frame was drying, I mounted the cocktail napkins. I bought some linen yardage at a garage sale last year and finally found a use for it. I ironed it once, then laid the foam core down and figured out how to cut a piece that would leave the largest solid piece of linen left over, and cut it out leaving enough to fold enough around the edges of the foam core.
I re-ironed and starched the cut section to be sure there were no creases. Before I sprayed the adhesive all over the foam core, I tested a section because the can advised against using it on foam. You may remember that I discovered that spray paint melts styrofoam cups whilst making Phoebe’s animal clock, and I didn’t want to repeat the mistake. The cardboard on the foam core proved to be protection enough, so I went for it. I sprayed the whole piece and then put it facedown on the ironed linen. I used the super-sticky double sided tape to wrap the linen around the edges to keep it smooth.

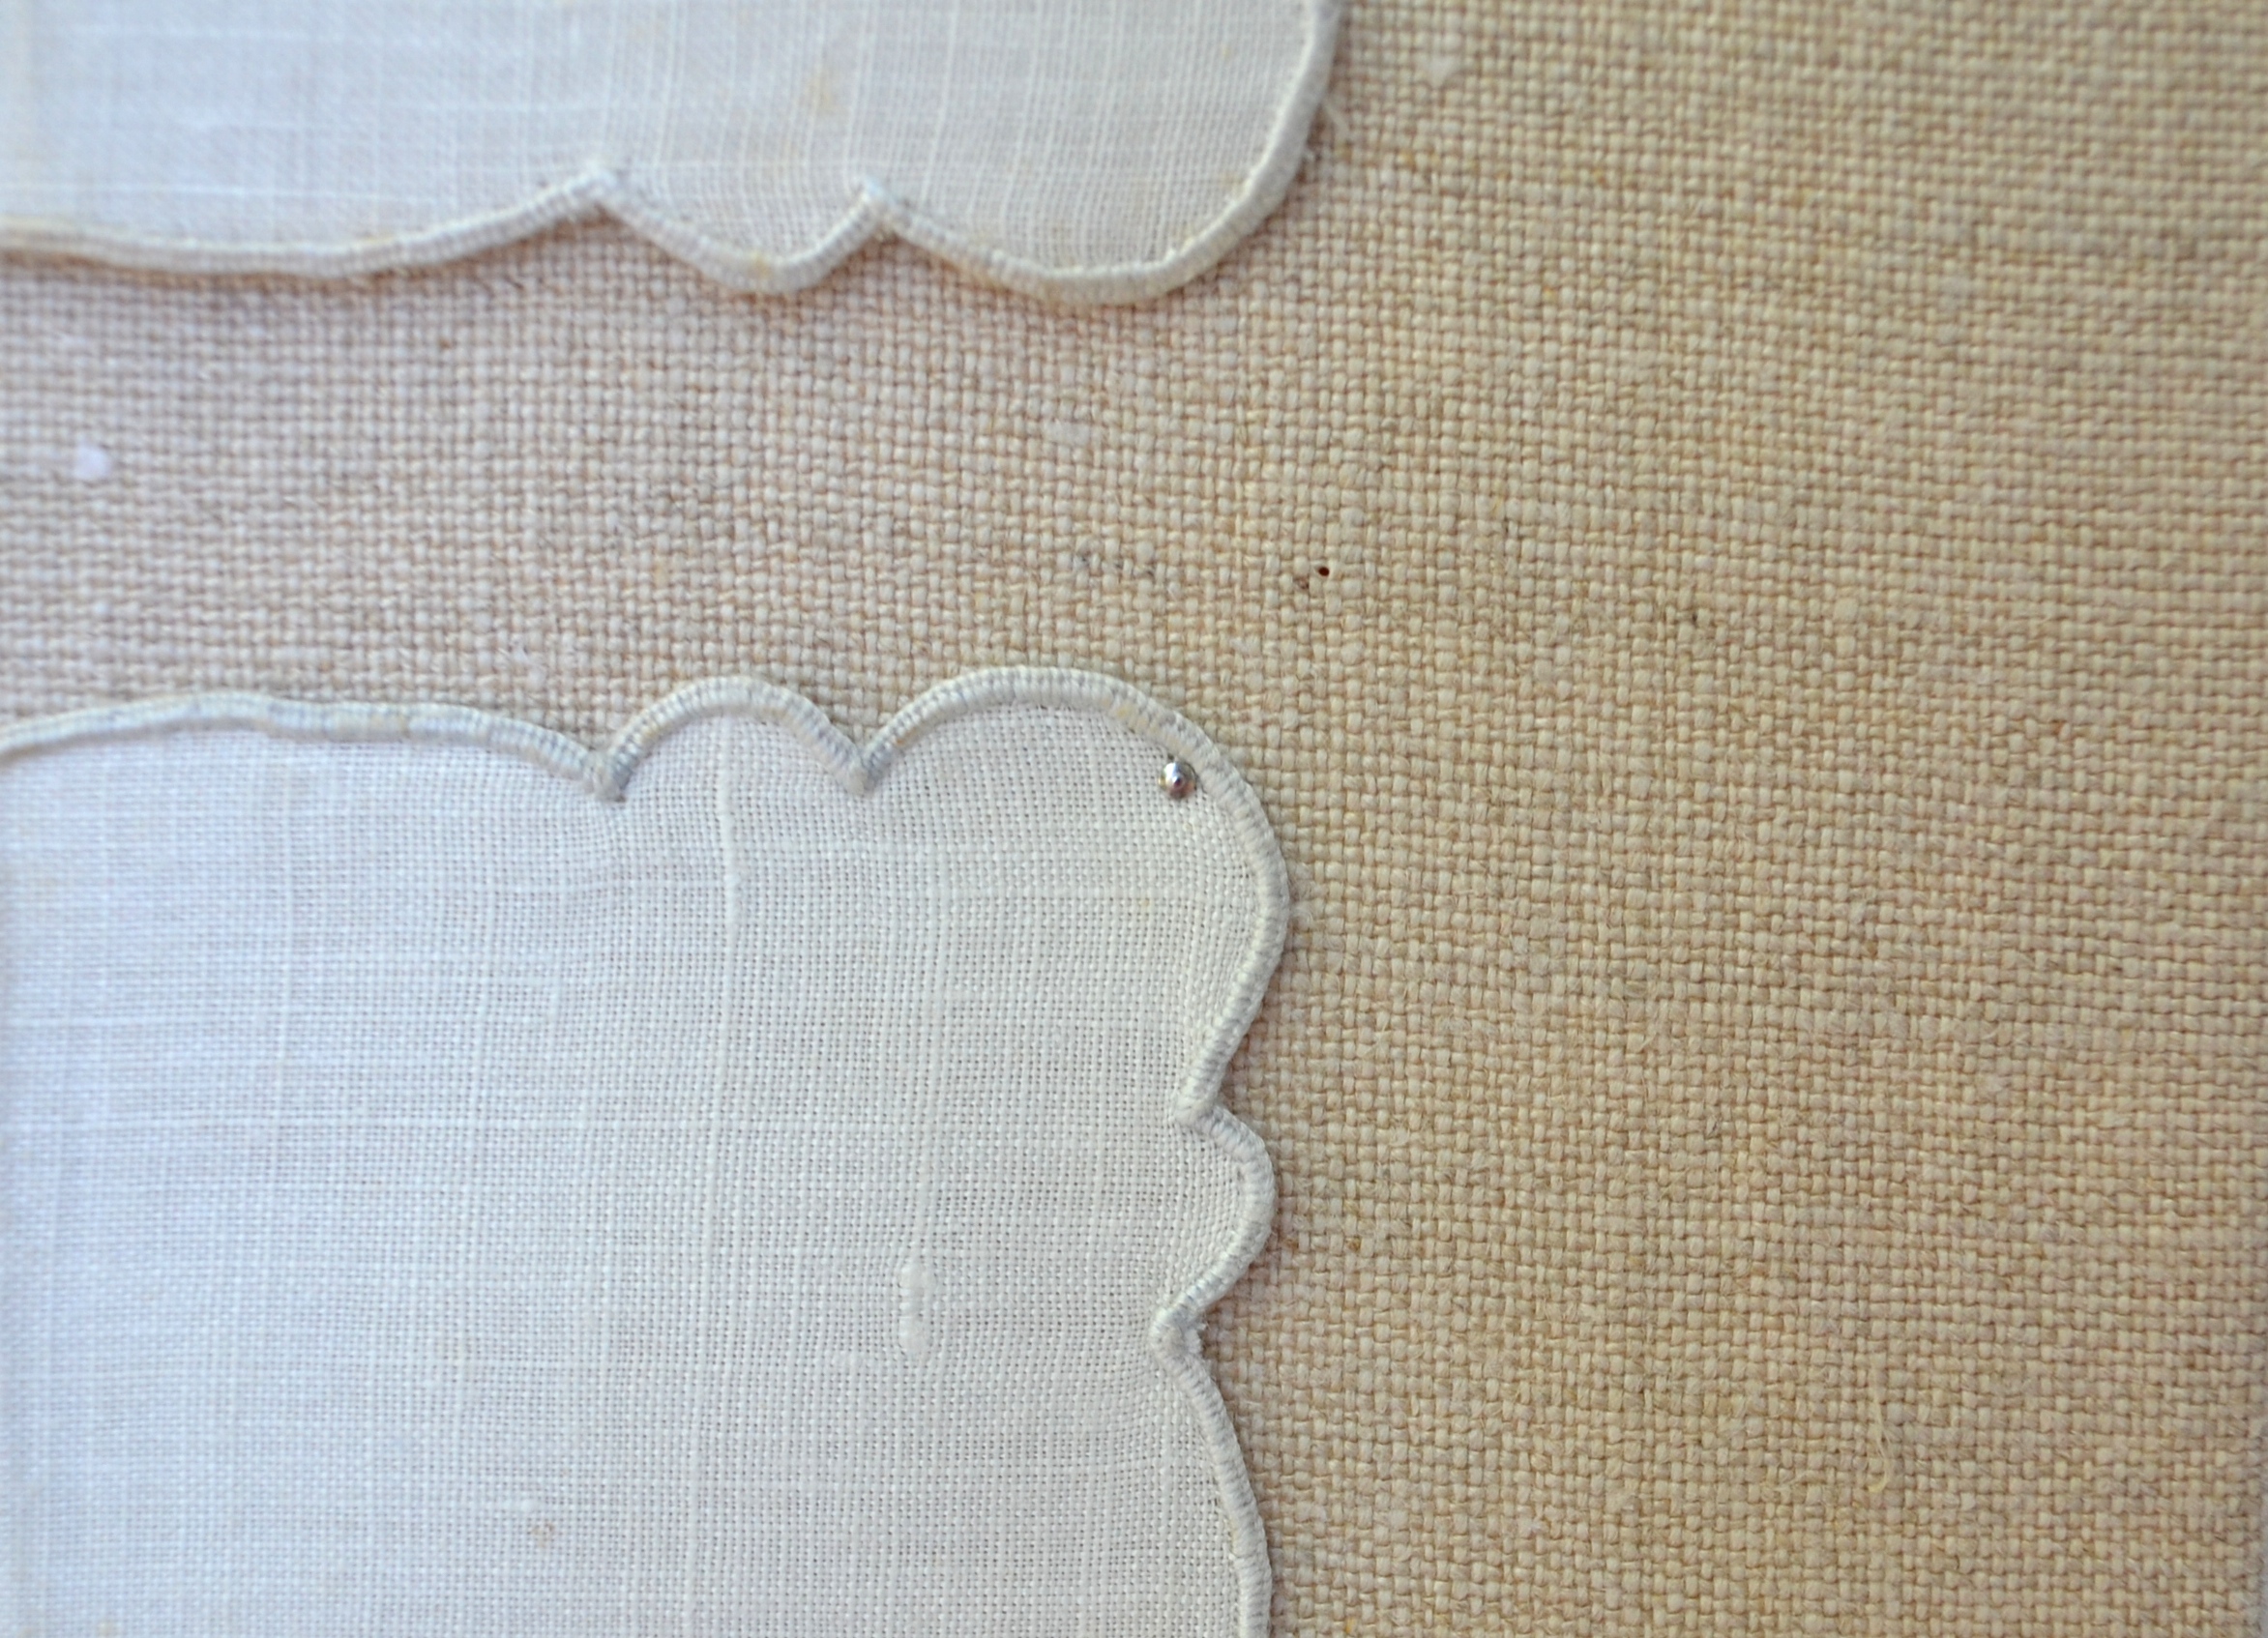
I ironed the napkins with lots of starch, but I avoided spraying the ladies themselves. I am pretty sure it would have been fine, I mean, they are supposed to be for cocktails, but I would be SO bummed if the color ran or something (really, I would be devastated, but “devastation” in regard to cocktail napkins seems like something I should keep to myself). I arranged my nice flat napkins on the linen covered foam core and used flat head pins to hold them in place. I used a carpenter’s square to get them generally evenly spaced, but in the end I eyeballed them until they looked even. Measuring failed because it turns out neither the napkins nor the foam core was really square. Story of my life. Stay tuned for the day, probably mid-December, when I finally tell you about The F***ing Bookshelves we are working on. I pushed the pins all the way through the foam core and then trimmed them as close as I could with the needle-nose pliers.
The next morning, I touched up the gold leaf and let those bits dry. Once that was dry I put the pieces back together and replaced the finish nails. Since I only used five of the six napkins, I put the sixth in a plastic bag and taped it to the back to that the set at least stayed together. I hung and hung it next to the bar and, voila! Now I can hang out with these fab ladies any time.


XO,
Julia