Himmeli Candleholders

Hi! I wanted to share these fairly simple Himmeli candleholders that I made last week that might be just the thing for your Thanksgiving table. What is Himmeli, you ask? It was originally a type of little Finnish Christmas ornament, but lately it has been adapted into all kinds of cool DIYs. I had some mini fishbowls (is that what these are? Some seriously mini fish…) so I decided to spruce them up a bit with a cool “copper” Himmeli pattern.

Himmeli Candleholder from JustSomethingIWhippedUp.com

Earlier this year I made a few Himmeli plant hangers using Mandi from Vintage Revivals tutorial and they turned out looking sooo good.

Himmeli Candleholder from JustSomethingIWhippedUp.com

For the hangers I used brass and copper tubing that I cut down to size, but for this project I took a pretty serious shortcut and used cocktail straws.

Himmeli Candleholder from JustSomethingIWhippedUp.com

Materials:

  • Thin wire – you can use string/yarn but I found it was annoyingly difficult to string the straws on the yarn. Plus the wire added a bit of structure
  • Cocktail straws
  • Mini fish bowl – I think this 6″ glass bubble bowl is what I used
  • Copper spray paint

First I cut 25  2 5/8″  lengths of cocktail straw. (I went on to make a second candleholder with 2 3/4″ pieces. You can see what a difference it make in the picture above. I think the absolute best would be something between the two, but I was having trouble getting precise enough lengths.)

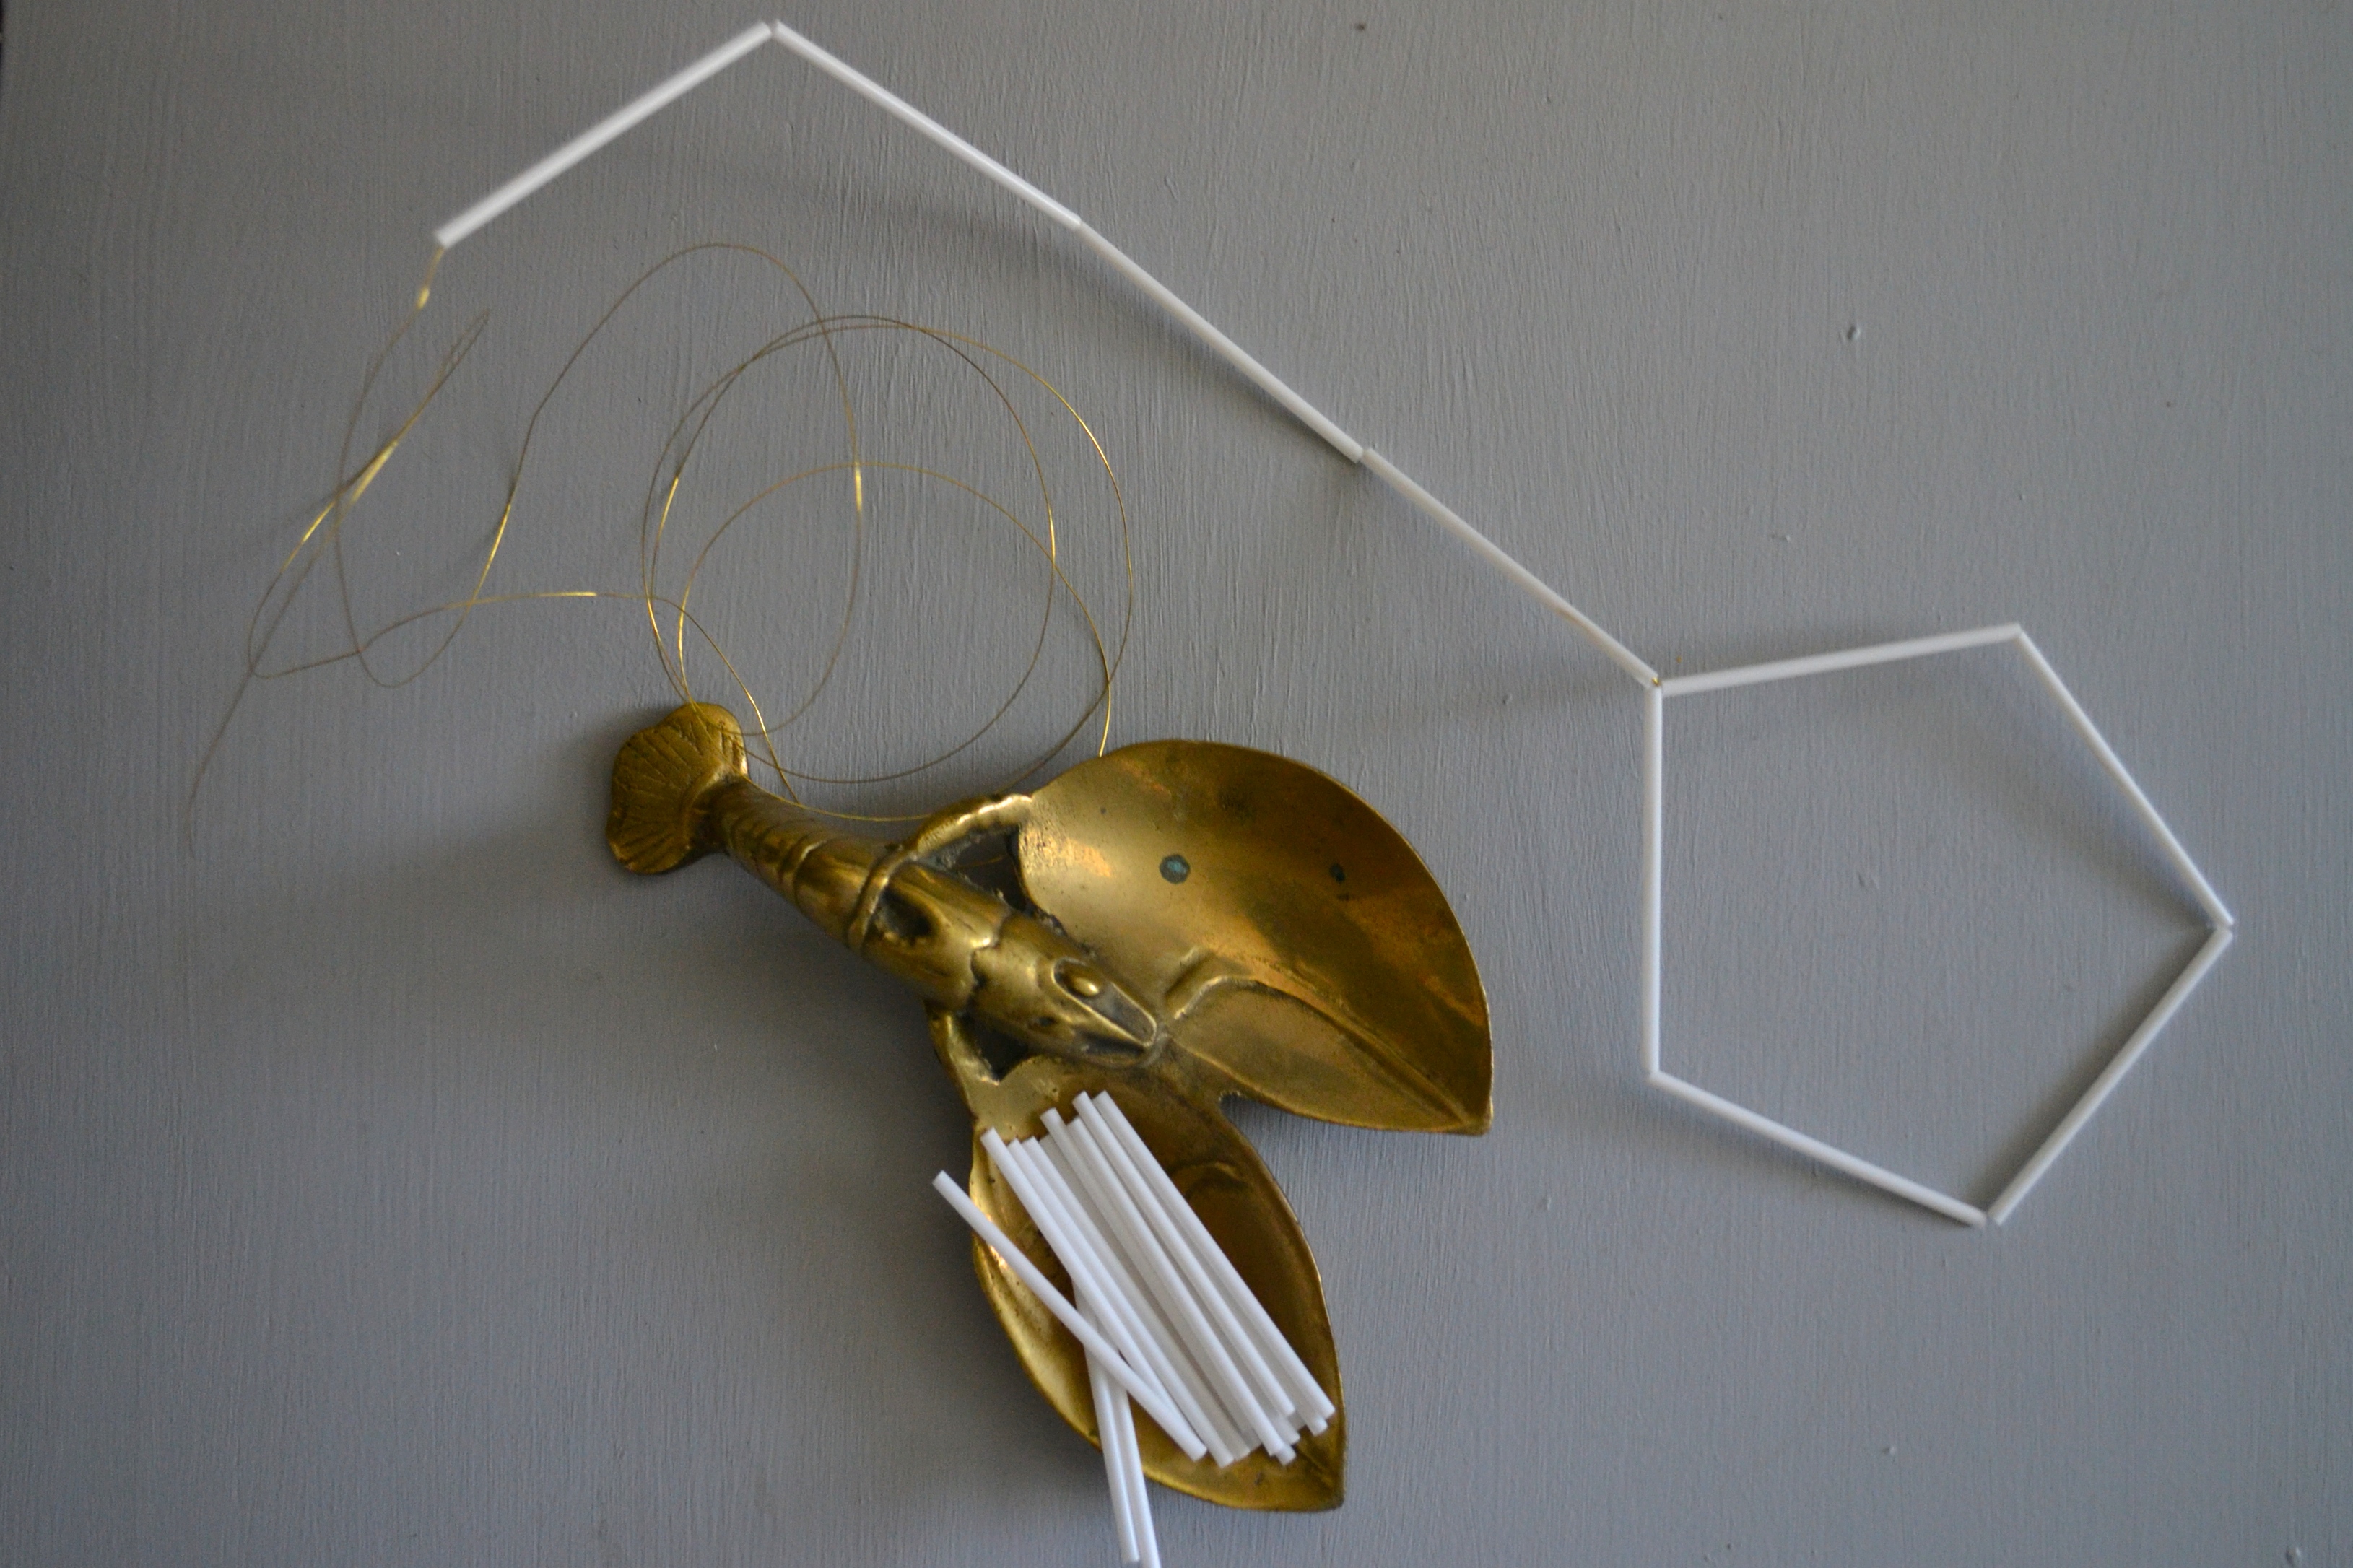
I then cut two “wingspans” worth of wire – about 9 feet. To start the Himmeli design, I took 5 pieces of straw and wired them together to form a pentagon at one end of the wire. Himmeli Candleholder from JustSomethingIWhippedUp.com

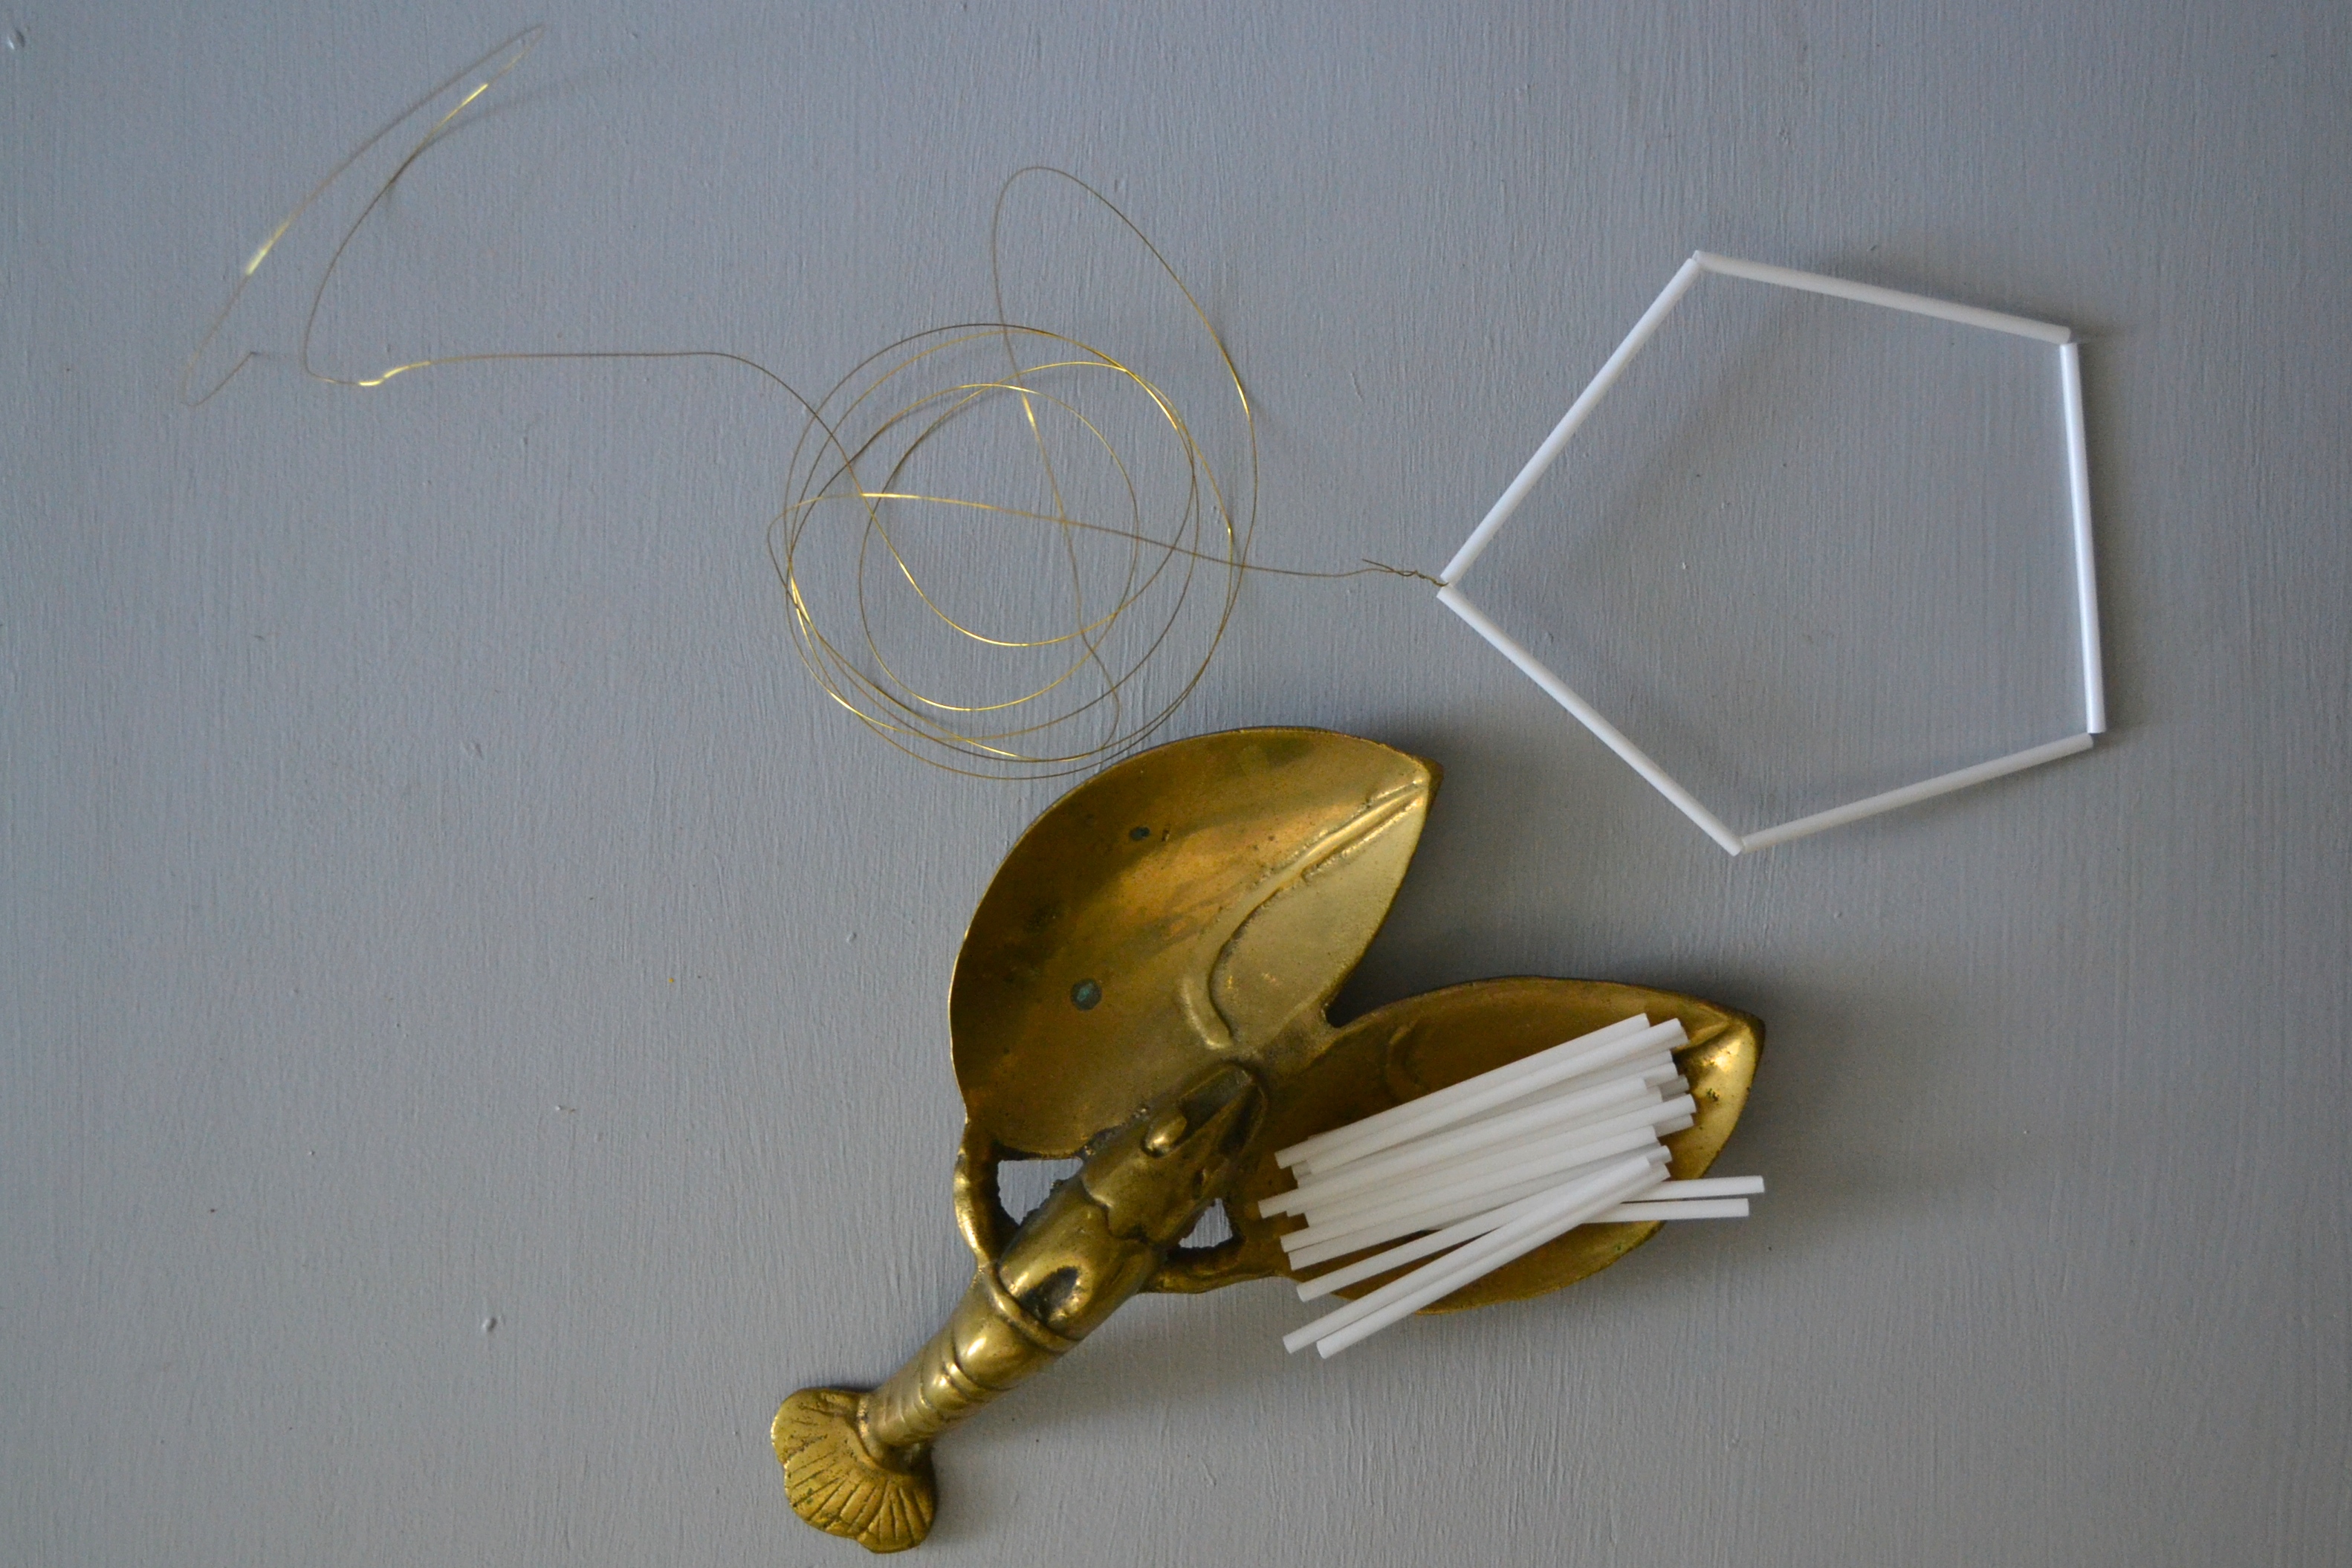
Thanks for your help, Mr. Brass Lobster. My other loyal sidekick, Charlie, was doing a SUPER good job of eating pieces of cocktail straw.

Next, I threaded 4 more pieces onto the wire.

Himmeli Candleholder from JustSomethingIWhippedUp.com
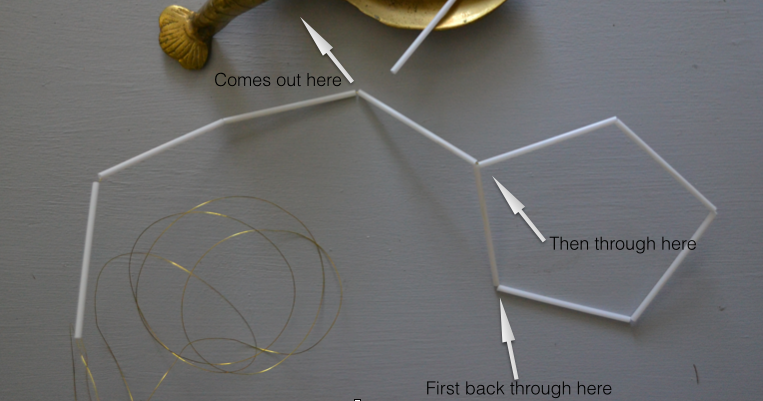
To make another pentagon, I threaded the wire back through the closest side of the adjacent pentagon and the connecting side of the new pentagon. That sentence s basically useless; here is a picture.

Himmeli Candleholder from JustSomethingIWhippedUp.com

Which gave me this

Himmeli Candleholder from JustSomethingIWhippedUp.comI repeated that step to get another pentagon.
Himmeli Candleholder from JustSomethingIWhippedUp.comAaaaand one more. Once I had a row of four pentagons, I added one additional piece of cocktail straw. This became the magical fifth pentagon.

Himmeli Candleholder from JustSomethingIWhippedUp.com

I pulled the wire back through the far side of the first pentagon I made, like so:

Himmeli Candleholder from JustSomethingIWhippedUp.com

And then I added two more straws and threaded the wire in at point A and out at point B which gave me this. I SWEAR this sounds way more complicated than it is.

Himmeli Candleholder from JustSomethingIWhippedUp.com

At this point I put the fishbowl into the basket I made to make sure it would fit. Phew, it did. I added a piece of straw to the wire and started connecting the points, just looping the wire forming the point as I went. Himmeli Candleholder from JustSomethingIWhippedUp.com


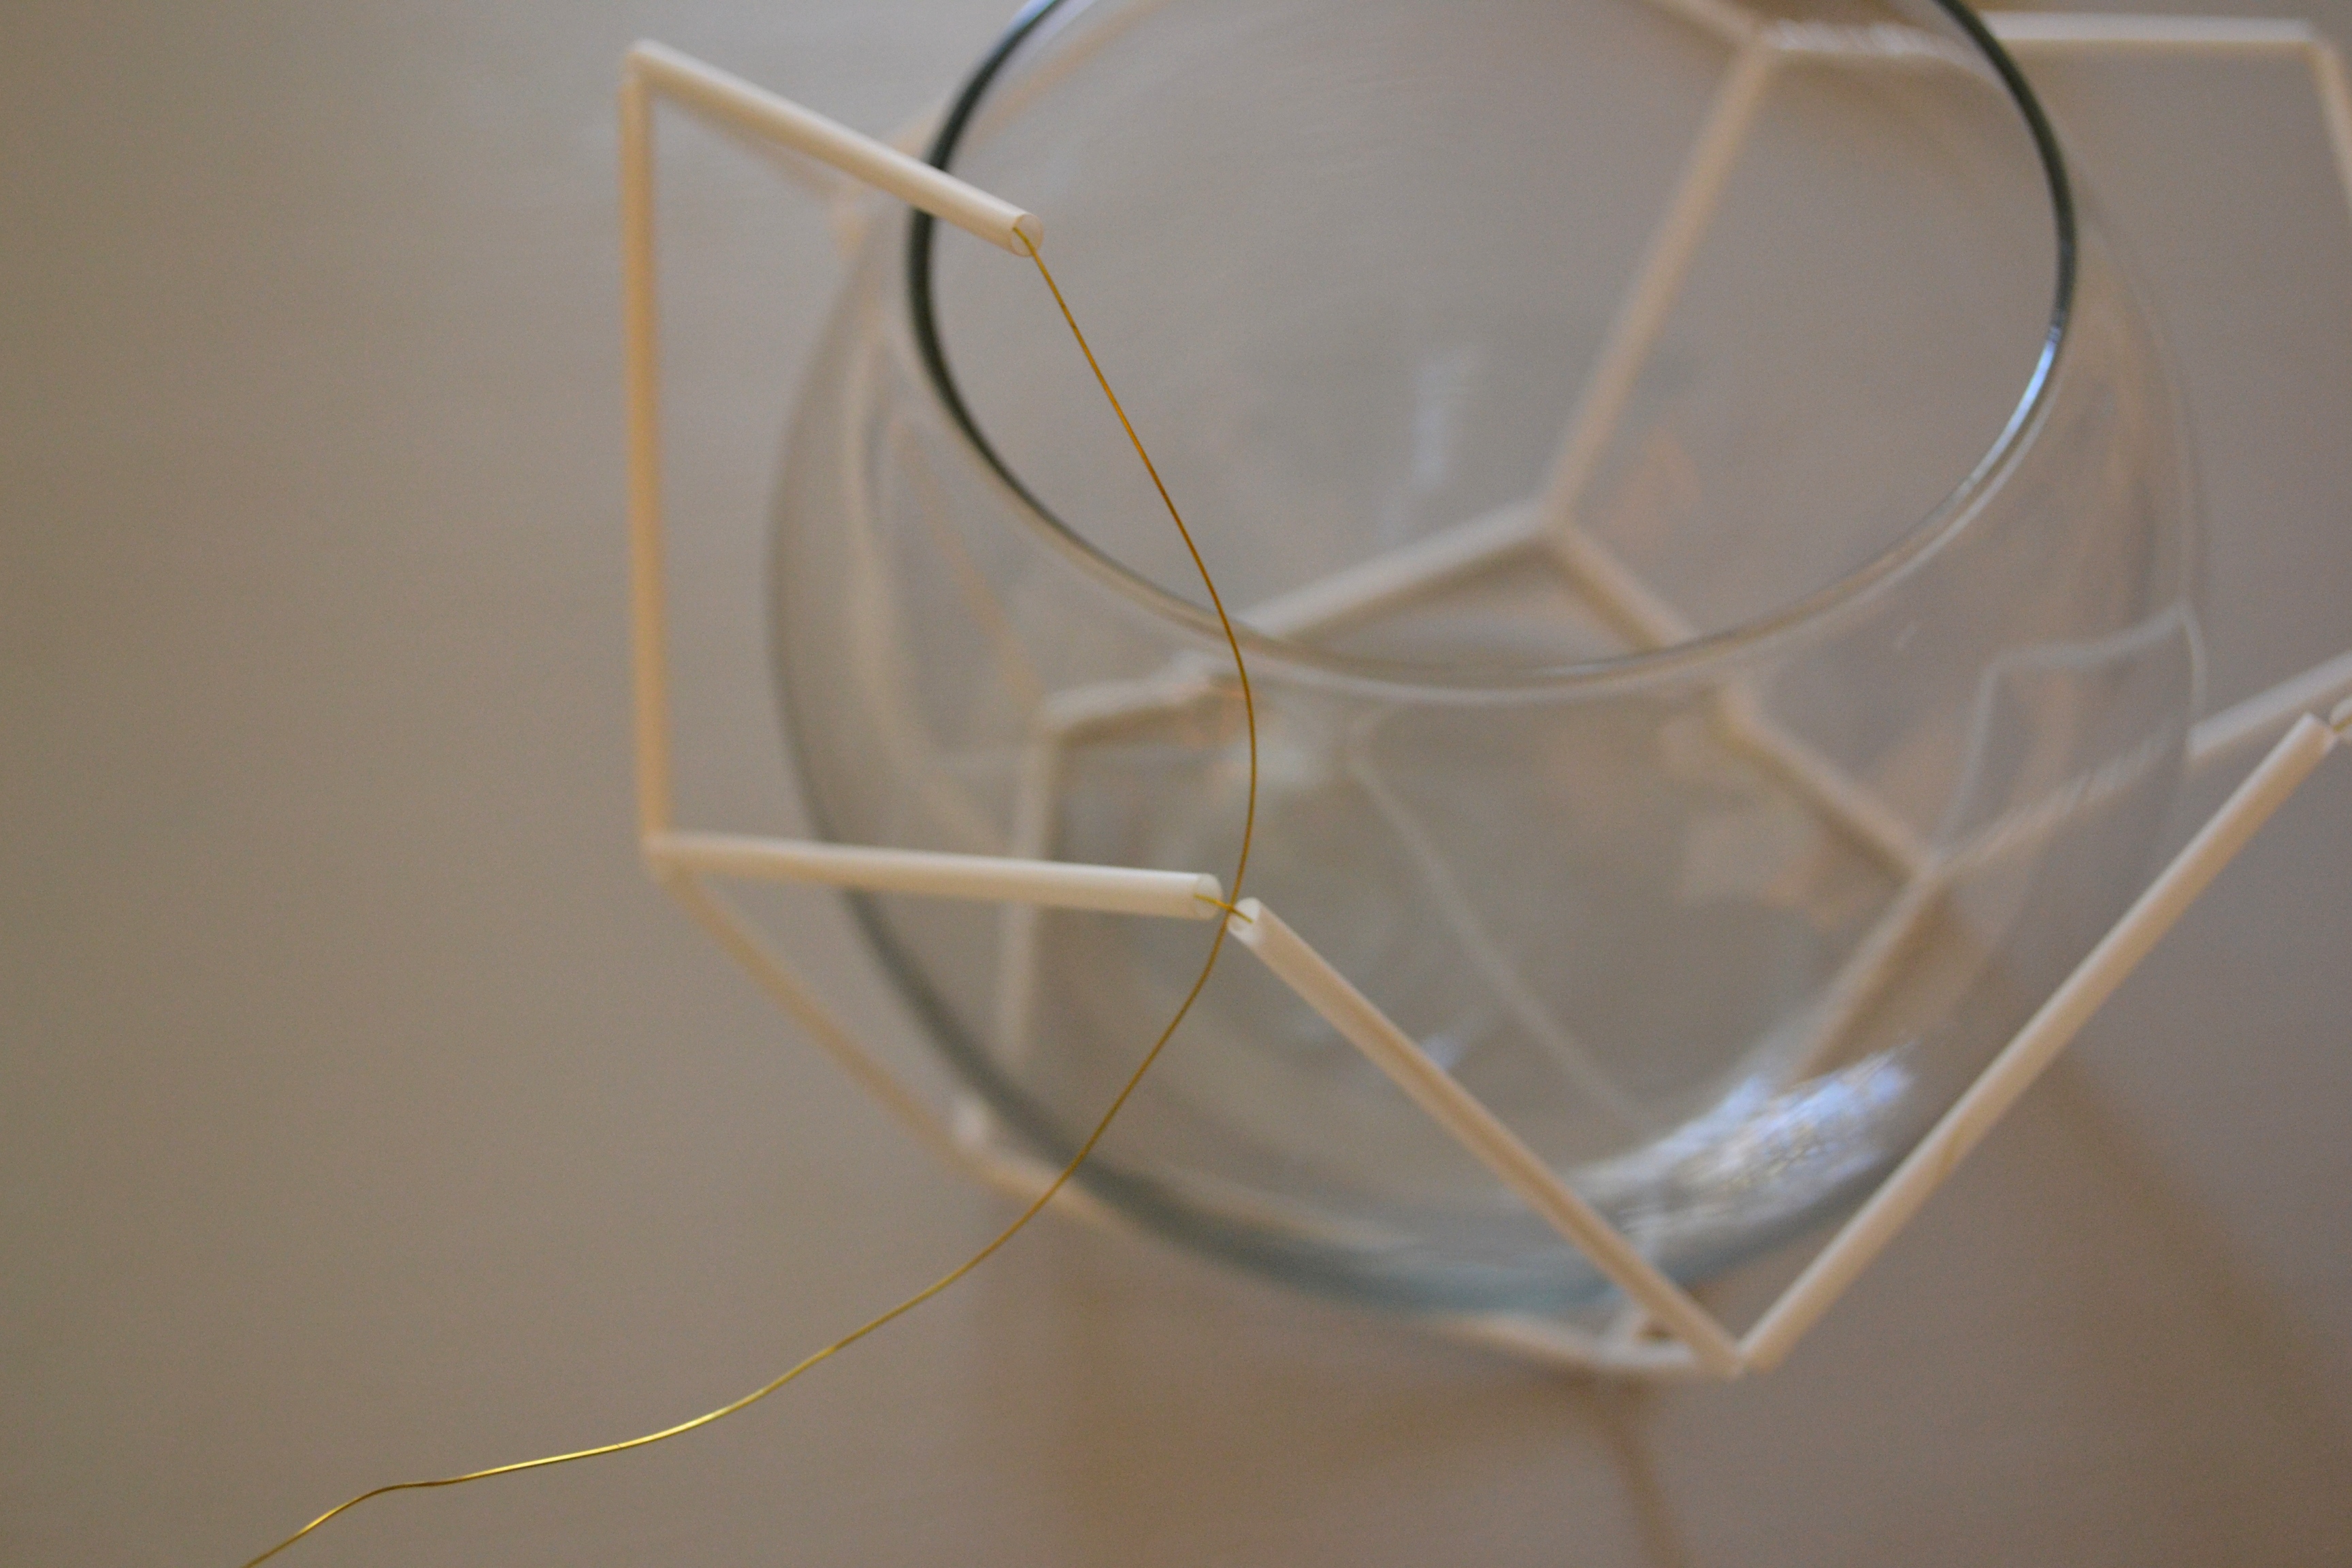
This is what I had once all of the points were connected. Himmeli Candleholder from JustSomethingIWhippedUp.com

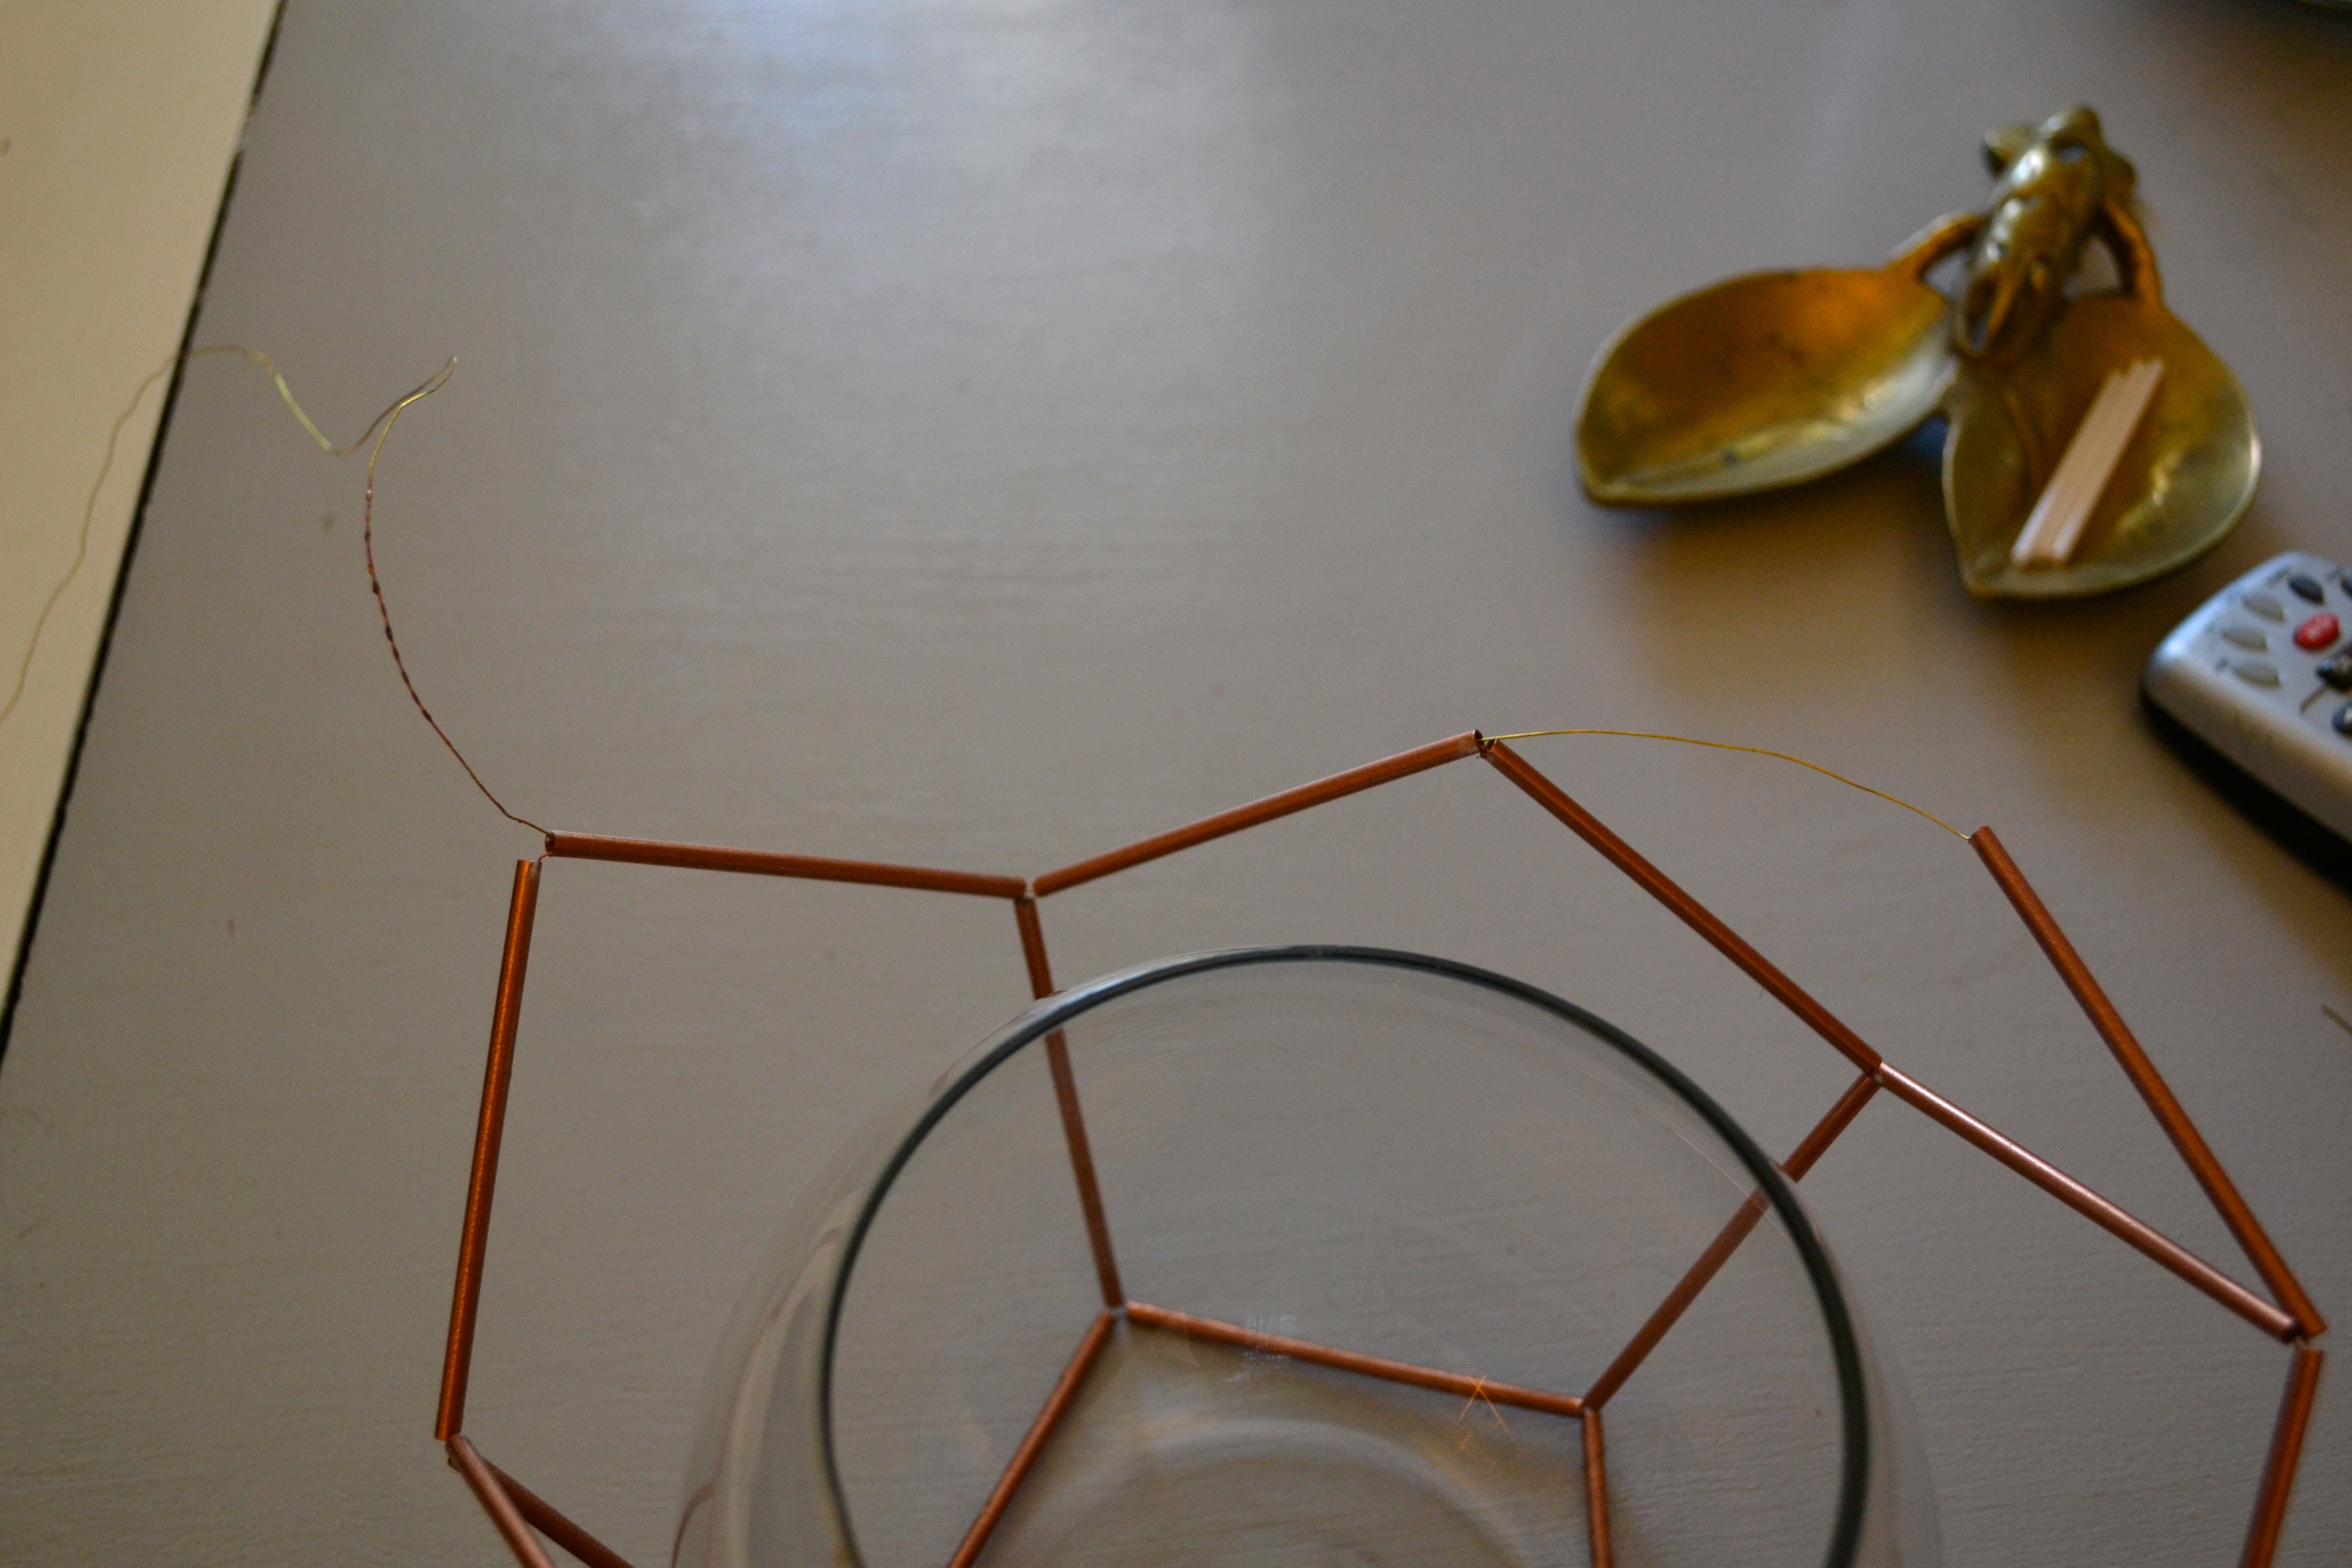
I did not tie it off here though. Instead I slightly loosened the whole thing, took the bowl out and spray painted the straws copper. It sounded easier than spraying the straws in advance. Once it was dry, I put the bowl back in and tied off the last point.

OK, I am also going to tell you what I did on the second bowl because it is slightly neater, but a little more complicated and if I had pictures this post would be about a million years long. On the second bowl, I connected the first two points, then went through the next two straws before coming out at the next point over and connecting that to the next one. Like this:

Himmeli Candleholder from JustSomethingIWhippedUp.comOnce every other pair of points was connected, I went straight around the rim with the wire and filled in the gaps. And here they are!

Himmeli Candleholder from JustSomethingIWhippedUp.com

Himmeli Candleholder from JustSomethingIWhippedUp.com
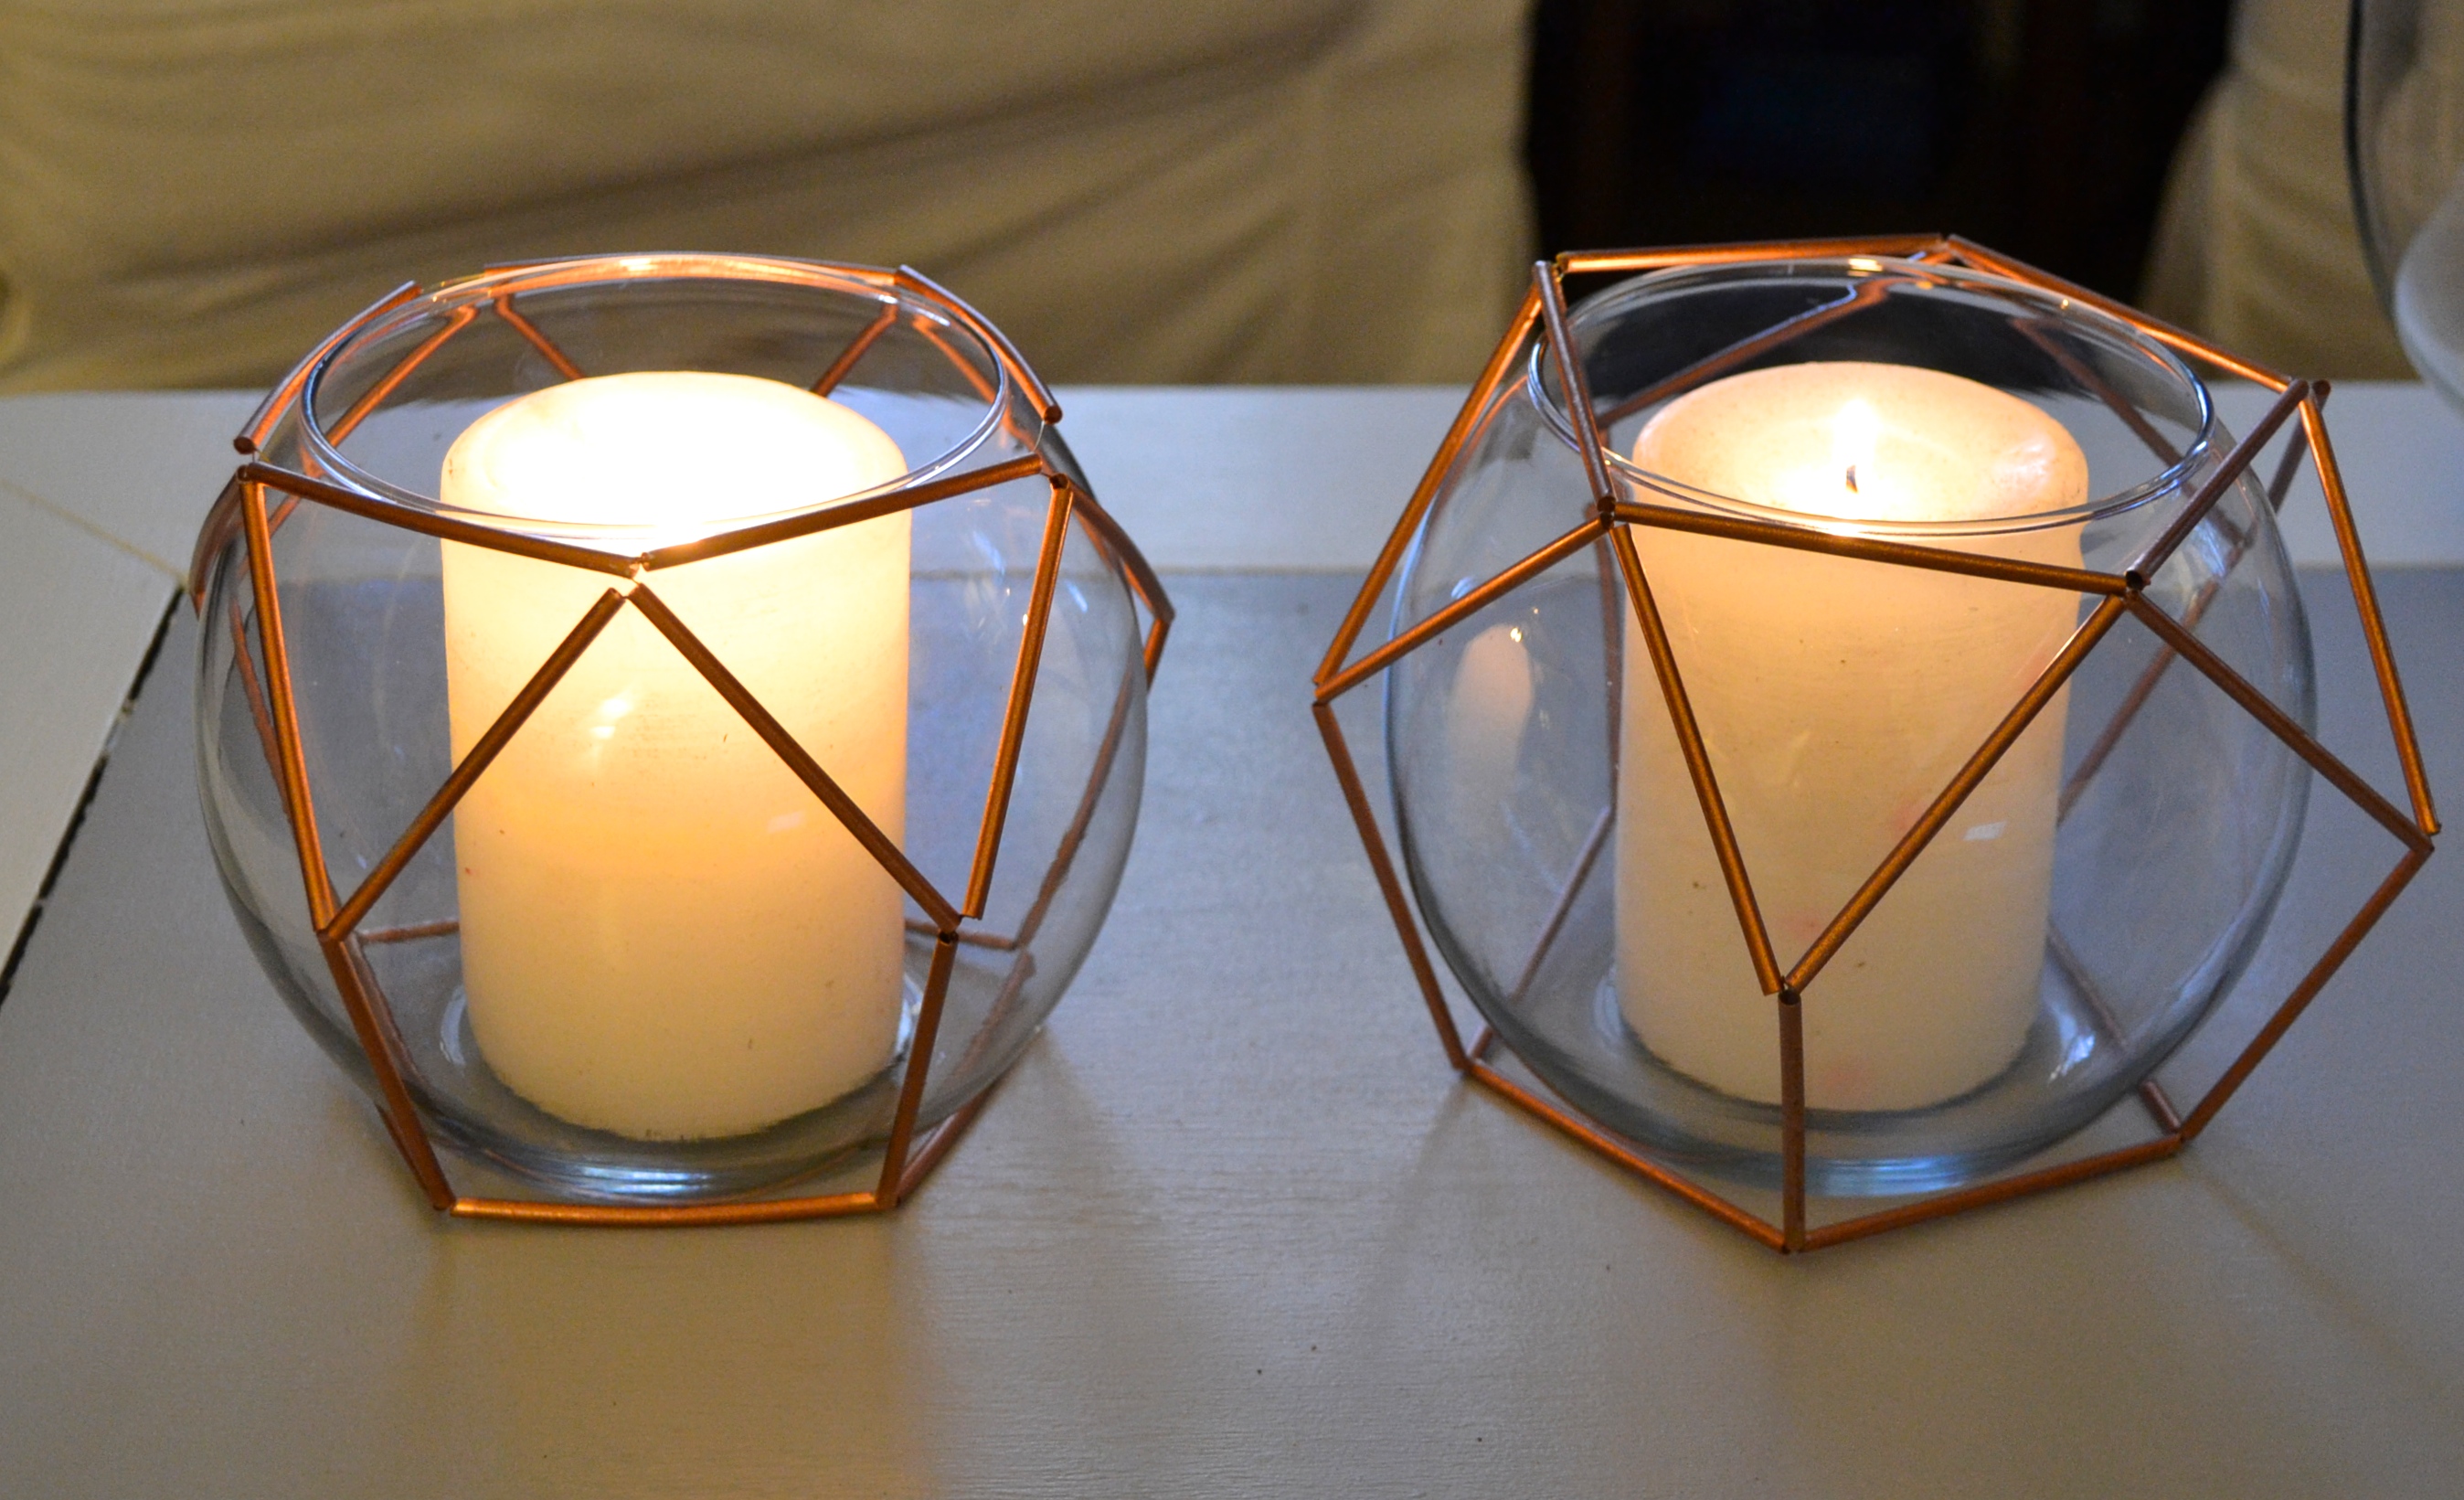
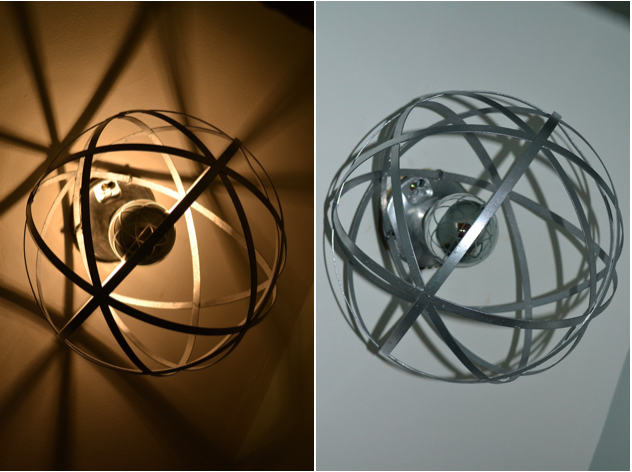
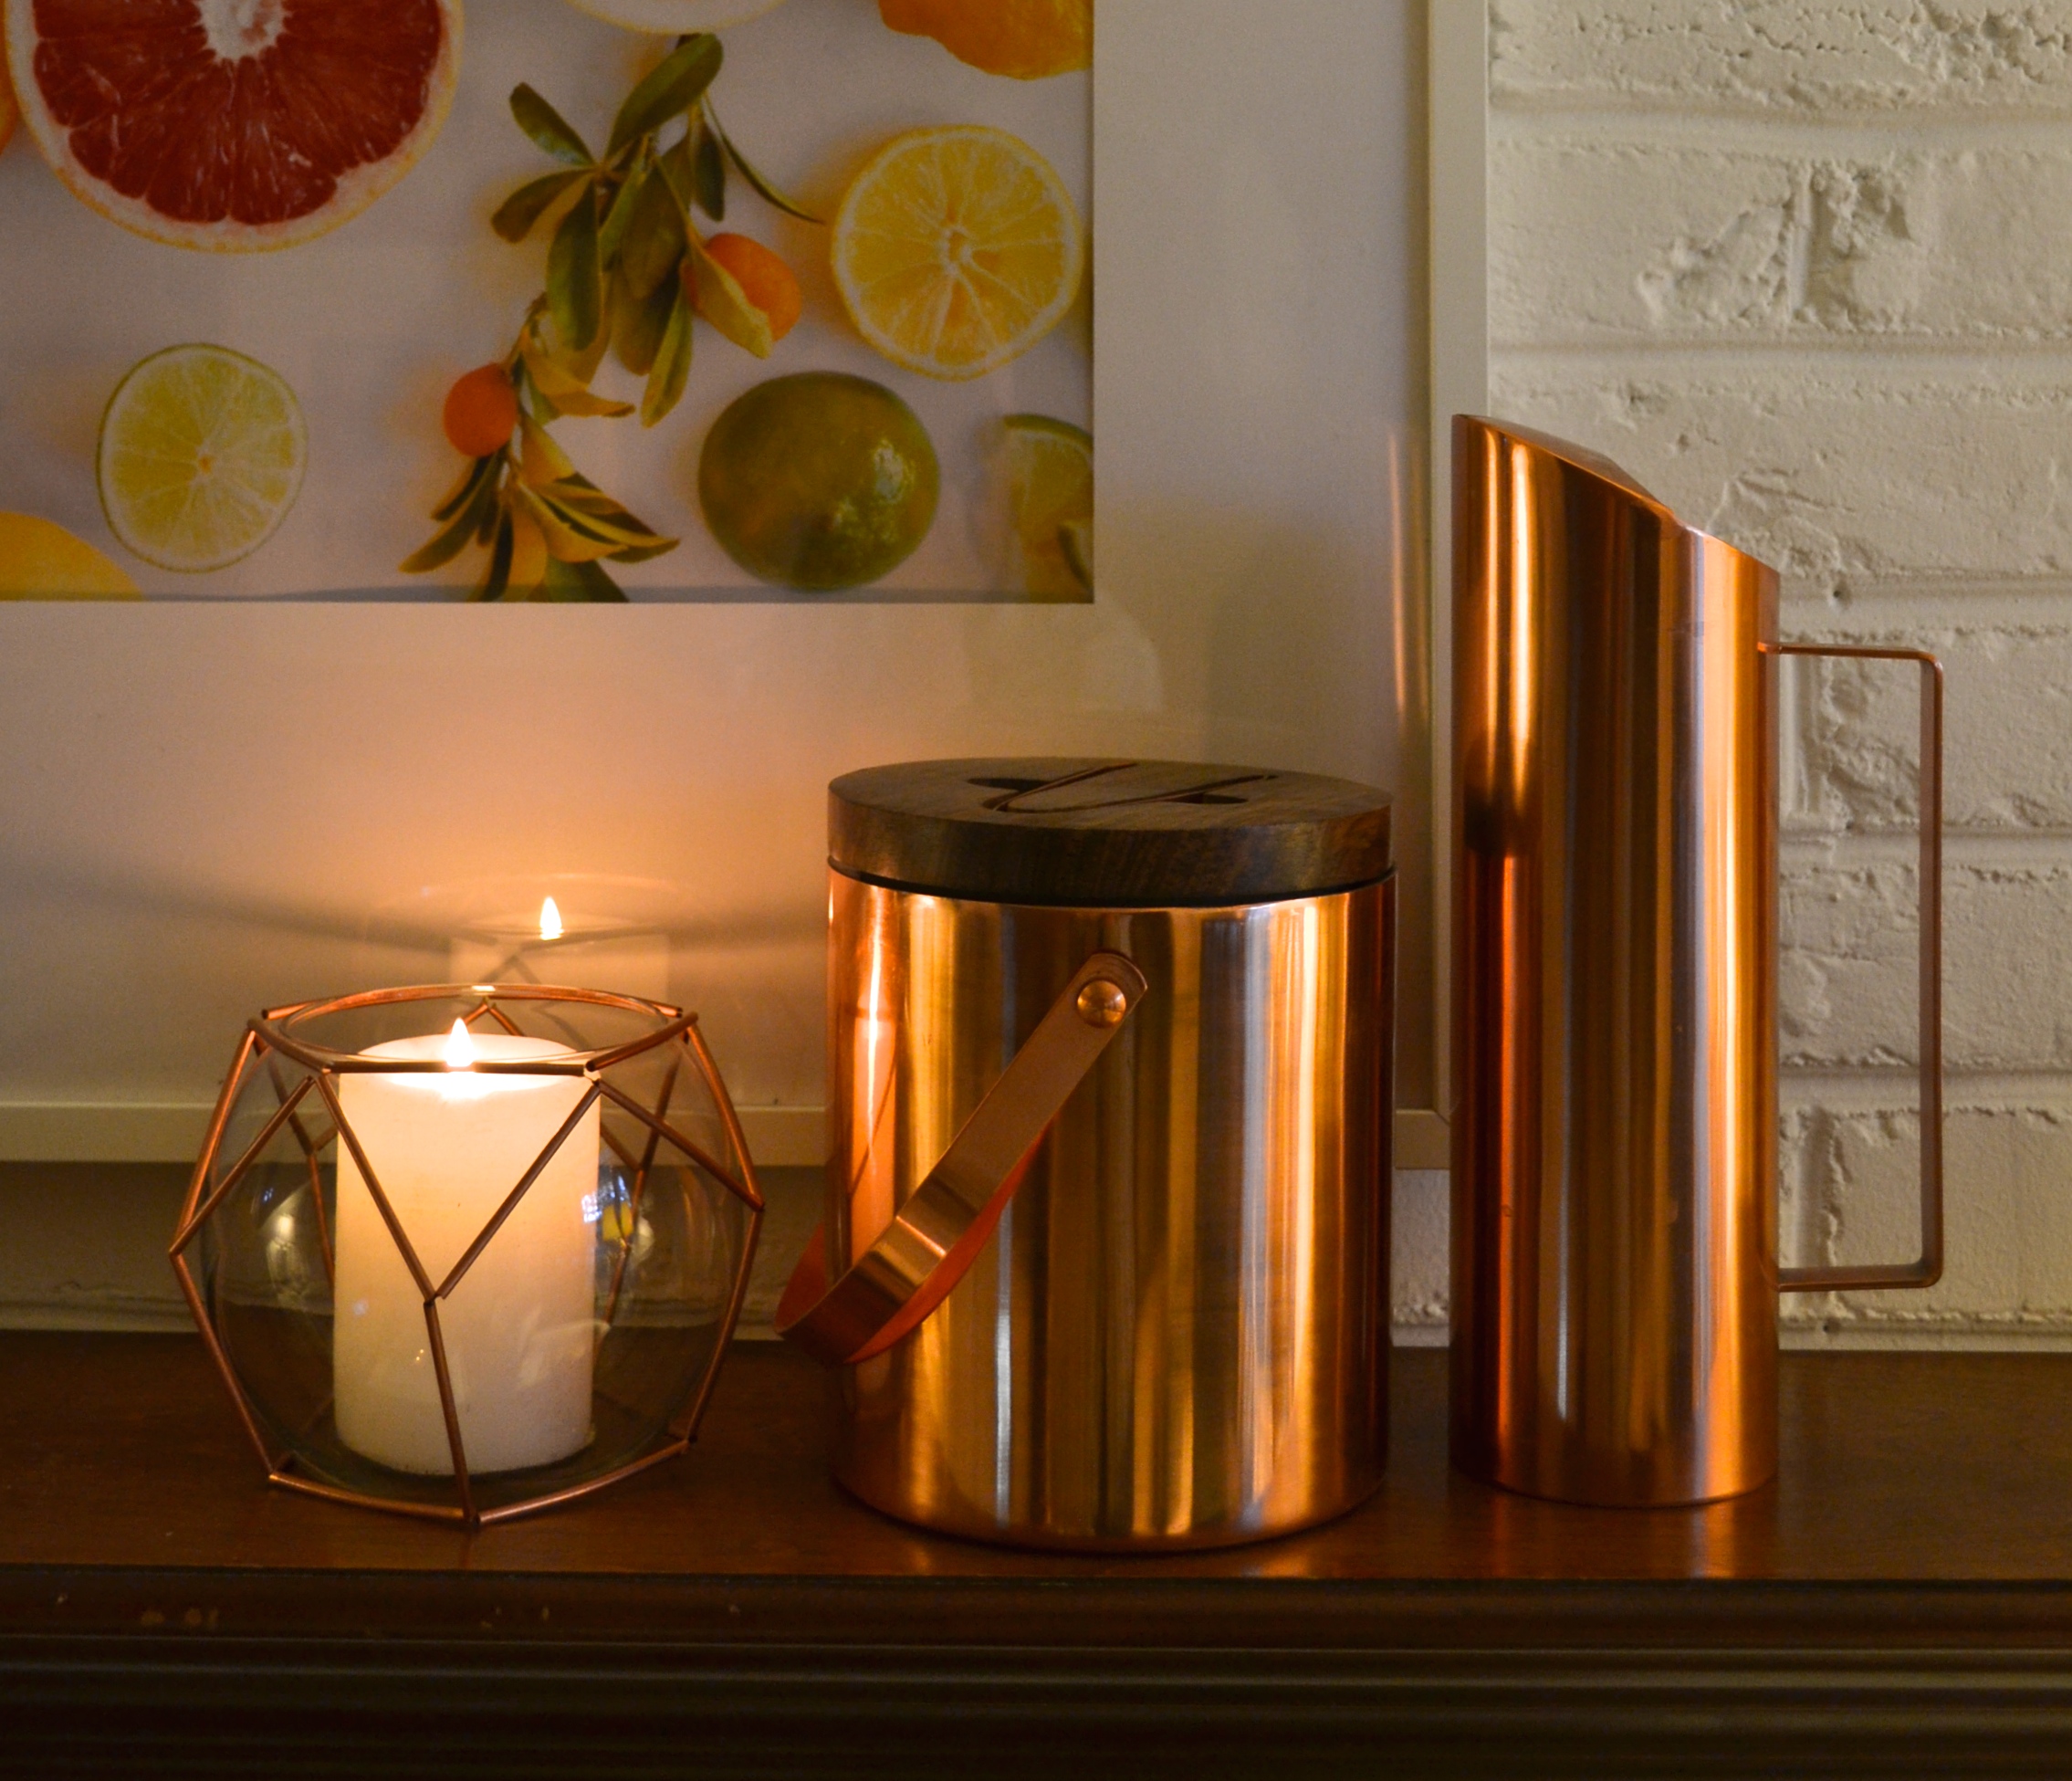
Pop a candle in and watch the cool shadows!

Happy Thanksgiving

XO,

Julia

Himmeli Candleholder from JustSomethingIWhippedUp.com


DIY Orb Light Fixture (Part One)

Hi! Since my last post we got the absolute cutest puppy on earth, Charlie, and it hanging out with him really ate into my project time! Here he is on the day we got him. He is growing so fast!

Charlie! JustSomethingIWhippedUp

Between that and some technical difficulties with this project, it took a while, but I am ready to tell you about the light fixture I made for our little bathroom. After the sisal mirror and the painted floor, the only thing left was to update the light. Specifically this dated little blob:

Before -  JustSomethingIWhippedUp.comI think this is a little better, do you agree?

DSC_1123

Materials

  • plastic keyless lampholder 
  • Garden orb – I got mine at HomeGoods about 8 months ago, but I have seen some there recently
  • Spray primer for rusty metal
  • Spray paint (with spray paint trigger)
  • Dremel tool
  • Phone cord – not the coiled kind
  • Silver dipped bulb – I used this one 

First I primed the orb and socket with primer for rusty metal. I don’t think the existing finish was actually rust, but the the other kind is for clean metal, and this was not clean. I stuffed a paper towel inside the socket, and made sure to paint the inside of the orb completely as well.  Side note – I tried to paint it yellow on the outside and silver inside and it just didn’t work out. So ignore any yellow paint in these pictures.

Plastic Keyless Lampholder - JustSomethingIWhippedUp.com

JustSomethingIWhippedUp.comAfter the pieces dried, I lined the orb up on the lamp holder and drew lines on the lamp holder where the three metal strips touched it. I also marked the strips so I remembered which ones I was using. Important: I made sure the light bulb I was using fit through at least one of the triangles so that I could screw it in.

JustSomethingIWhippedUp.comUsing a Dremel tool with the sanding attachment, I started making flat sections for the straps to rest on. Once I had a nice flat spot, I used one of the finer grinder tips to go all the way through the plastic.

JustSomethingIWhippedUp.com

JustSomethingIWhippedUp.com

JustSomethingIWhippedUp.com

I originally considered gluing the pieces together, but while it might have worked, it seemed flimsy. I then considered wire, but we didn’t have any that looked like it would hold up – the Dremeled slits are still pretty sharp looking. Wire would probably work, but I settled on phone cord because a. we had some, and b. it was easy to pull tight and once wedged in the slots the rubber really made it stay put. I threaded the phone cord out through the hole, around the strap and back down through the hole and repeated for all three straps. The I pulled it as tight as I could, pushed it down around the screw holes and tied it off with a square knot. I shook it around a bit and those pieces are not loose at all.

JustSomethingIWhippedUp.com

I taped over the business side of the socket and I spray painted the whole shebang silver, using a bunch of light coats. I love Rustoleum’s Bright Coat Metallic Finish in Silver. Using a spray paint trigger like this one saves my fingers from some serious cramping when I have to do several coats.

JustSomethingIWhippedUp.com

Stay tuned for my next post on how I hardwired this baby and learned a lot about circuits in the process!

DIY Orb Light Fixture from JustSomethingIWhippedUp.com

There are a few other things I wanted to do to the bathroom – a coral painted trashcan and some coral details on the door, but no I think it is time to call it a day in there. A tiny space can only handle so many projects before it looks like Pinterest got ill in it and I am getting dangerously close… (Already there?) After telling you how I installed the light, I promise that will be all on this bathroom for a nice long time!

XO

Julia

Screen Shot 2014-11-20 at 2.31.01 PM