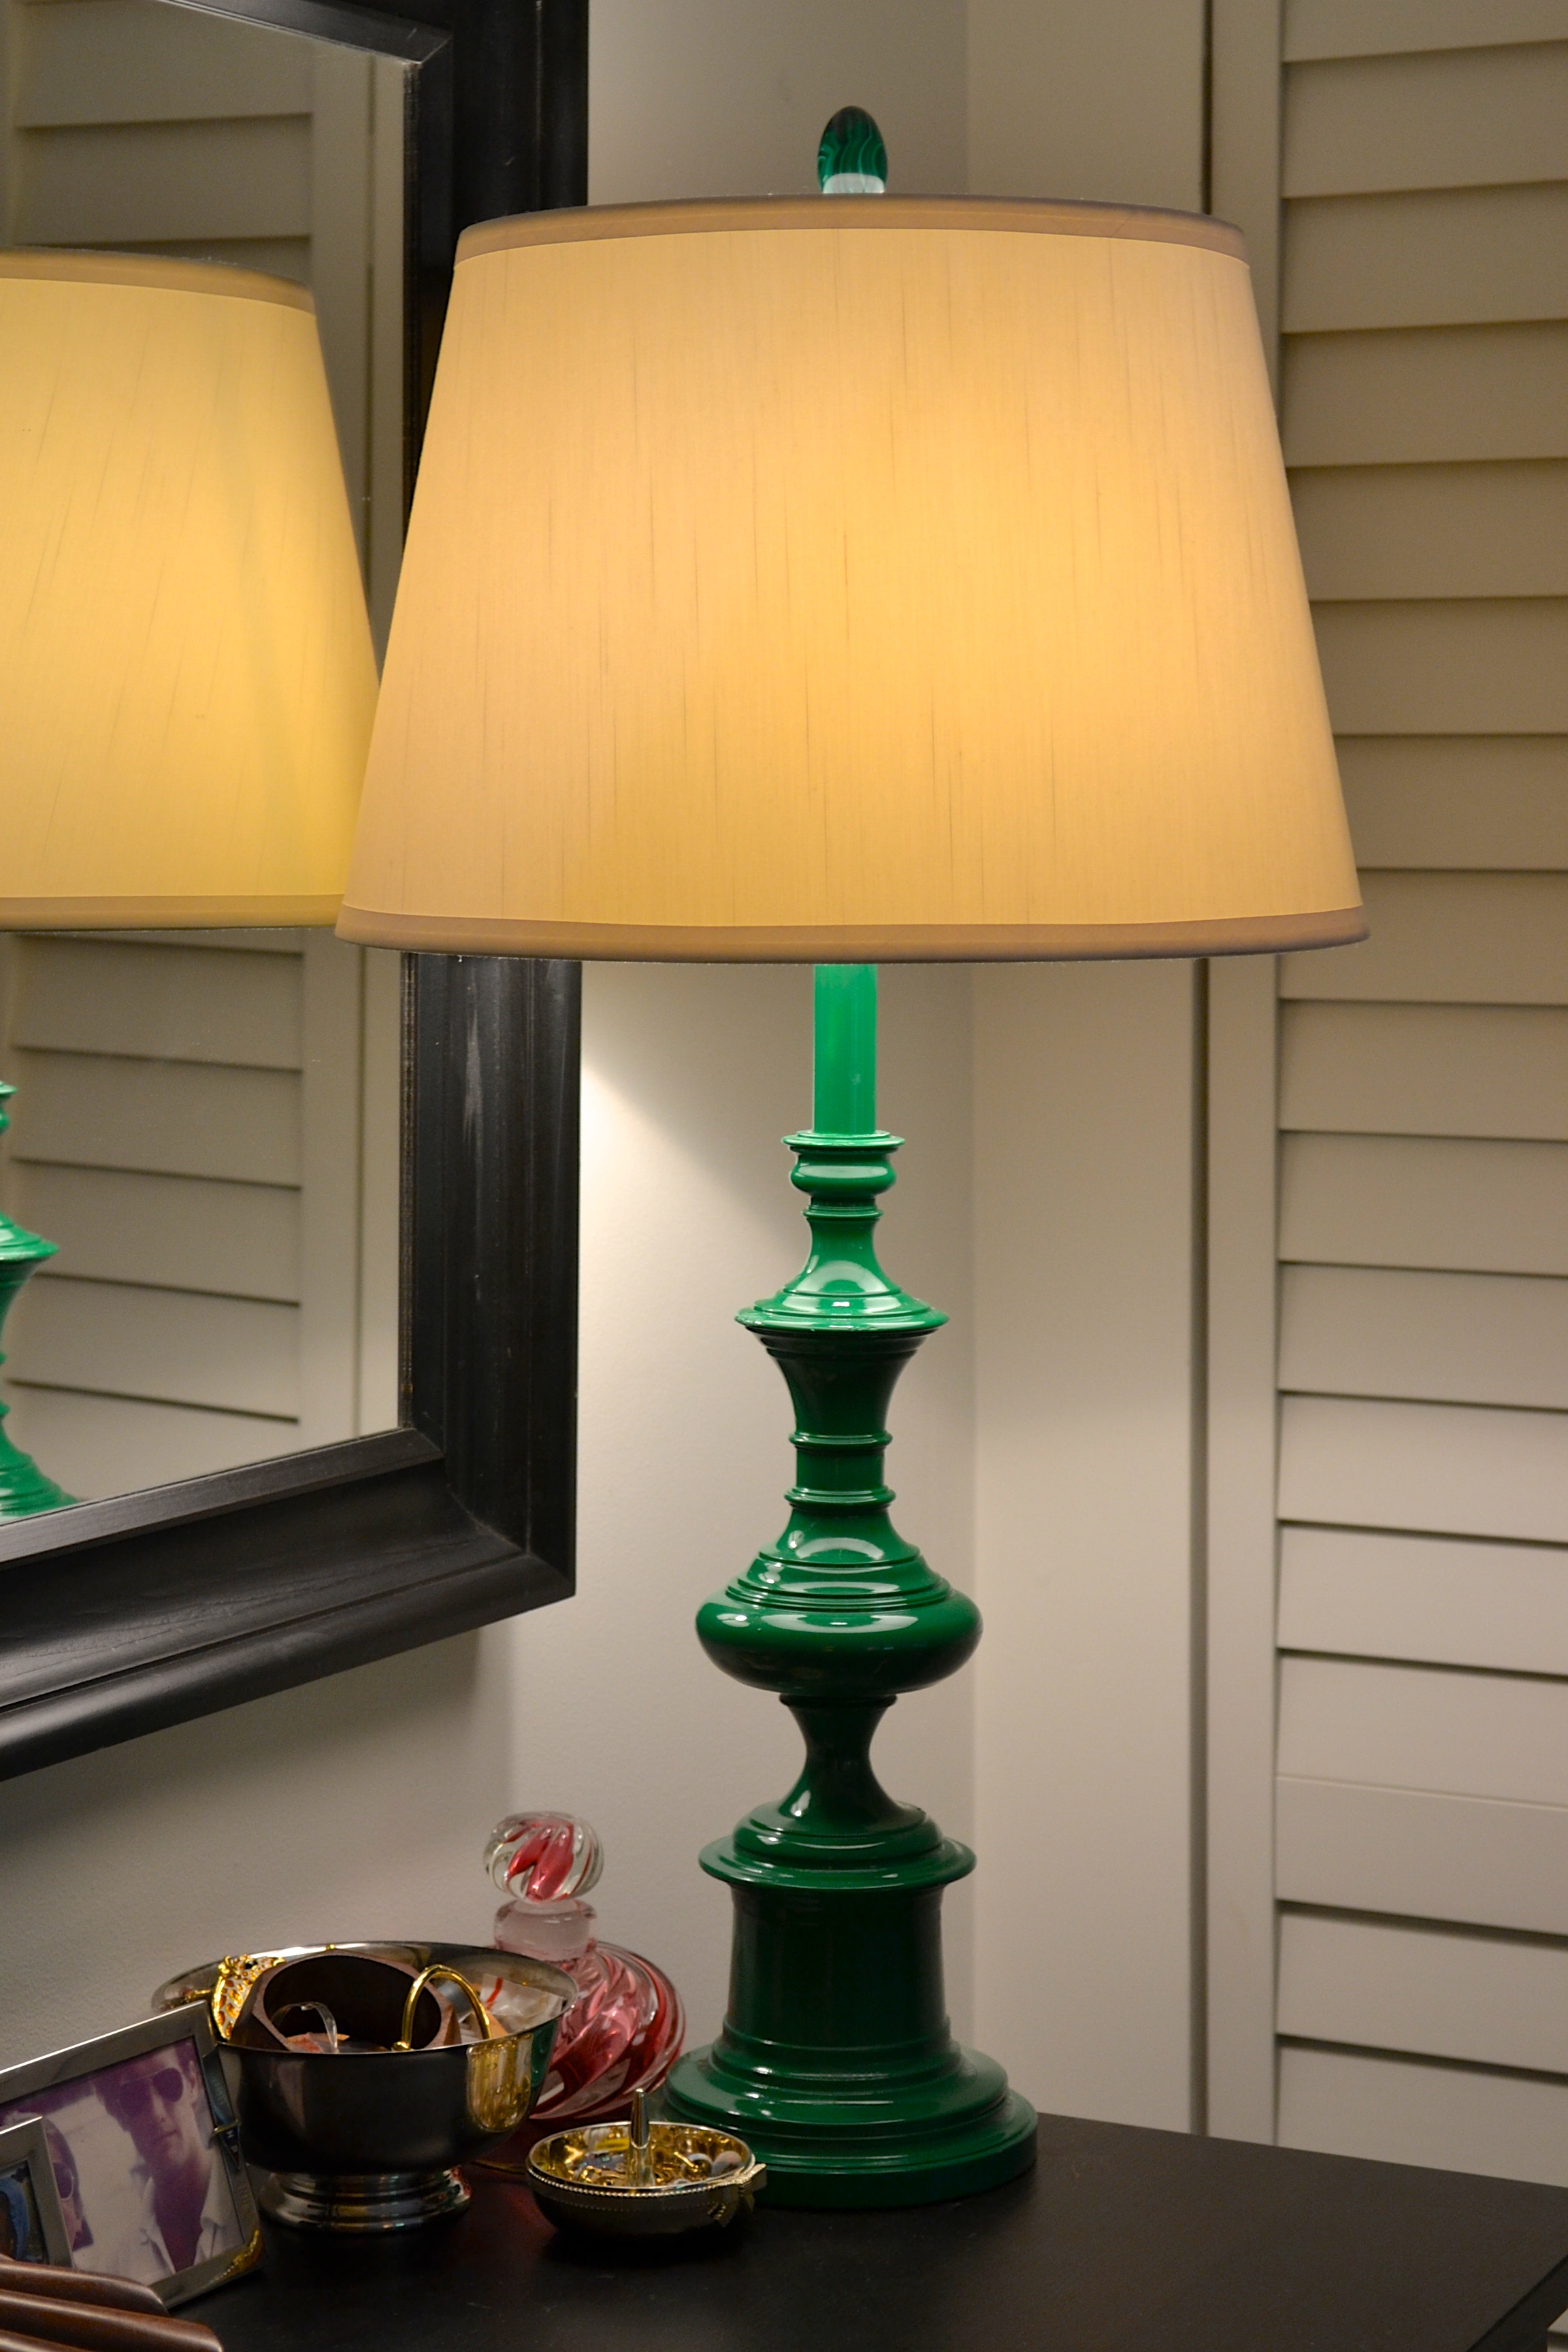
Hi! Today, I give you my “new” green lamp.
On the way home from Ithaca last week, we stopped at a few of the gazillion thrift shops along the way and in the weirdest of them all (a former grocery store, complete with defunct freezer aisle) I found a gloriously awful and yet awesome big brass lamp. I didn’t know where to put it or what to do with it, but I figured I couldn’t go wrong for $3.99. So, in all of it’s thrift store brassiness:

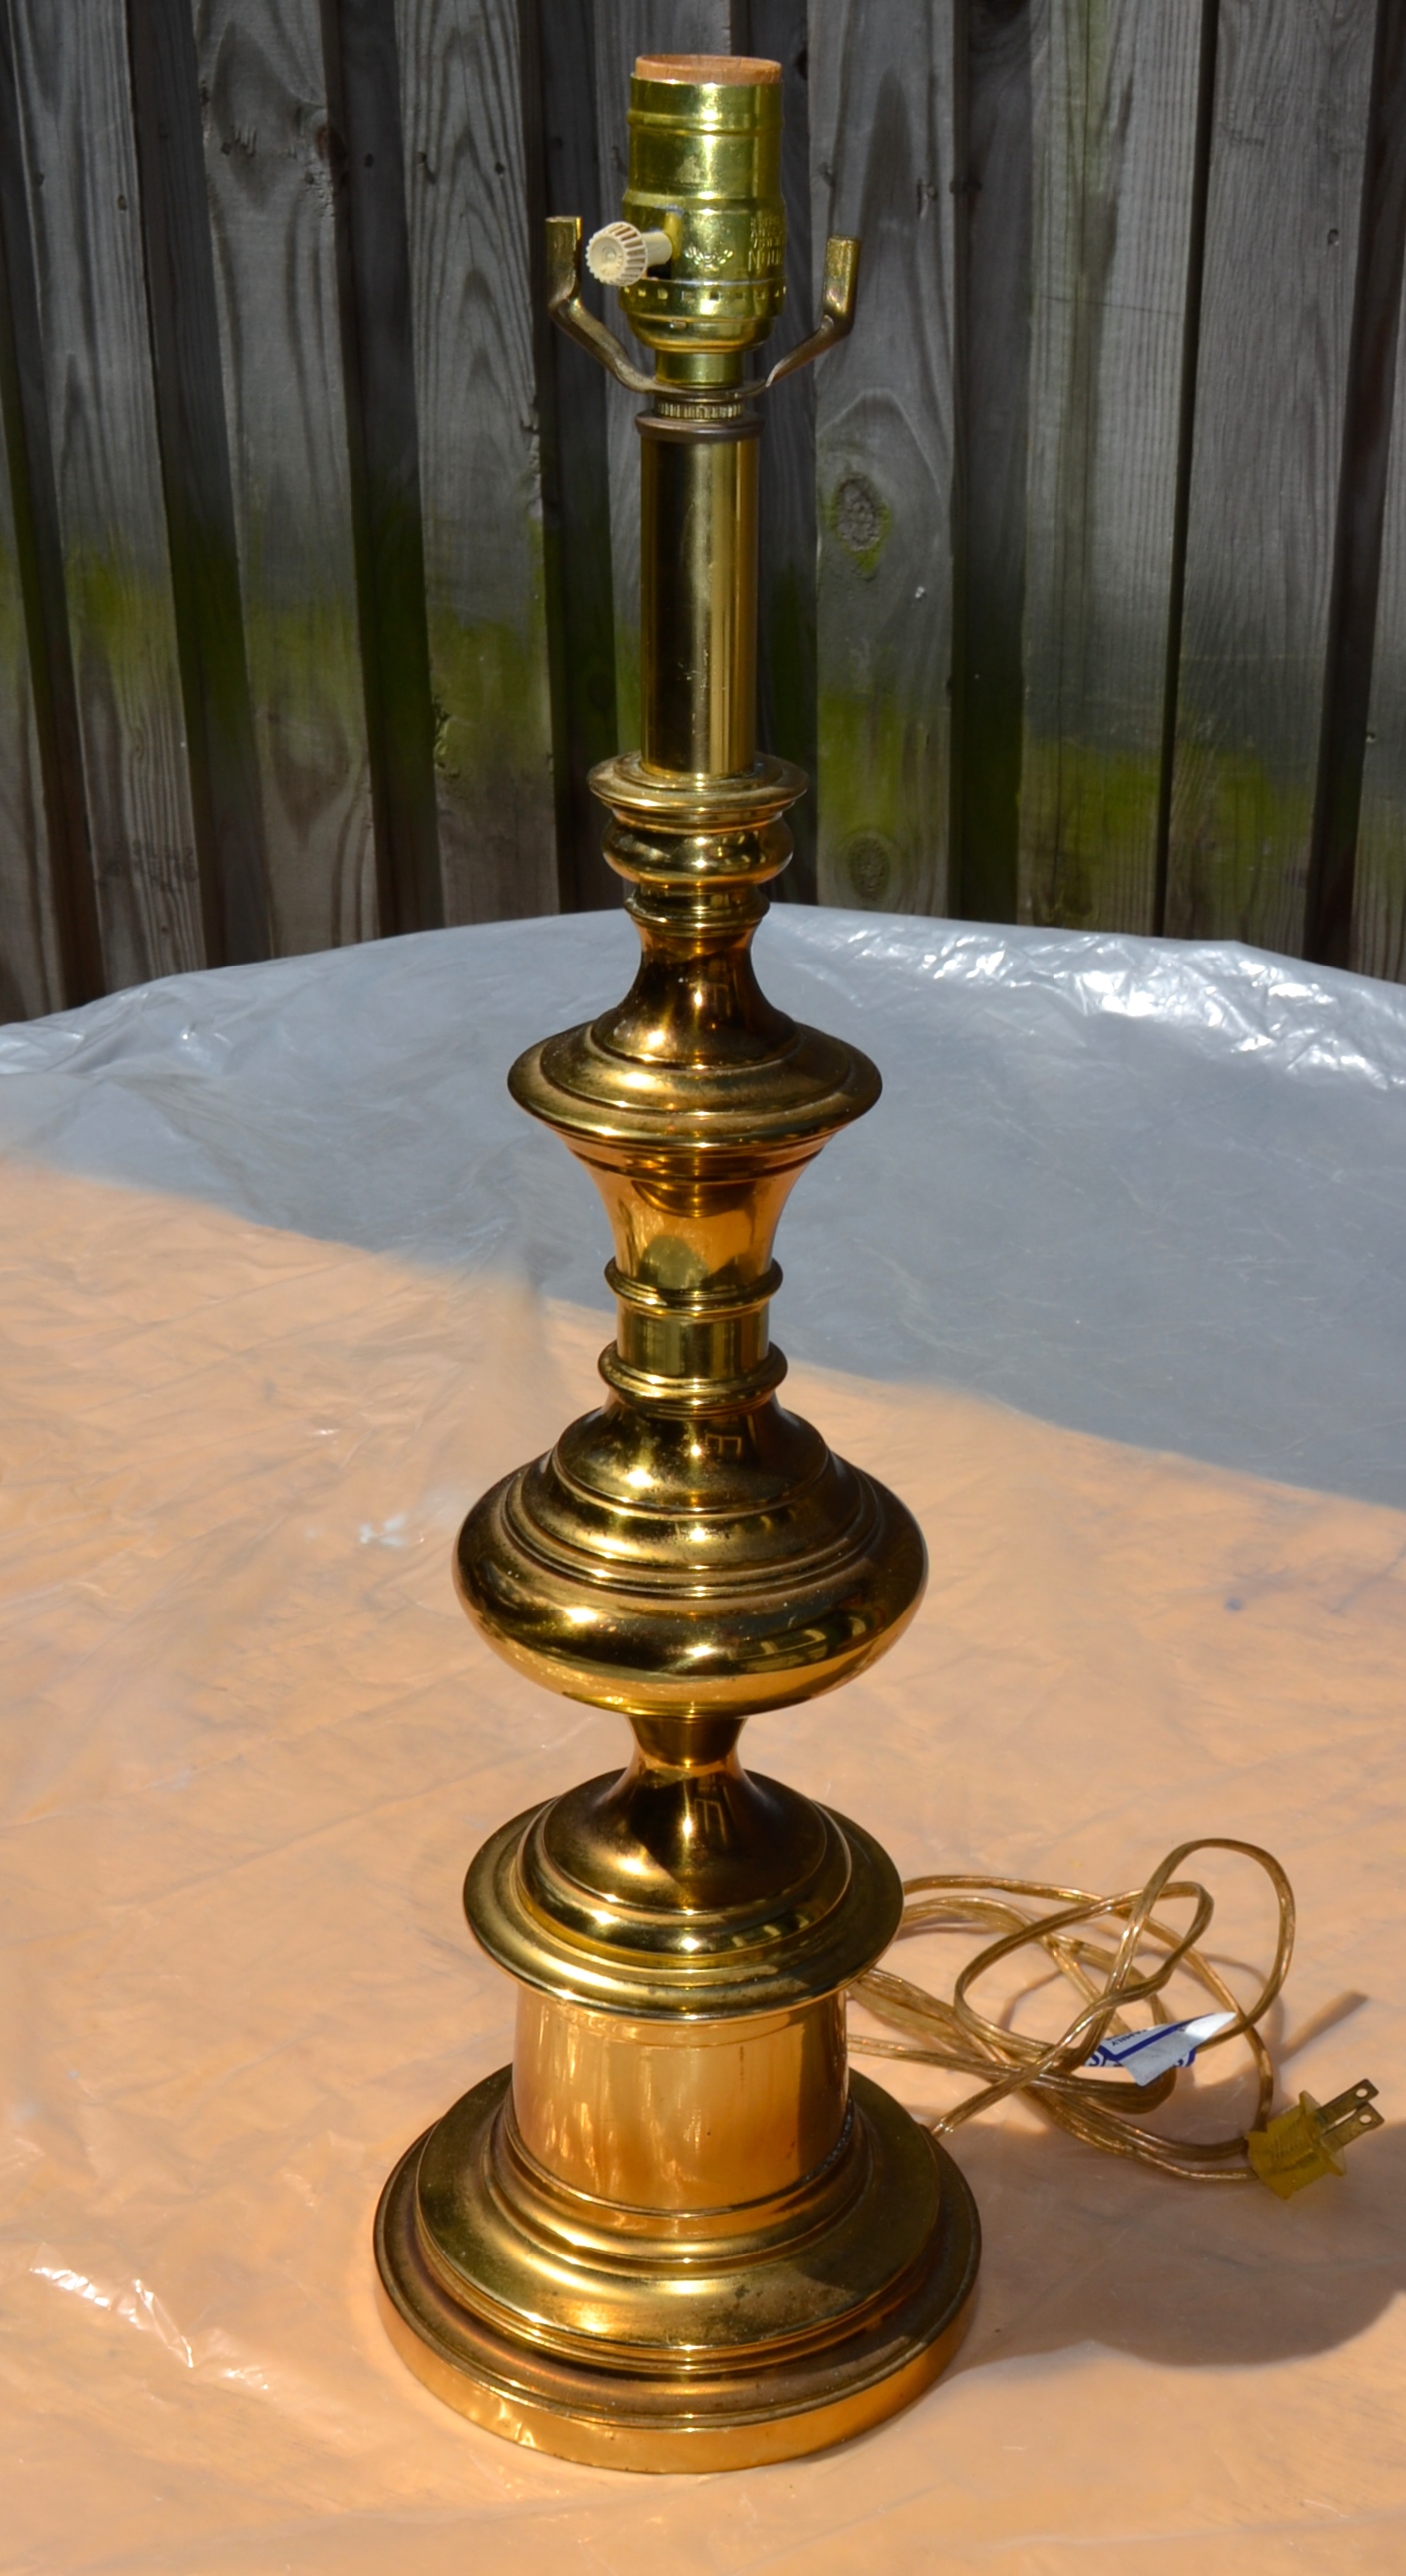
A quick note – if you are getting a lamp at a thrift store or a garage sale, see if you can find a bulb and an outlet to make sure it actually works. If it does, great, if it doesn’t, it’s not the end of the world. Most lamps are not that hard to rewire and I have a project coming up that will prove it.
Once we got it home, I thought maybe I would look good in our bedroom, which is super boring right now. AND I finally found something that I can paint green!
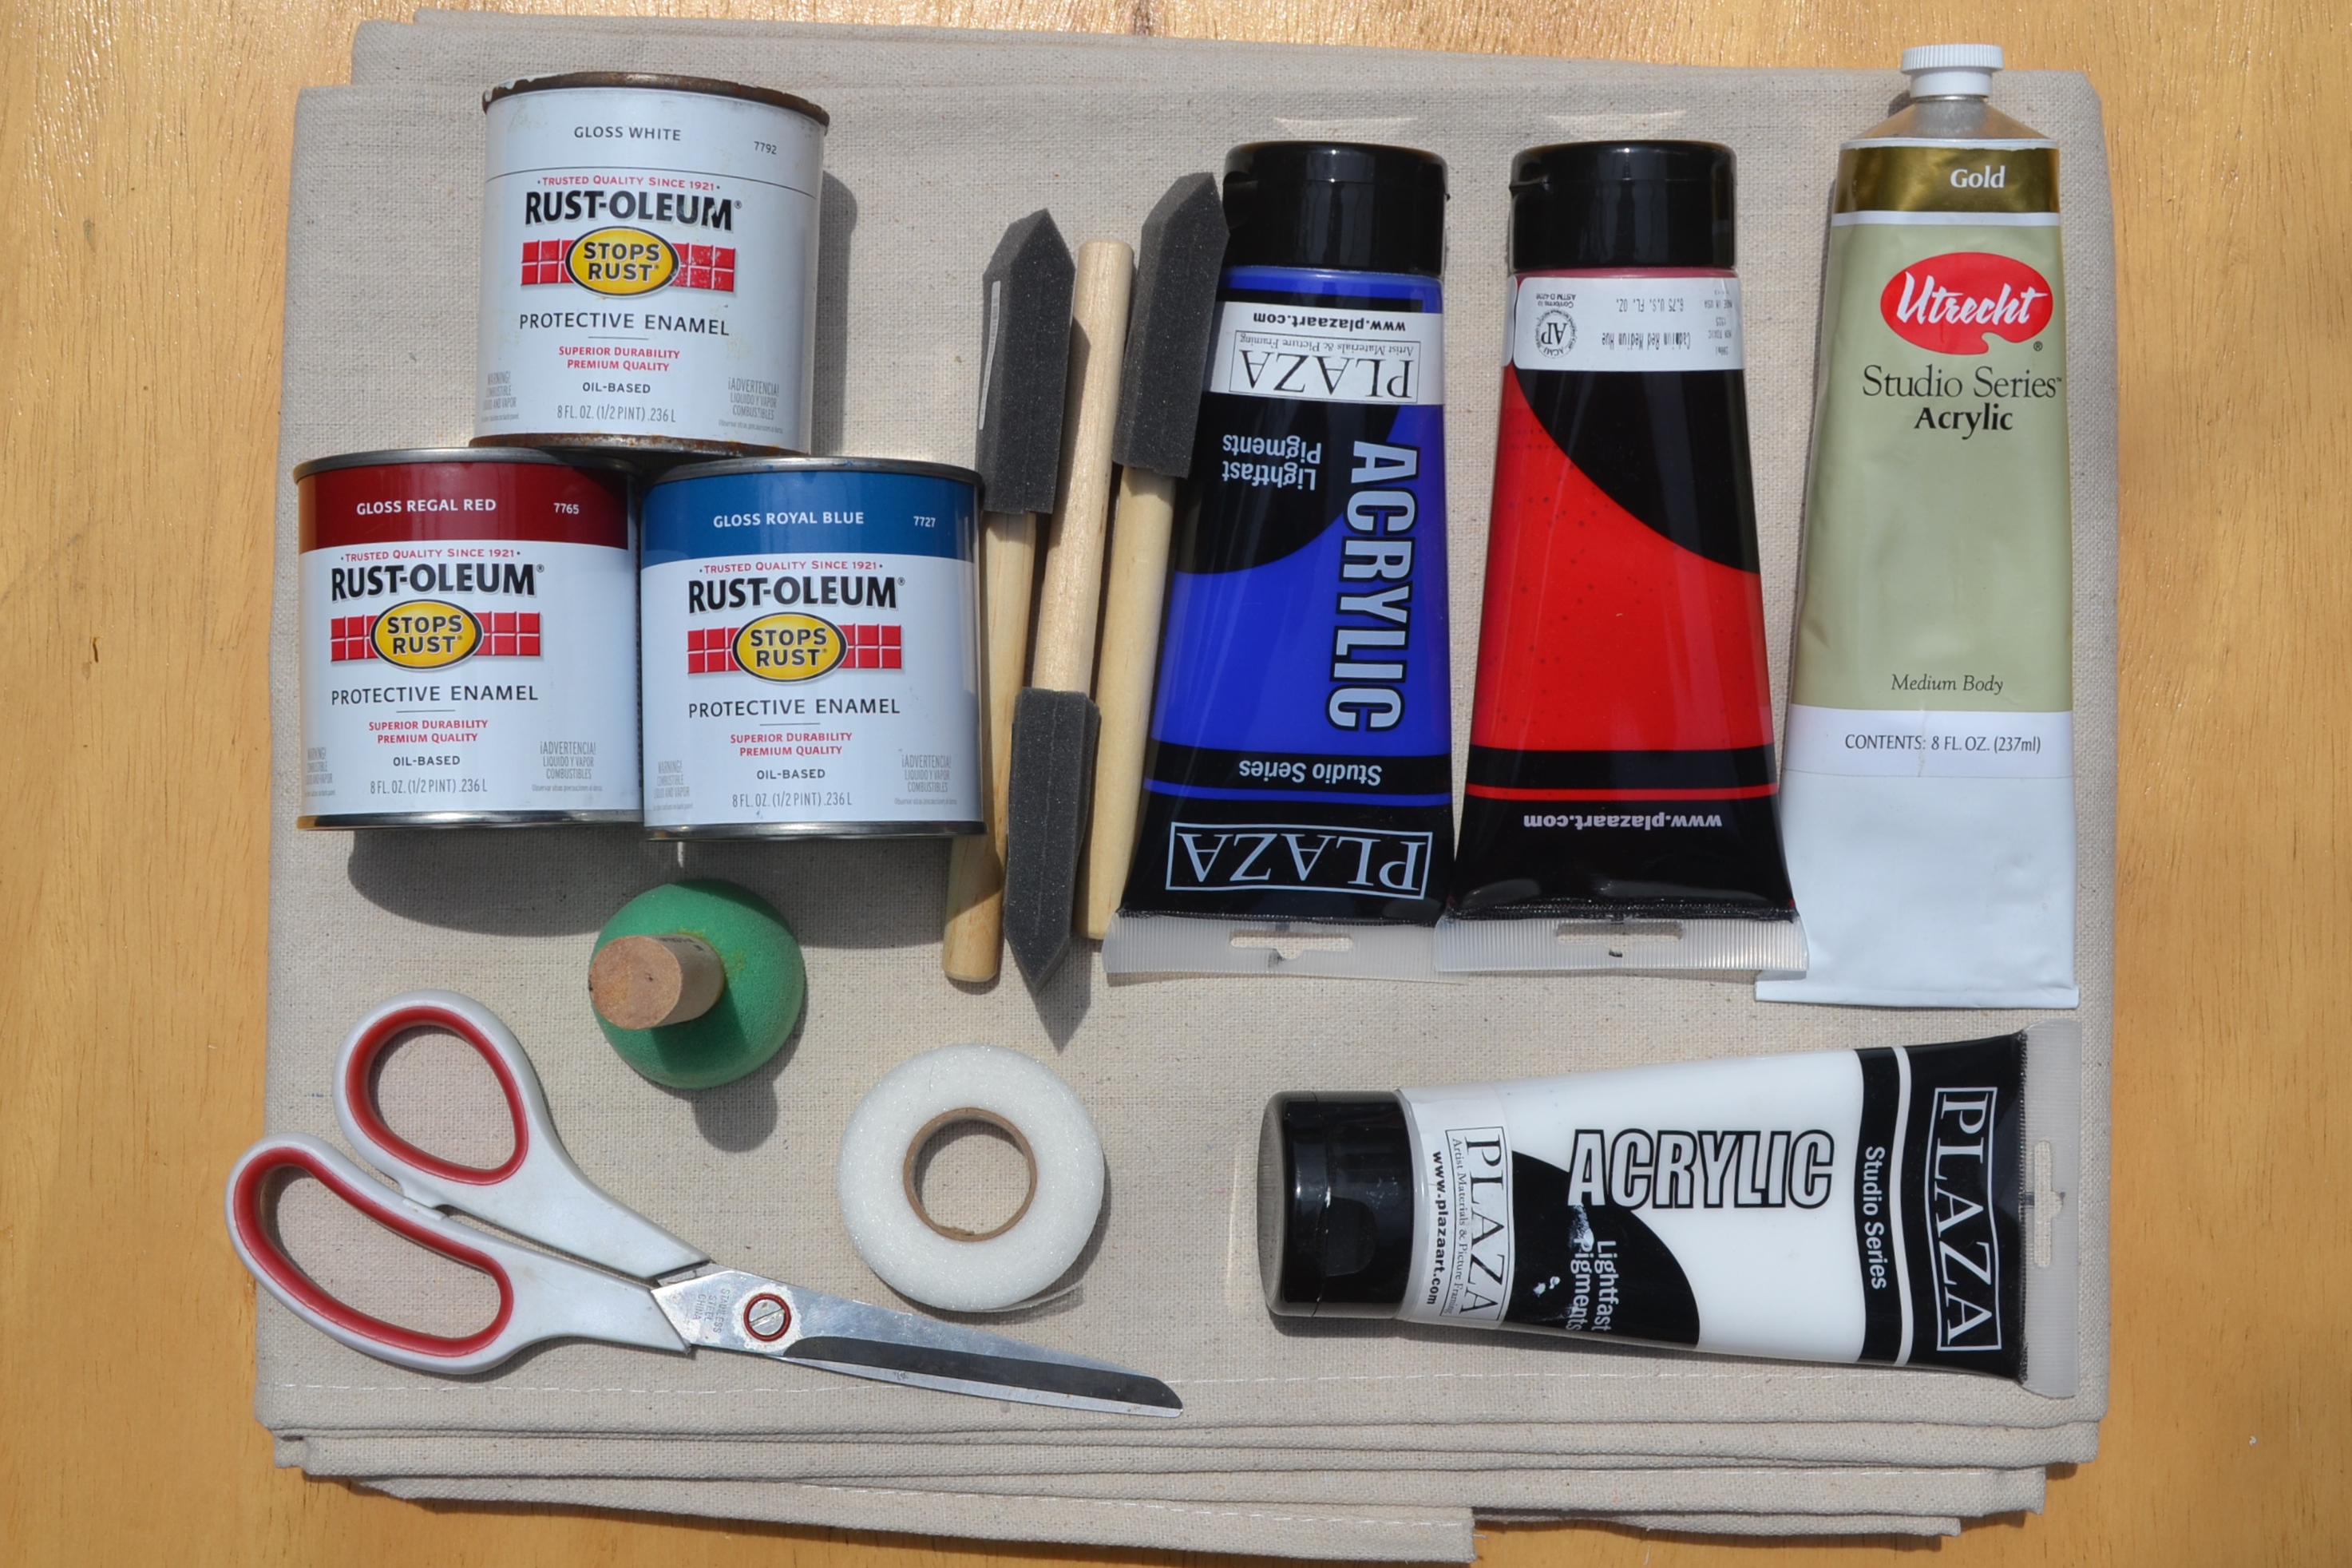
Supplies
- A lamp
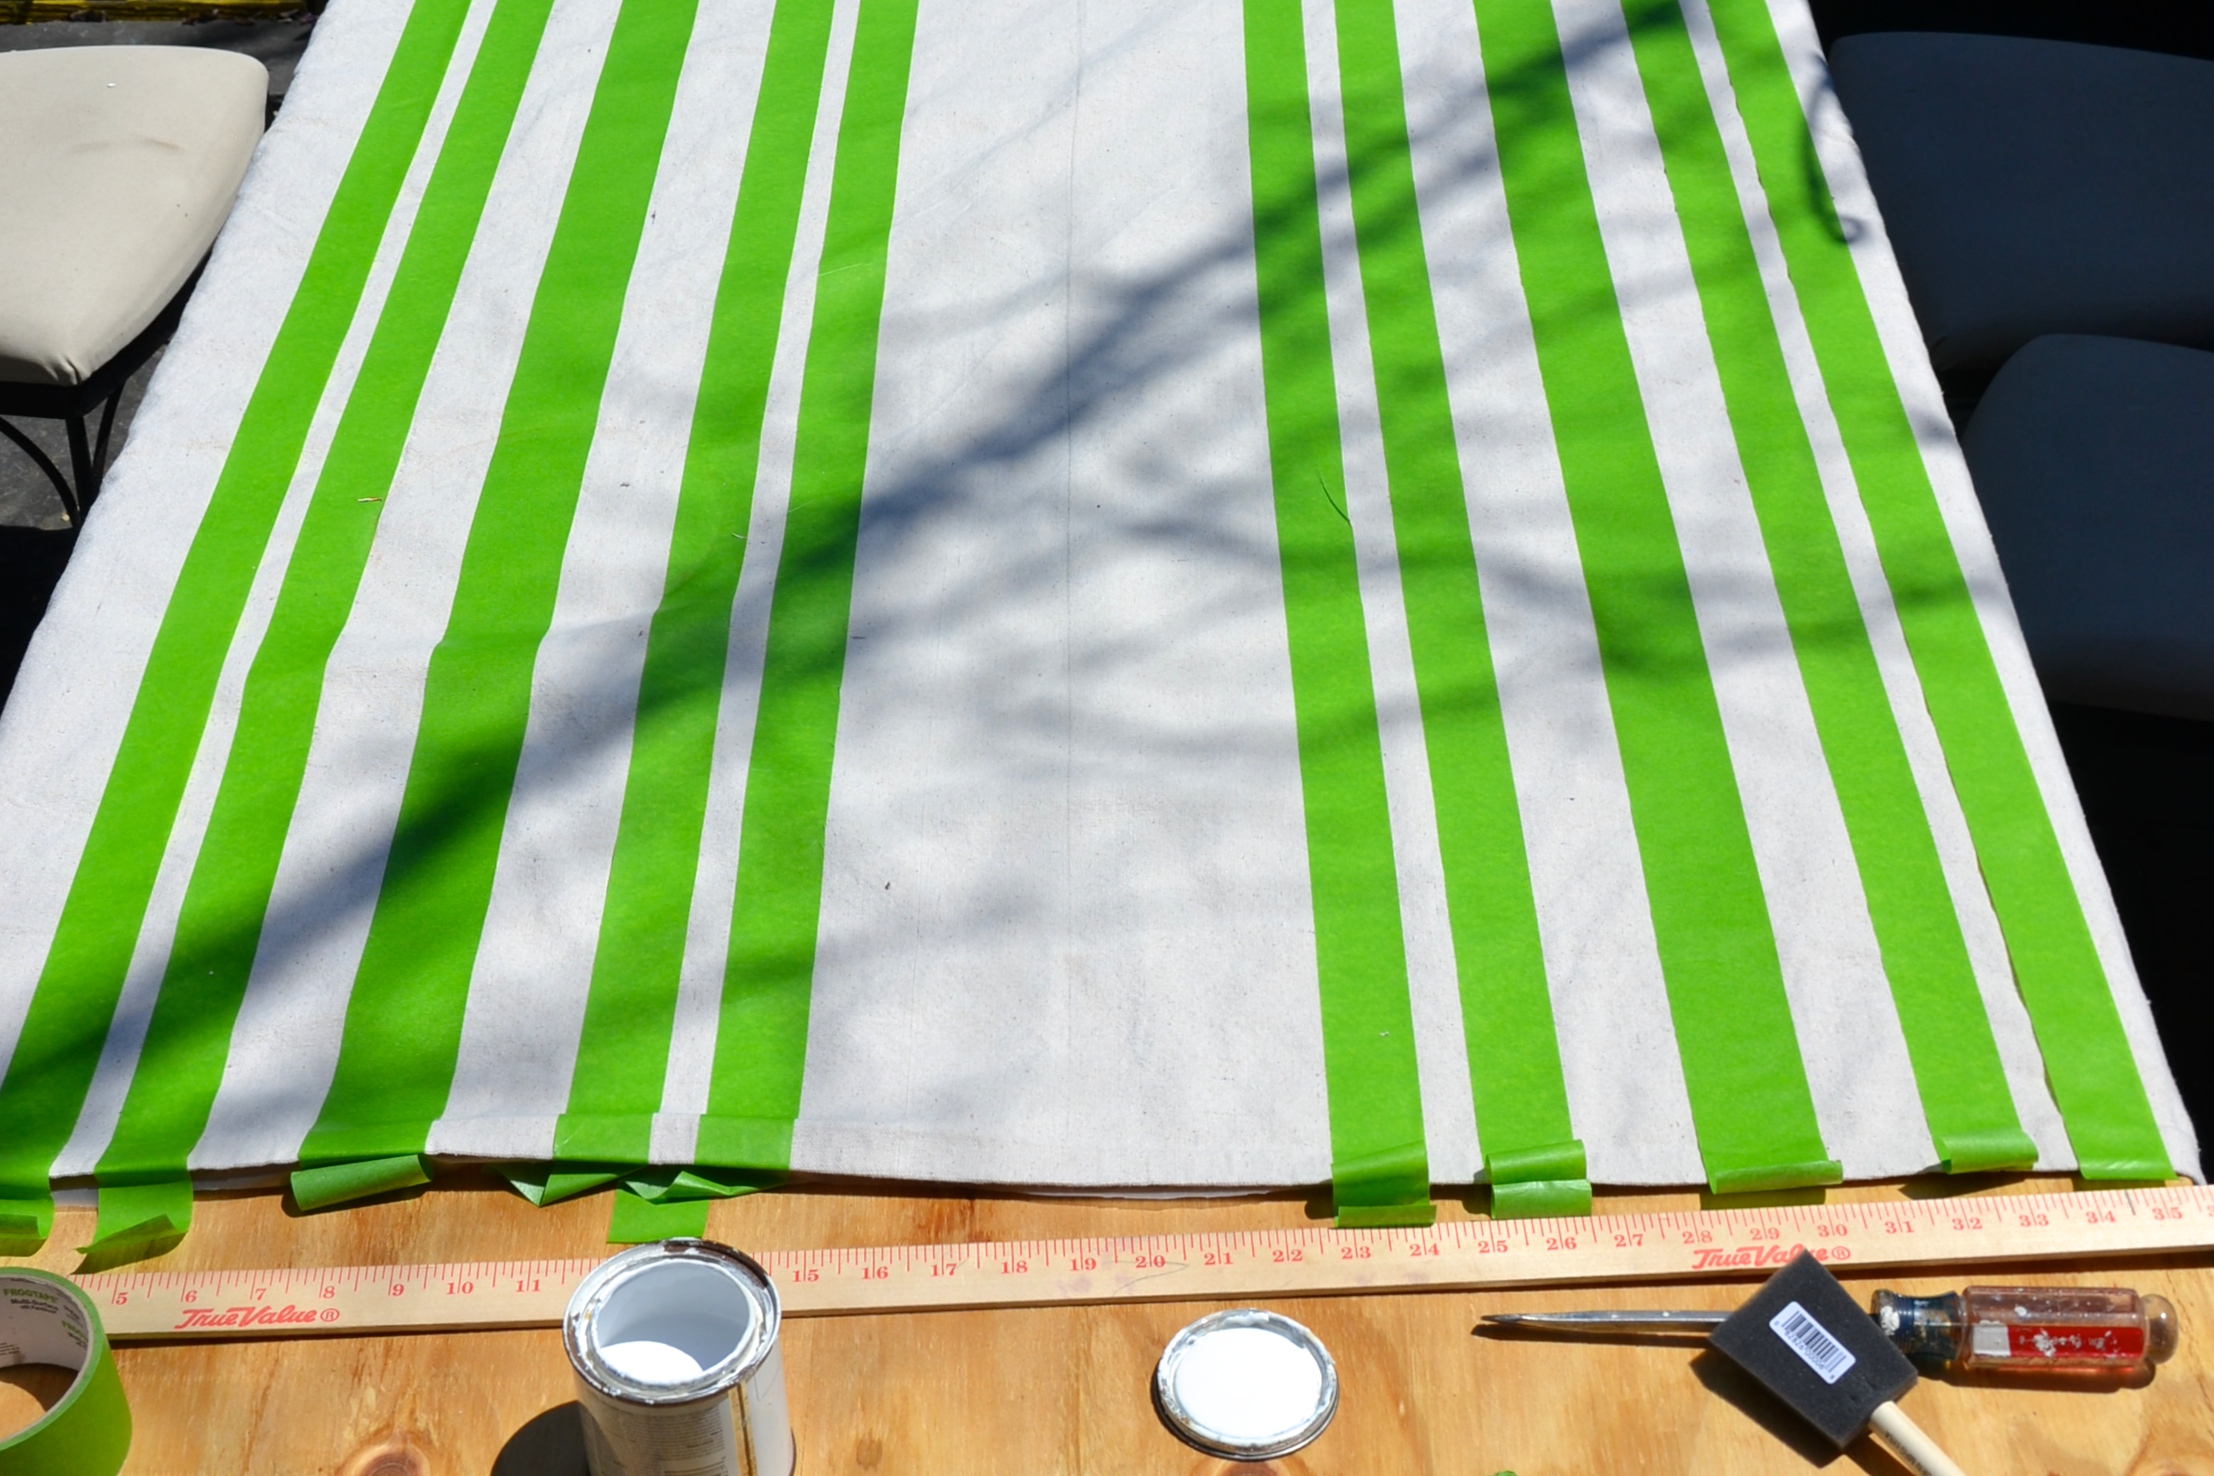
- Painter’s tape
- Primer suitable for metal
- Spray paint – I used Rustoleum Painter’s Touch in Meadow Green Gloss
- Spray lacquer – I used Rustoleum Specialty Lacquer in Clear
First I cleaned the lamp with some dish soap and a toothbrush, dried it really well and then left it in the sun for a bit to dry any drops I missed. The spray paint won’t stick if there is any moisture. Once I was sure it was all dry, I taped off the socket and the cord and primed it. I put on two light coats. I was thinking of three, but the spray paint is paint+primer, so I figured two would do it. I waiting about 15 minutes between coats and it seemed to work fine.


I covered the primer with three light coats of green spray paint and then two coats of lacquer.


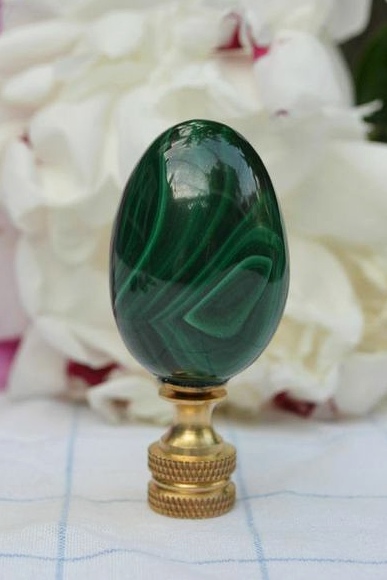
Luckily I had a shade that fit and all of the paint except the green, so it was a really inexpensive project. I used one of my finials – a malachite and brass one – that looks great with the green.
I have vague plans to de-Ikeafy our bedroom. That’s a project for another day, but I thought the lamp could be a good start to sprucing up at least the bureau wall. This is what we are working with. Not bad, not amazing. Except the shell jewelry box that my dad made for my high school graduation, which is amazing.

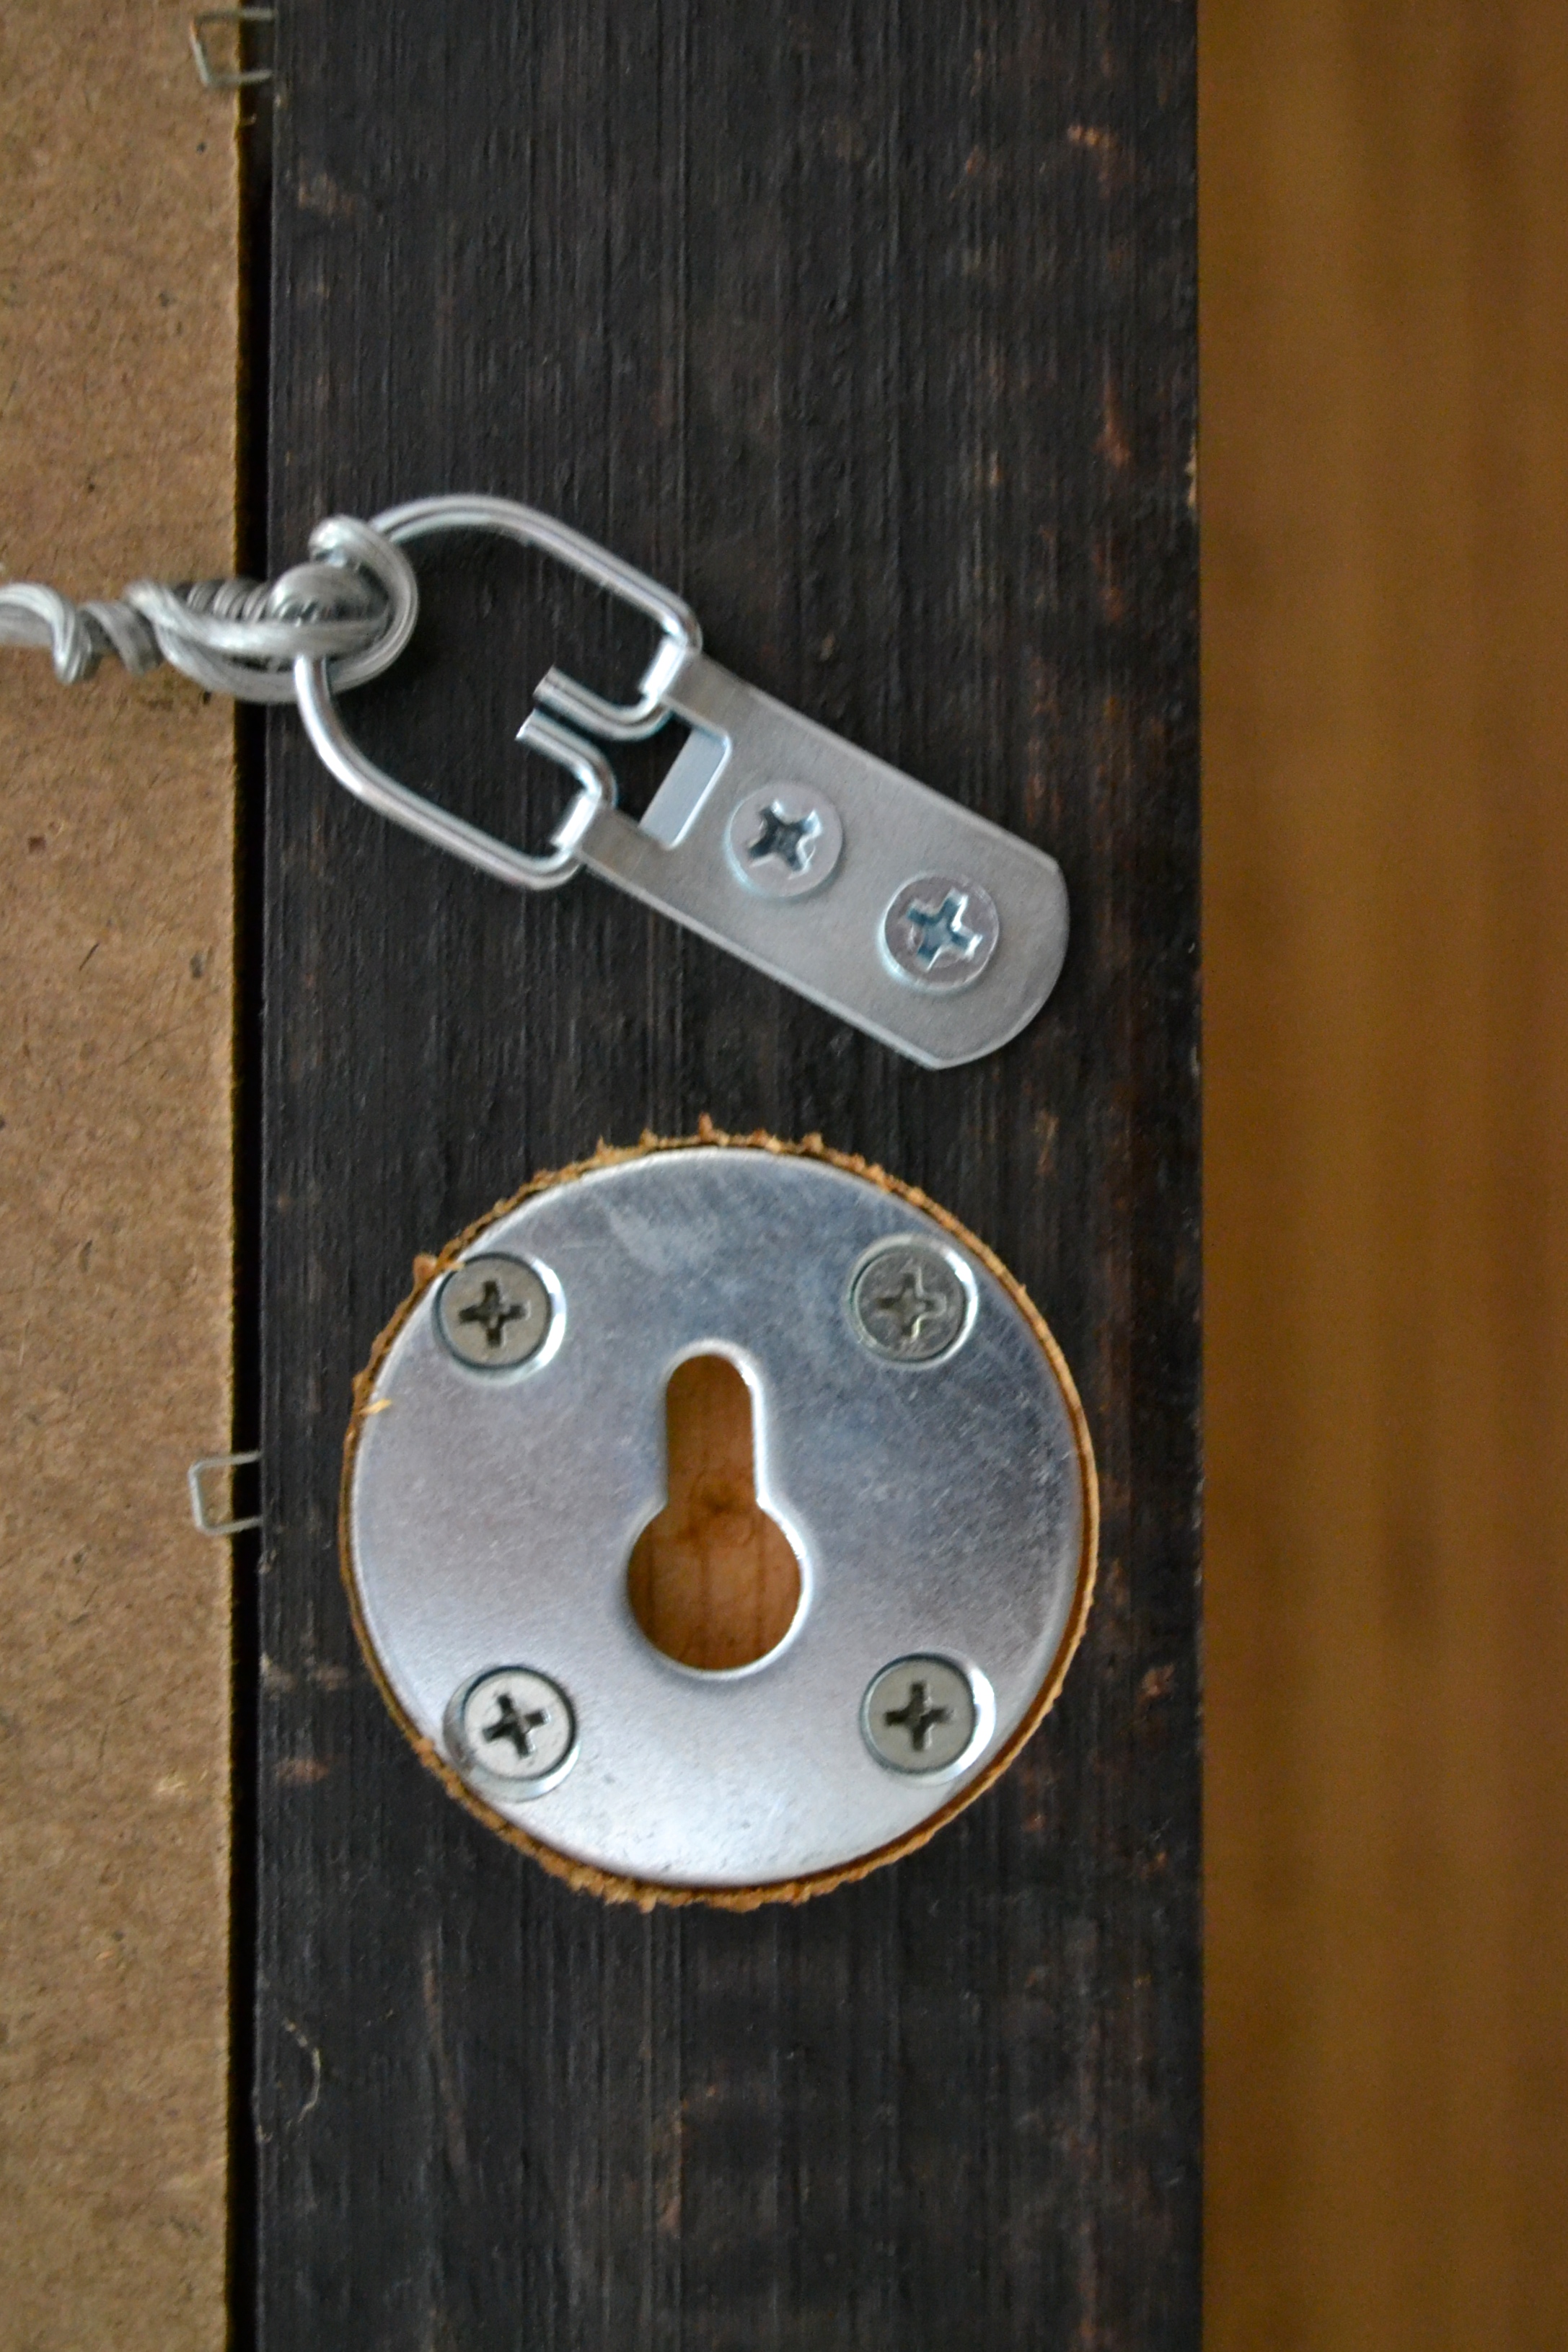
Moving on to the bureau situation, the most difficult part was hanging the mirror, which is a heavy beast and of course, the hangers on the back don’t have the same spacing as the studs in the wall. I got Sam to find the studs for me because he is just generally more careful and I decided I would rather take a shower. He put two heavy duty screws into a couple of studs for me, I added two larger picture hangers to the back of the mirror and then hung it up.

Much better. The bad brass is all gone and at that wall is at least a little more interesting.

I replaced the cardboard box and plastic Revere bowl that Sam keeps his stuff in with a not-plastic Revere bowl, and moved the 100k of his business cards that end up in there into the study. I purged the weird stuff that ends up in the stuff bowl on my side too. And those bowls? Yours truly won Most Improved July 1995 and 1996 in sailing class. Actually kind of embarrassing. Let’s not talk about July 1994. As I recall there was a whole lot of crying.


And my extremely cute sisters (they have since grown up a bit and are now extremely accomplished and beautiful women) and really cool parents (they look basically the same now):

The orchid came in a purple pot, but a few coats of gloss white spray paint made it look way better. A few pictures of family and our honeymoon and we are in a much better place.

XO,
Julia