Fourth of July Tablecloth

Fourth of July Tablecloth by Just Something I Whipped Up

It’s almost the 4th of July!  I love the 4th because it means the summer is about to really hit its stride. This year, before we head to HP, I wanted to have a little pre-fourth cookout with our friends in DC. I decided that a festive tablecloth would be a fun project without going overboard.  It was a pretty easy and inexpensive project that can be changed for any party.

Tablecloth Supplies Supplies:

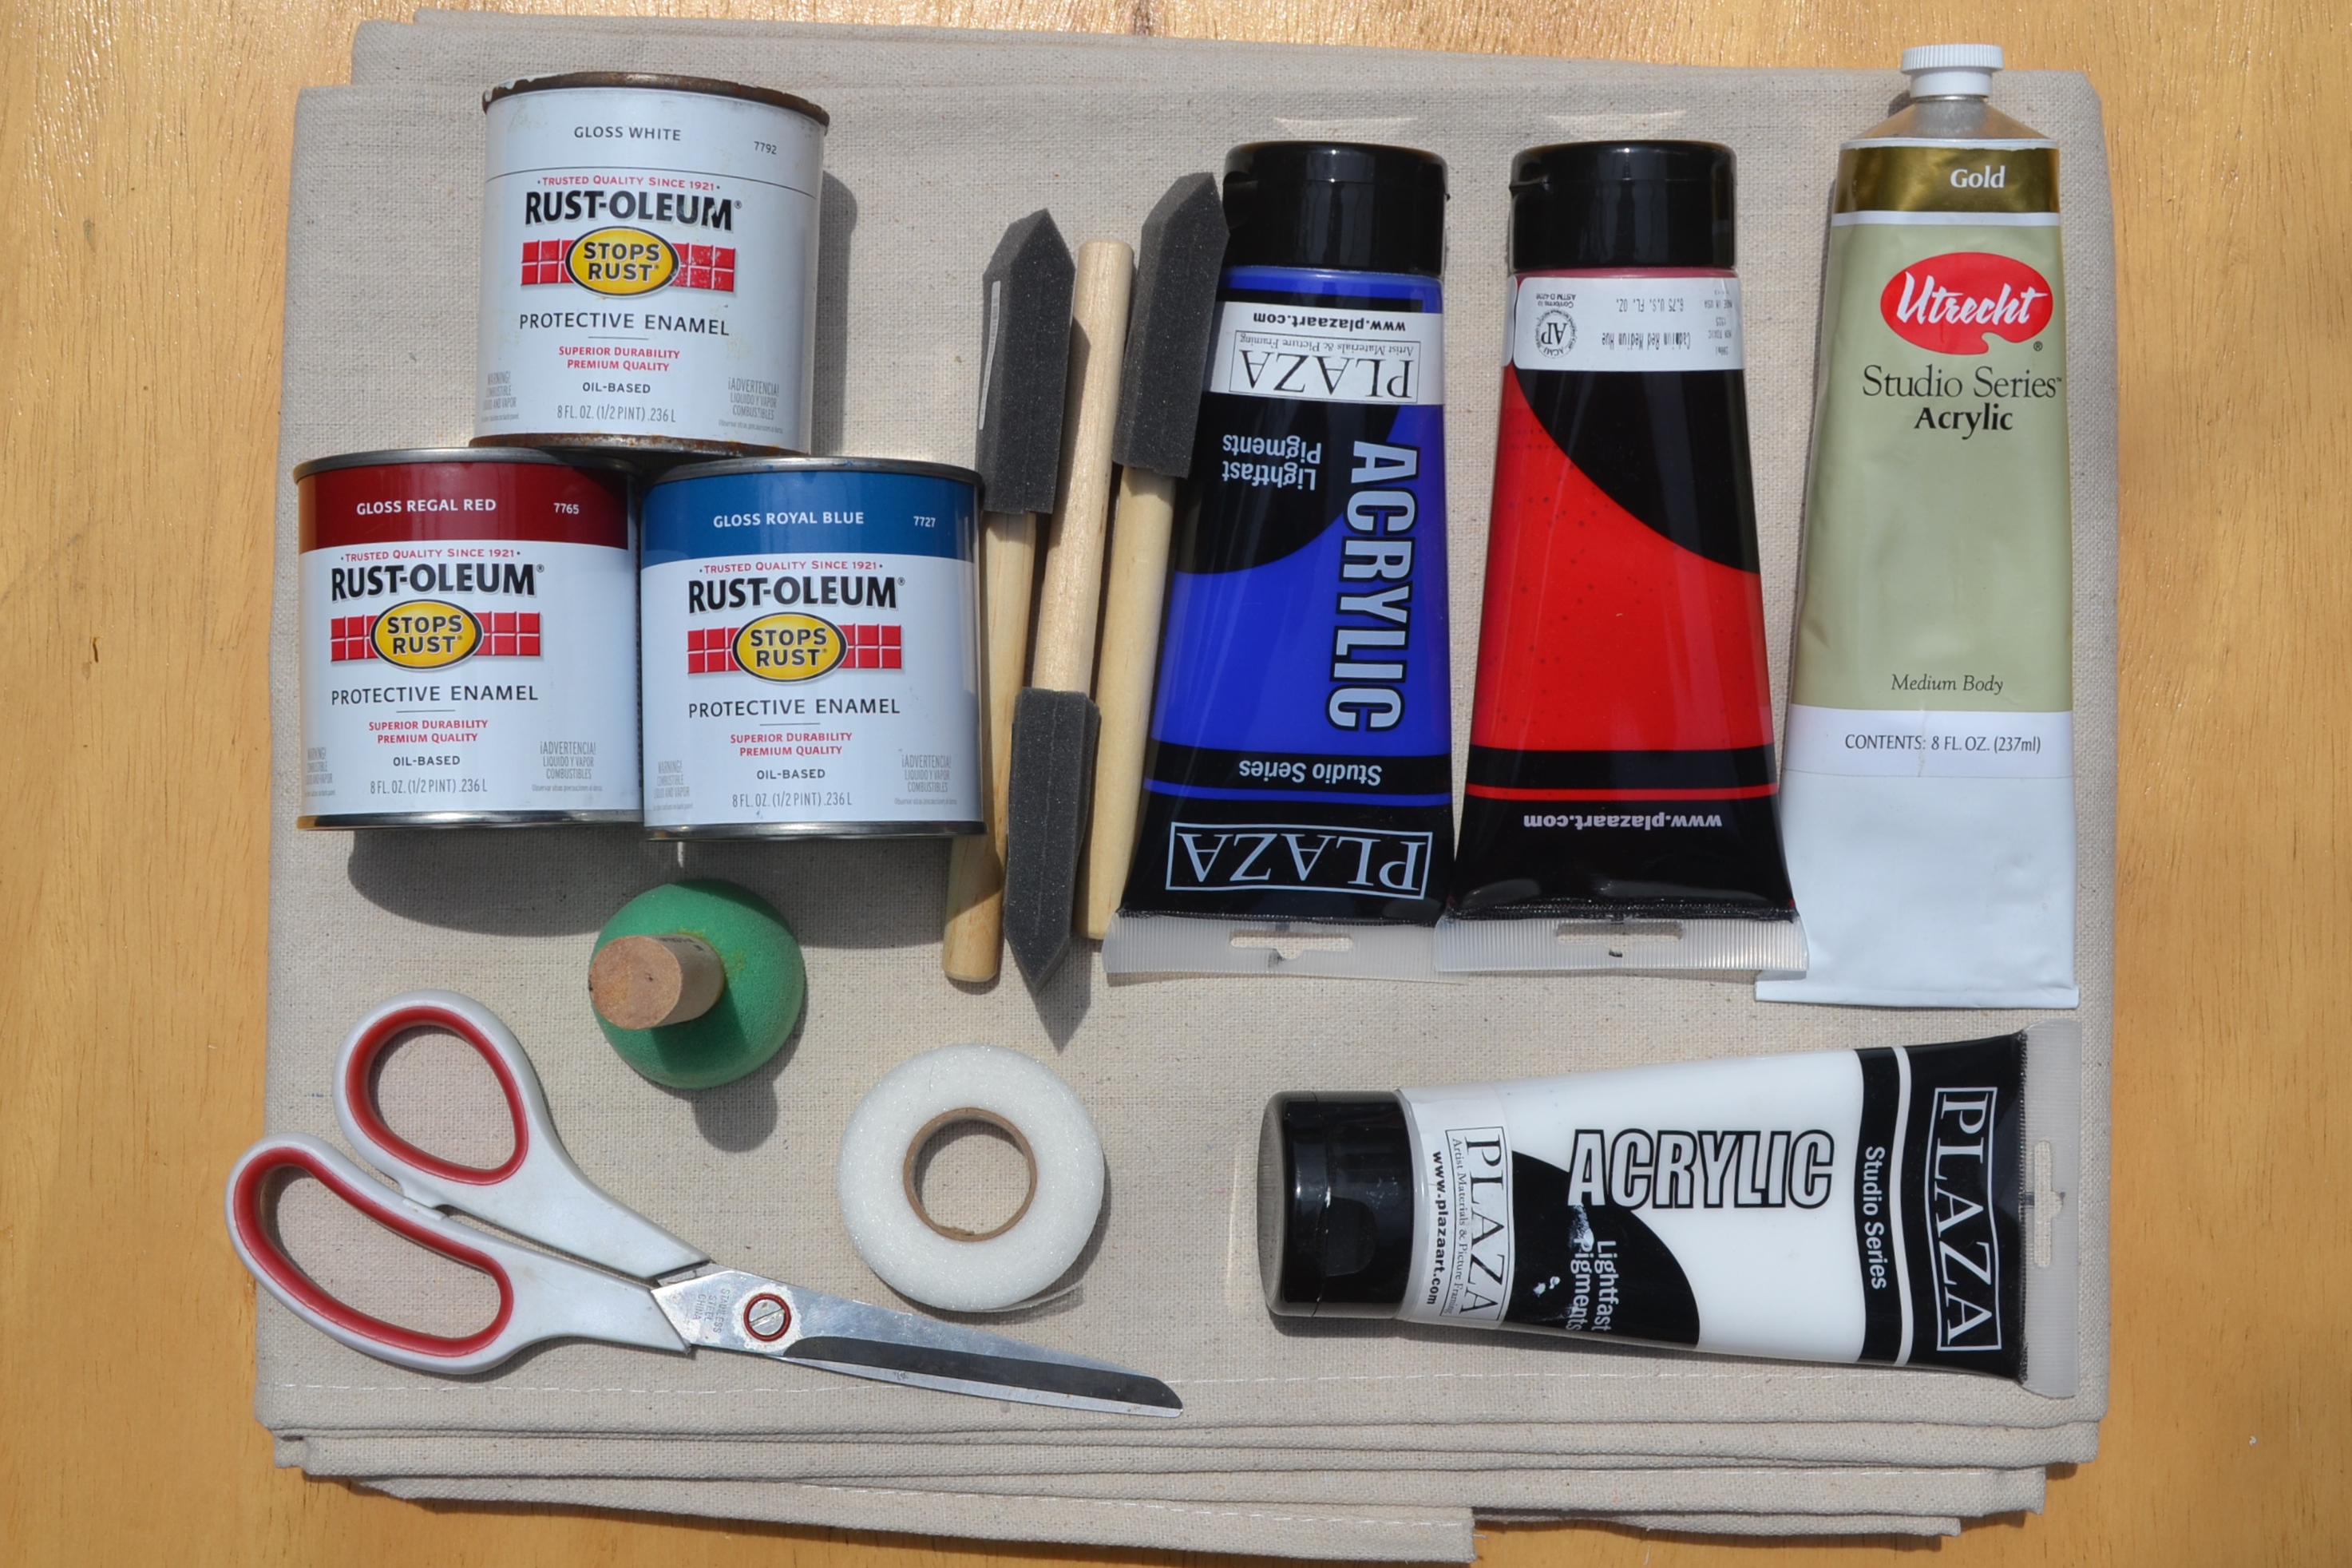
  • Canvas drop cloth. I got this one in the 4’x15′ size so that I can make three.
  • Scissors
  • Stitch Witchery bonding tape
  • Iron/Ironing board
  • At least one roll of painters tape, depending on design
  • Newspaper or plastic sheeting
  • Yardstick
  • Foam brushes and/or a pouncer (I swear it’s a thing). For oil paint, get one per color.
  • Paint. I went with Rustoleum oil paint because it was all our local hardware store had and it ended up working perfectly.  I grabbed some acrylic gold, red, white and blue that I already had just in case.
  • Cardboard

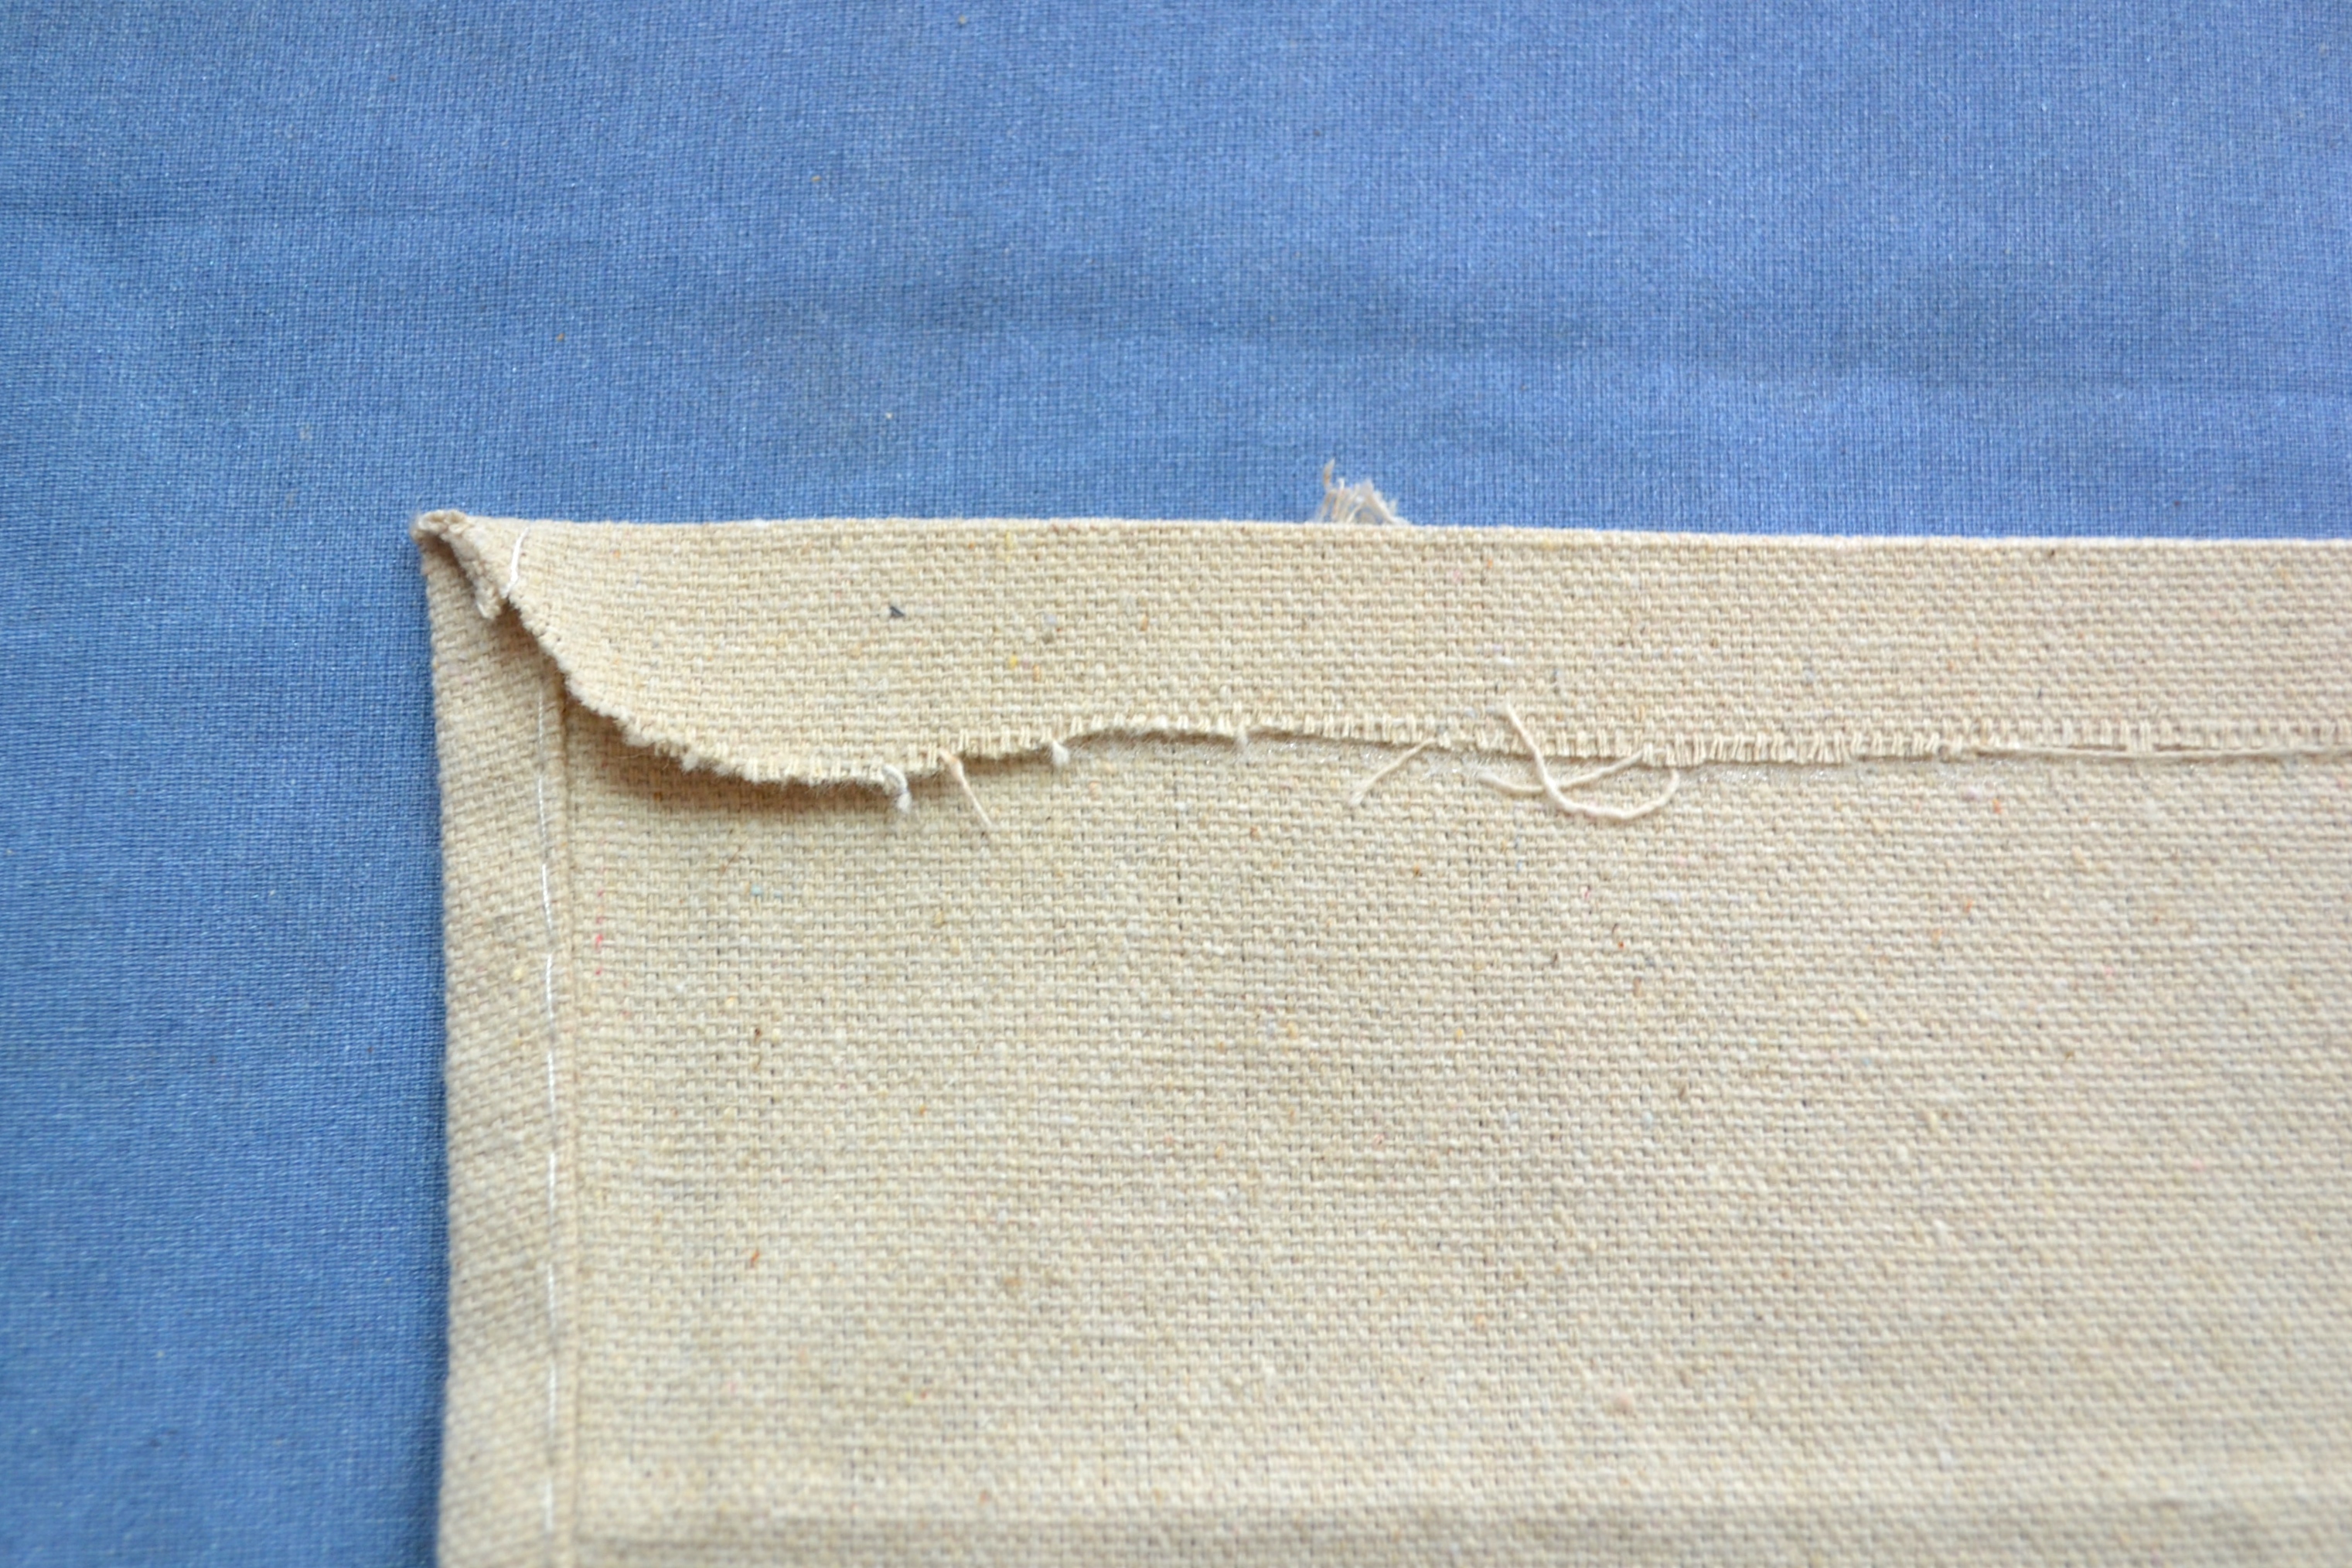
First, measure the table and cut the drop cloth down to fit.  I got a drop cloth specifically to be the right width for the table so that I only had to hem one side.  Make sure the line is generally straight across, but don’t go nuts making the cut perfect since you will be hemming it. Next, hem the cut side.  If I had a sewing machine, I would have used that, but stitch witch is a pretty great substitute.  First, fold the side to be hemmed over and iron flat.  Then lay a strip of stitch witch under the flap – see top left picture.  At this point, if you are not me, your iron won’t start randomly turning off and on and the rest of the ironing parts will be a breeze.  If you are me, this simple project will turn into one which requires the patience of a nun.  Which I definitely DO NOT HAVE.  Anyway.  Using the hottest setting on your iron, slowly run the iron over the flap until the tape melts and fuses the sides together.

Stitch Witch Fourth of July Tablecloth by Just Something I Whipped Up

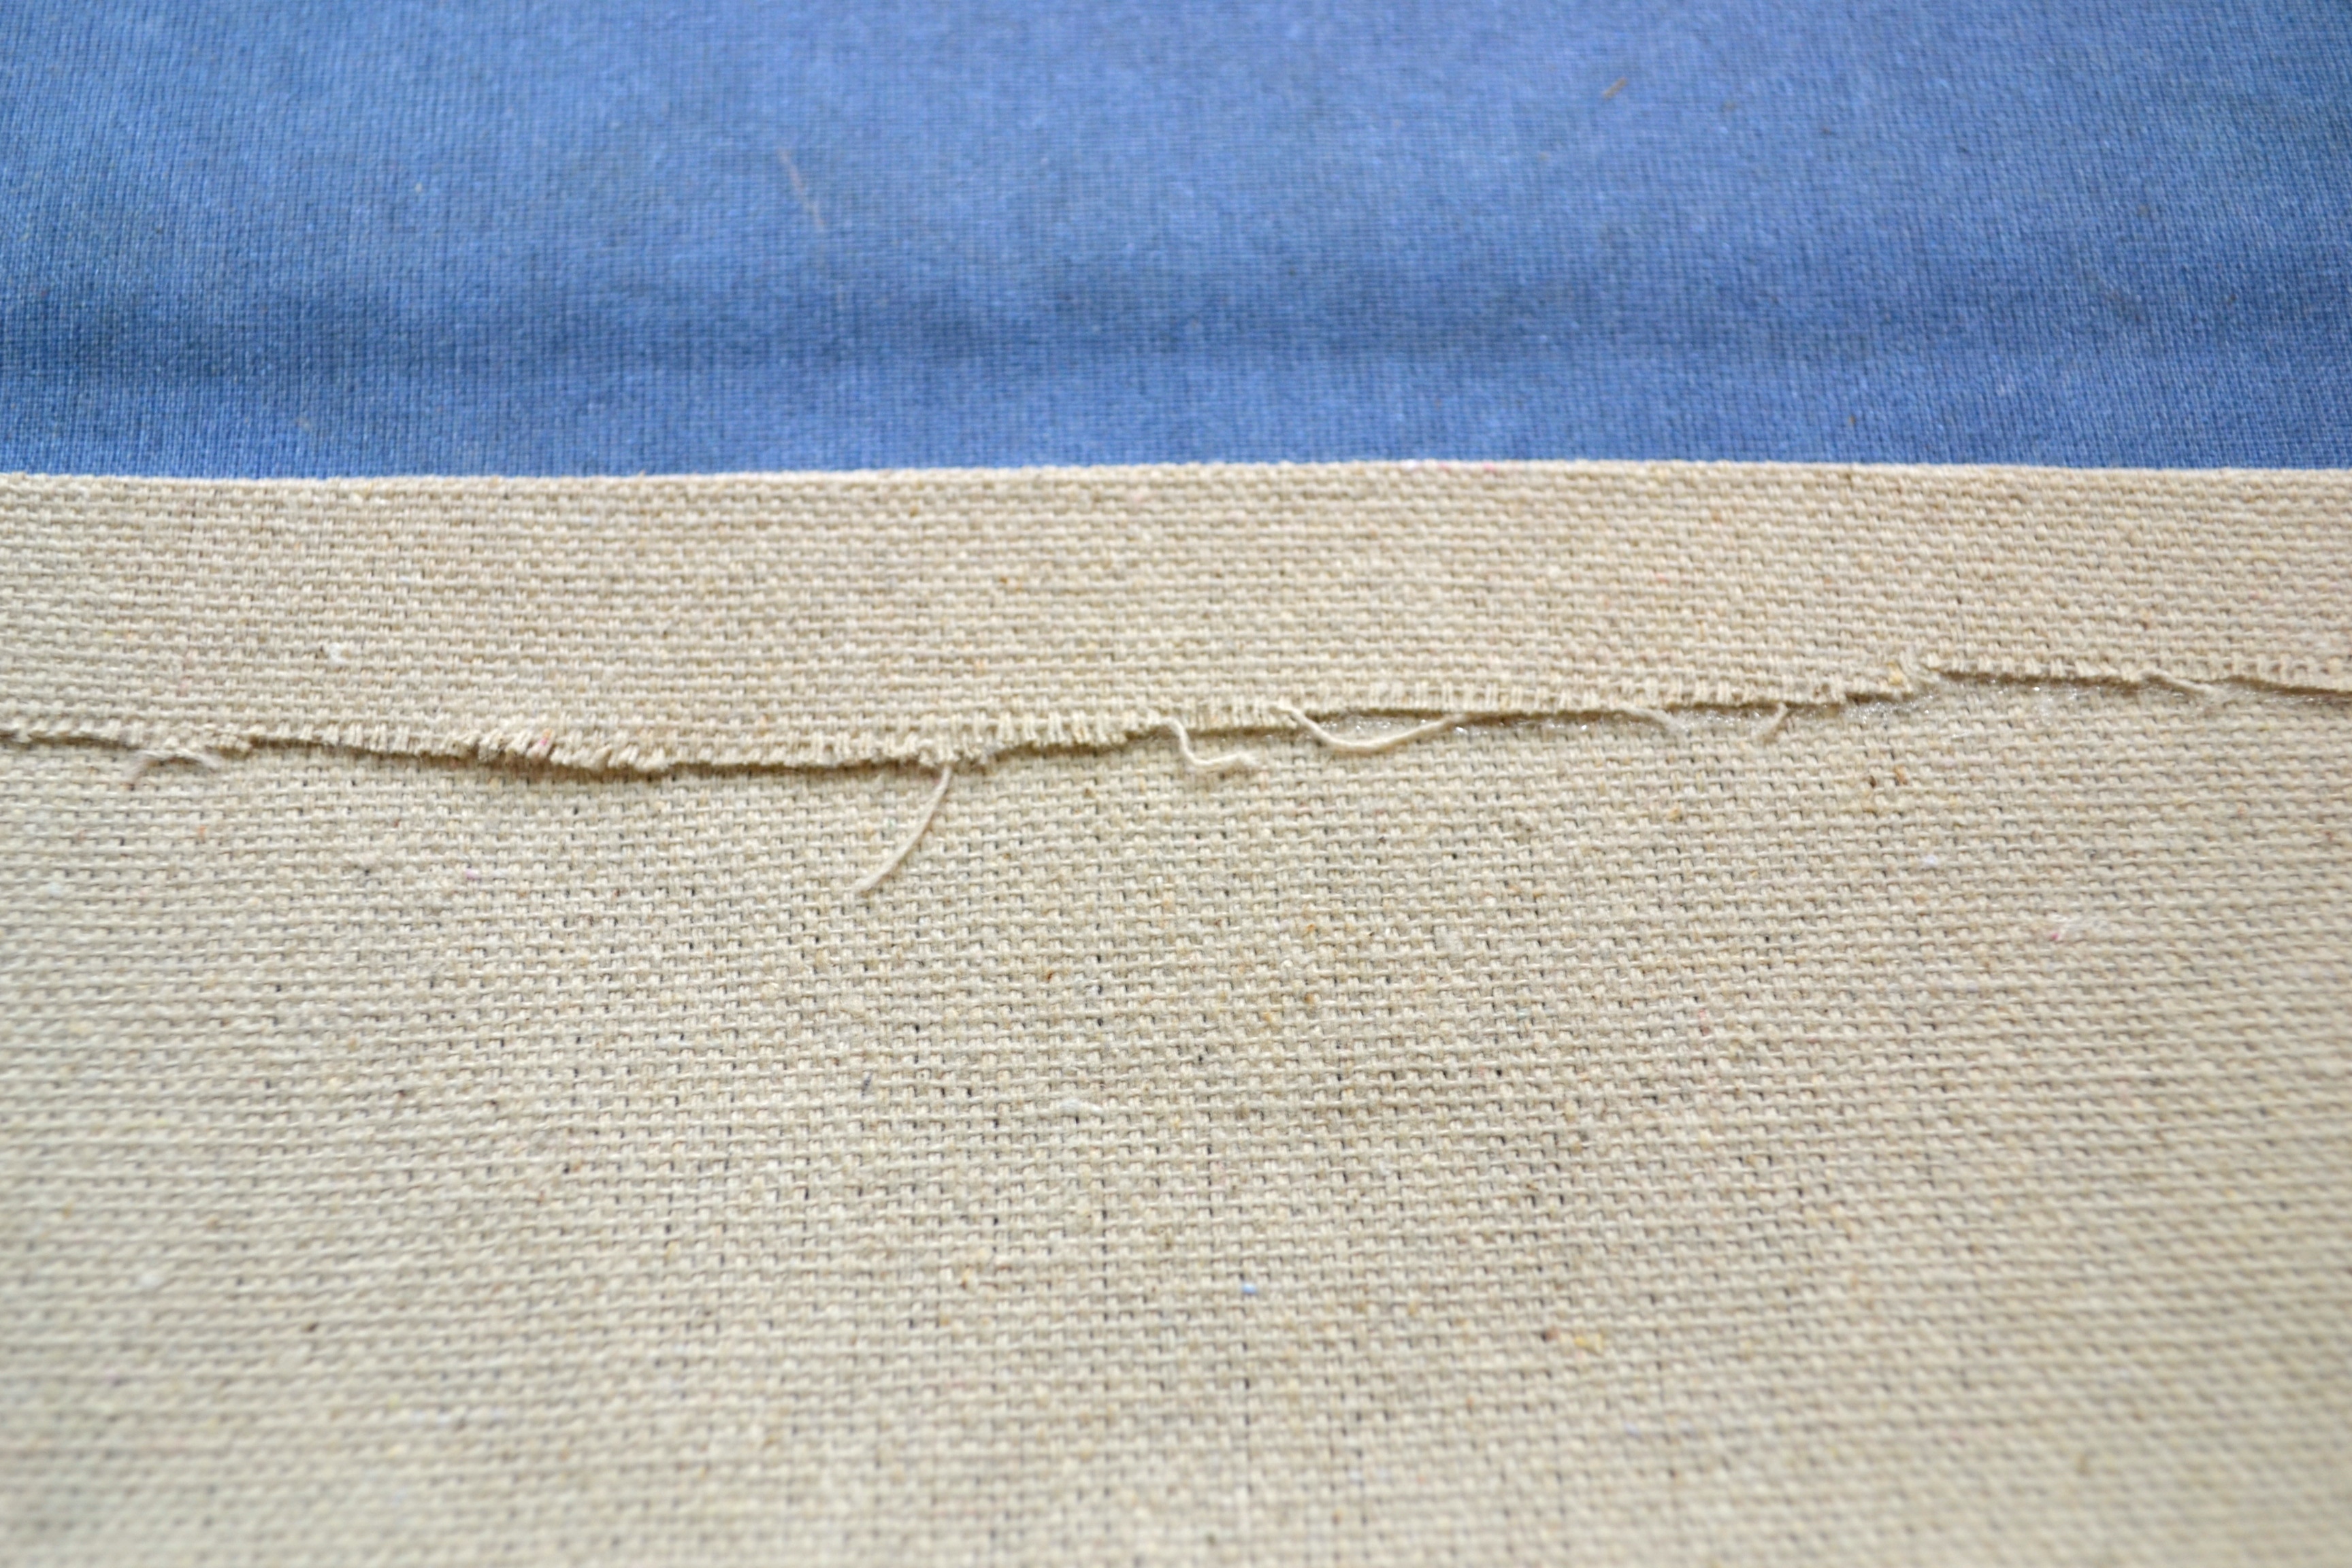
Then snip the very ends at an angle and fold the newly-hemmed part over and repeat the preceding steps to get a nice neat hem.  It will take a lot longer for the tape to melt on the second pass because there are more layers to get through, but it will melt, don’t give up.

Cut Corner Fourth of July Tablecloth by Just Something I Whipped Up

Let the hem cool for 10 minutes and then put the drop cloth through the washer and dryer to soften it up. You can skip this step, but the resulting tablecloth with be much stiffer and won’t drape over the table as well.  Once it is dry, iron it (the damn iron again…).  At that point I folded it in half the long way and made a small crease to mark the middle.  I ran a pencil over it so that it would be easy to find later. Now for the fun part.  Lay the drop cloth out with newspaper or plastic sheeting under it on something large and flat.  The ground would be ideal if you don’t have a handy-dandy huge piece of plywood like we do.  Full disclosure – it is for drinking games. Not an adult.

Fourth of July Tablecloth by Just Something I Whipped Up

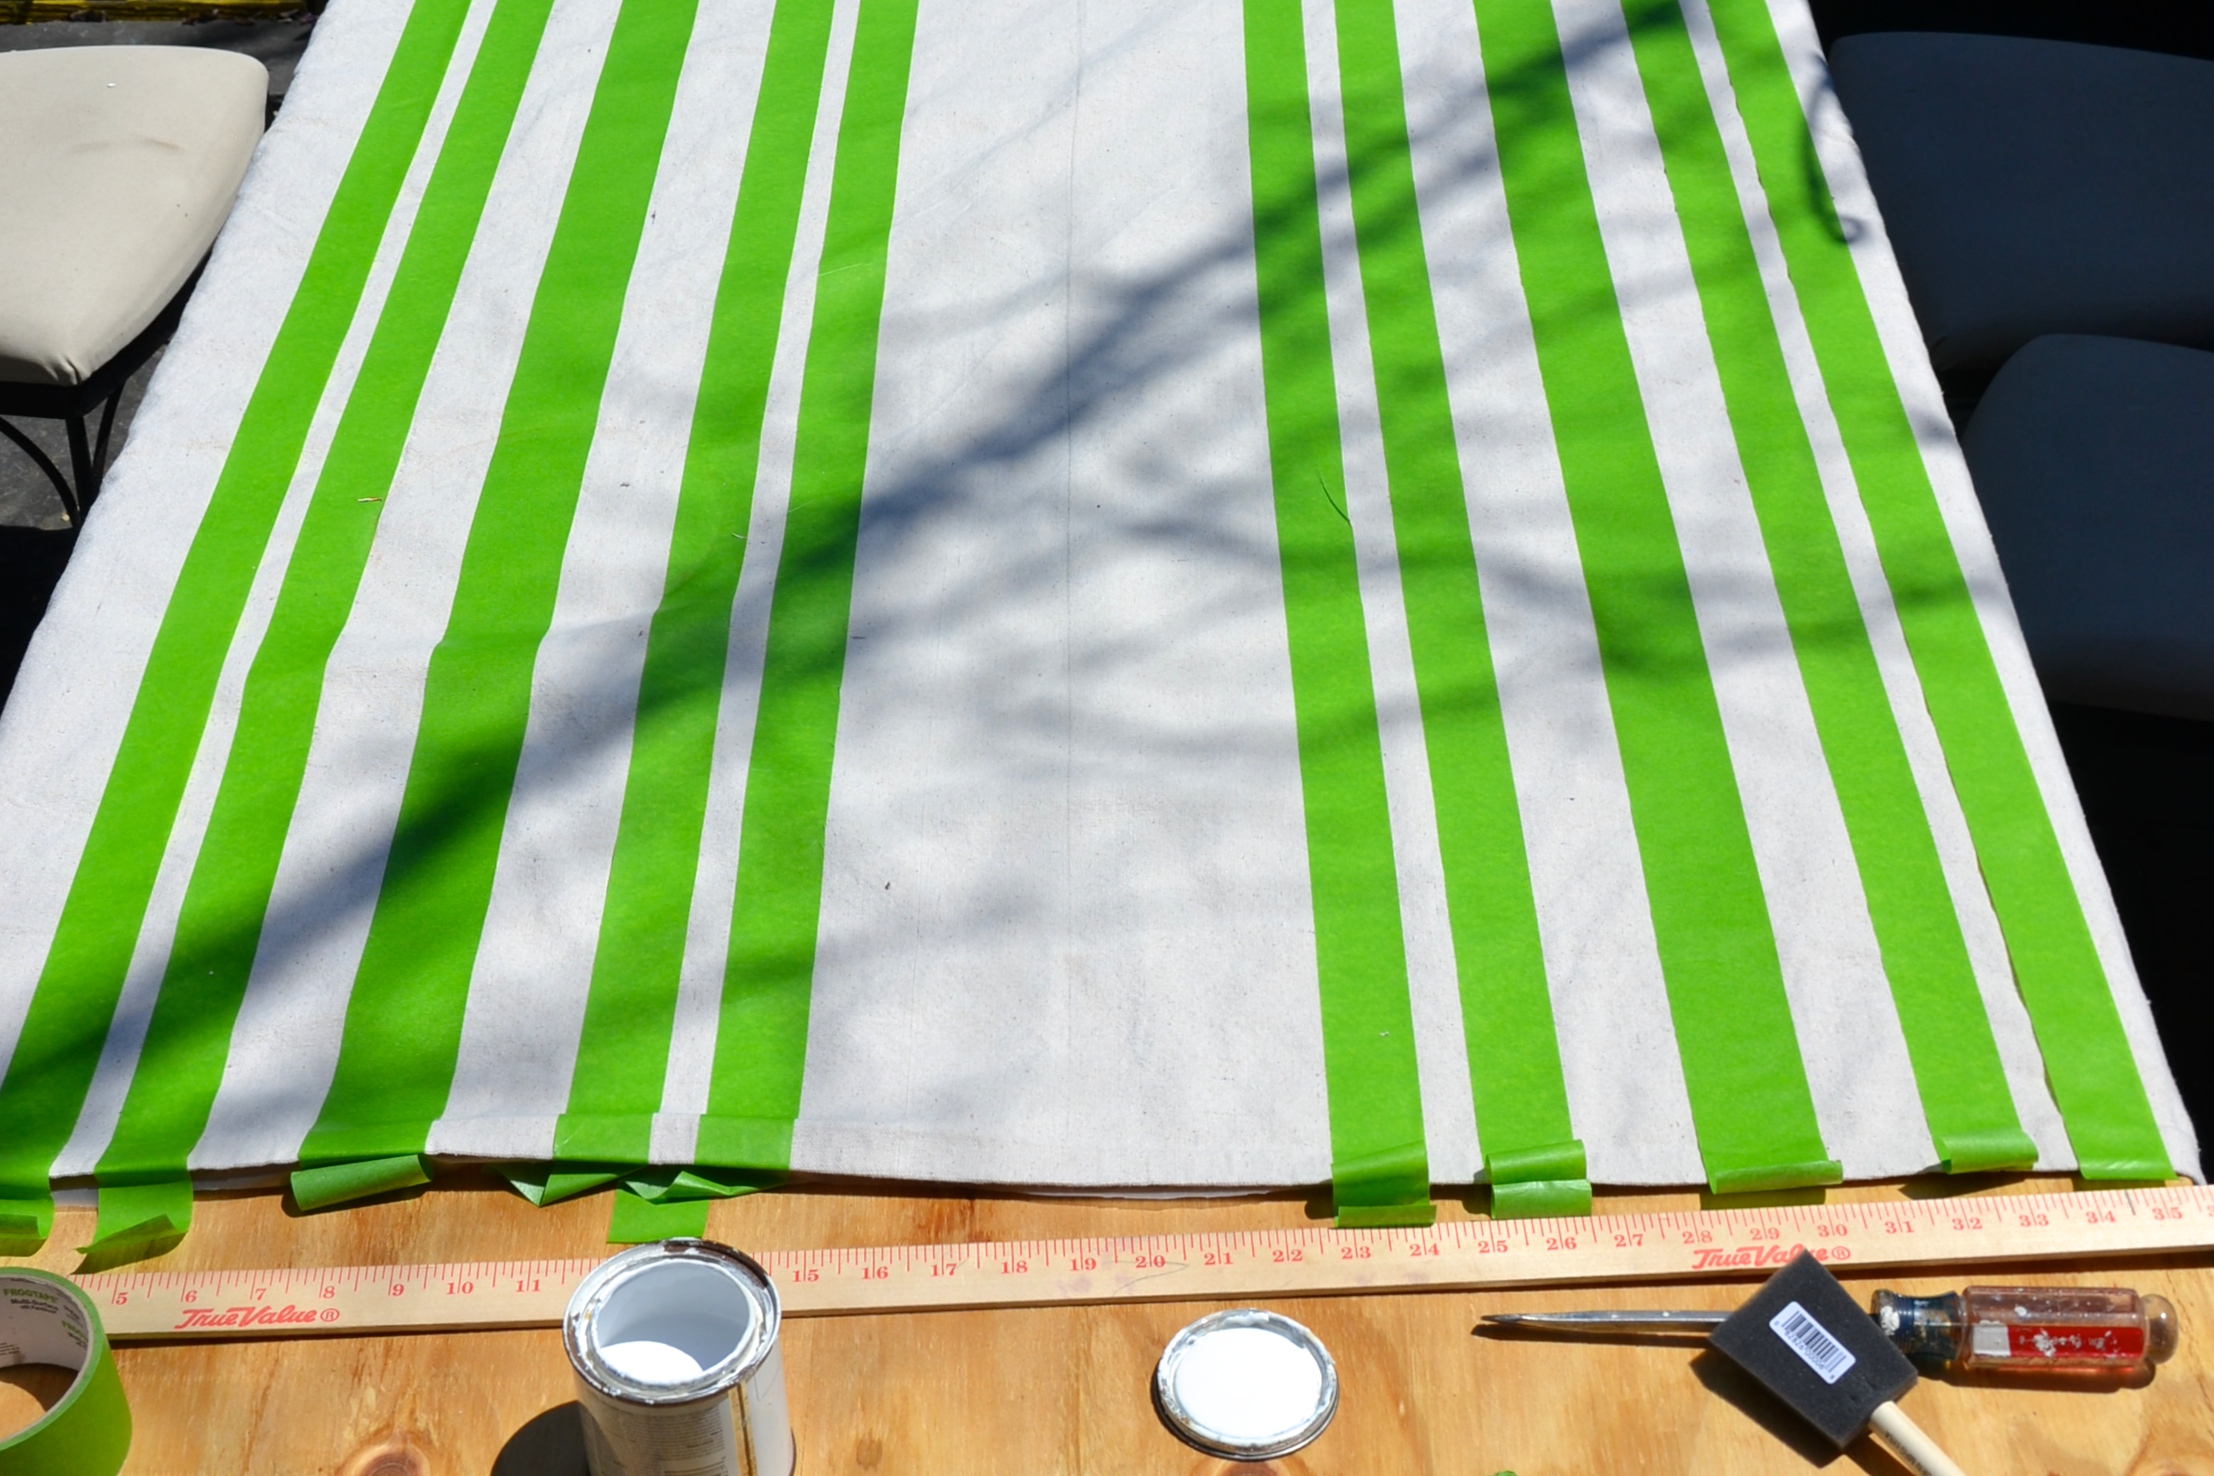
Once your drop cloth is all ready, use painters tape to block off stripes starting from the middle and moving out to the sides. I sketched mine out on paper in advance. I used the yardstick to make sure that the wide stripe in the middle was actually centered around the middle, but after that I just eyeballed the widths of the strips. I pressed that tape down as best I could. In the end it didn’t prevent all bleeding, but I like how it looks slightly freehand. At least for me, actual freehand would have been a wobbly mess.

Fourth of July Tablecloth by Just Something I Whipped Up

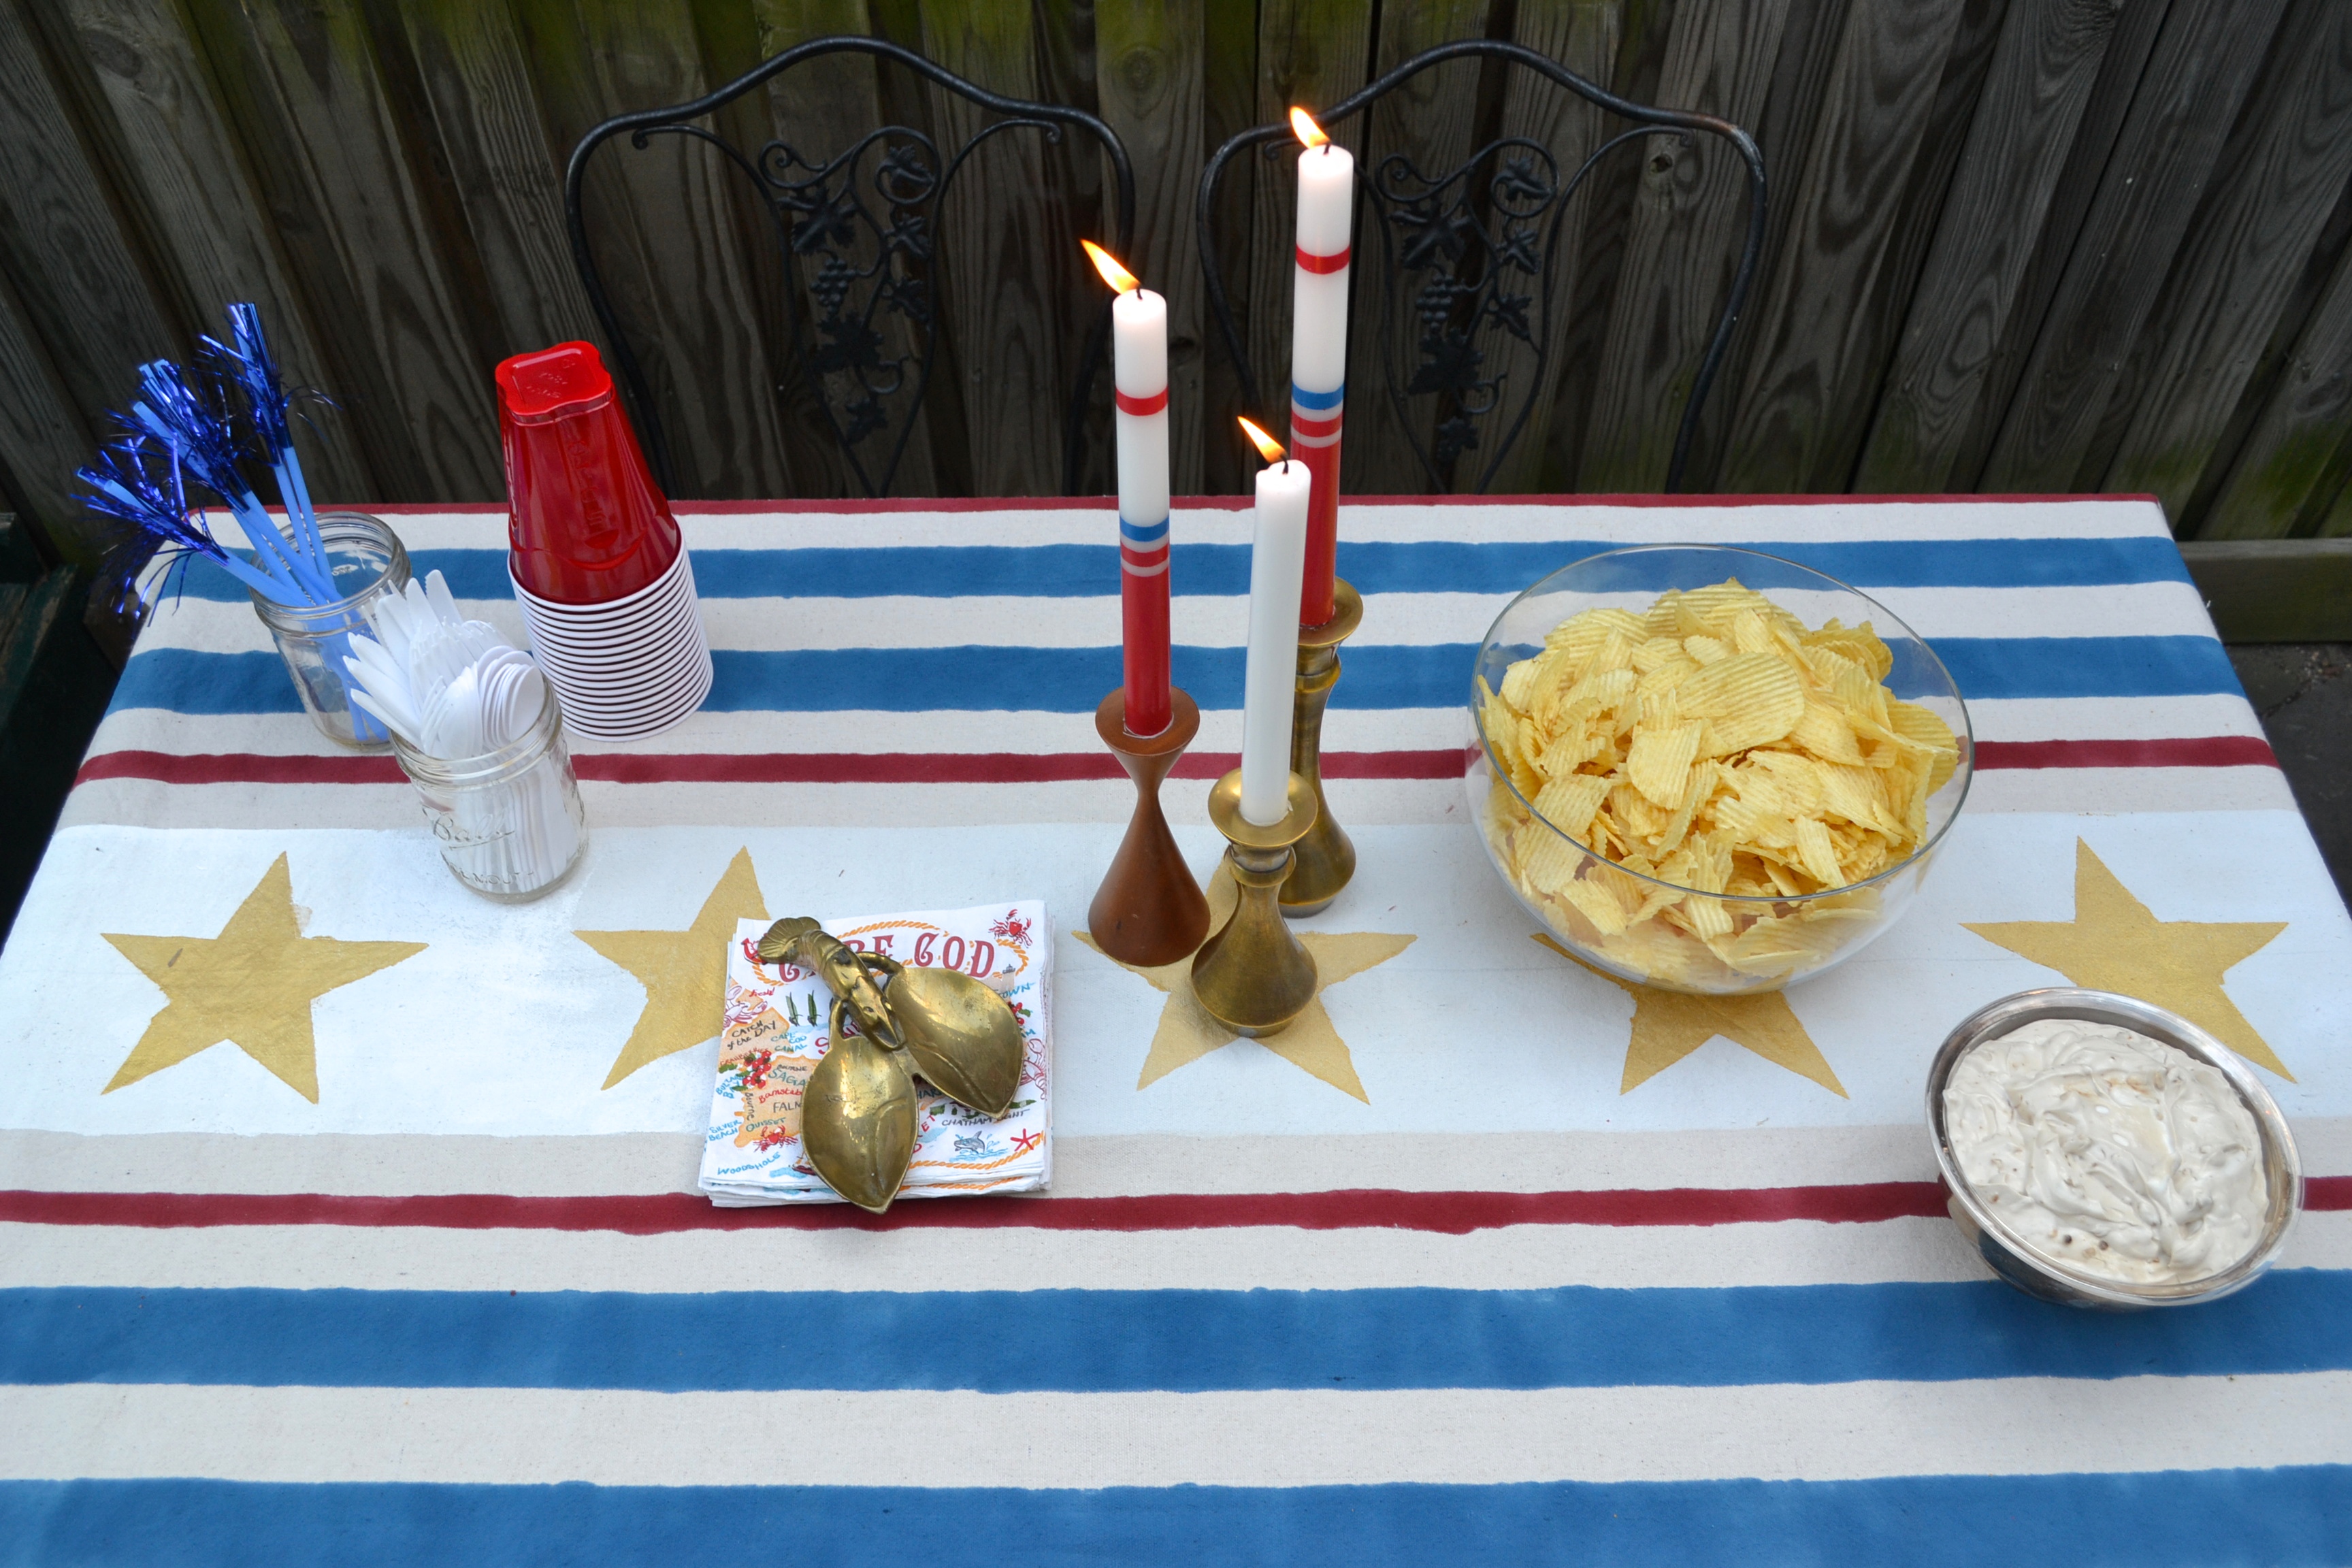
Once you like the look of the stripes, paint in the blank spaces. The cloth absorbs a lot of paint, so it is more dabbing than painting. I ended up sticking with the Rustoleum paint and only used the gold acrylic paint for the stars which I added once everything was dry.  While the paint was drying, I cut a star shape out of some cardboard (a frozen pizza box). Once it was ready, I used a foam pouncer and some gold paint to add stars down the middle. Pull off the tape and let dry.

Fourth of July Tablecloth by Just Something I Whipped Up Fourth of July Tablecloth by Just Something I Whipped Up

So there you have it. An easy party project that you can use whenever you need an inexpensive update to impress your friends. Now, like a blog party favor, I leave you with a close-up of my most recent and one of my most fabulous ($5) flea market finds. Thank you Eastern Market for my new brass lobster buddy. May I never again misplace the spare keys.

Fourth of July Tablecloth by Just Something I Whipped Up XO,

Julia

Screen Shot 2014-09-22 at 4.58.07 PM

Animal Head Clock Outta Control

                     Animal Clock by Just Something I Whipped Up Animal Clock by Just Something I Whipped Up

For my next trick, here is the clock I made for my sister Phoebe for Christmas last year.  It was inspired by this one from P.S. – I Made This… with a few twists. Not the easiest or least expensive project I have done, but the results were pretty awesome, if I do say so myself.   

Supplies:

  • 12 animal figurines (I used these, these and this, because some stag horns at 12 were a must)
  • Plexiglass circle – our local hardware store cut it for me for around $20. It is not a normal cut so it took a few extra days.
  • Spray paint – Rustoleum Painters Touch Ultra Cover 2X in Brilliant Blue
  • Spray paint – Rustoleum Metallic Gold
  • Glue gun and glue
  • Clock with only hands (I used this)
  • Hacksaw
  • Scissors
  • Drill
  • Poster tape
  • Sticky velcro
  • Triangle picture hanger with screws
  • Small paintbrush
  • Print-out of a clock and a ruler
  • (or a compass & protractor)

I started off by cutting the heads off just in front of the front legs using a hacksaw.  The saw left a pretty rough edge, so I went back over the edge with a pair of scissors to smooth it out.  This was important because it looked better, but also it made a nice flat edge for the glue.  Almost all of the animals were hollow, so it is less work that it looks.  Side note – save the other halves.  I am kicking myself for chucking them because who knows, maybe someday I will want to make an animal butt clock.  Anyway, at the end of a pretty weird evening of decapitating animals, I had this: 

Animal Clock by Just Something I Whipped Up

Once I had all of my animal heads, I coated them with three coats of Rust-Oleum Painters Touch Ultra Cover 2X in Gloss Brilliant Blue. It takes some extra time for the spray paint to cure on rubber, so I let them dry for two hours.

Animal Clock by Just Something I Whipped Up

I had Frager’s, our local hardware store (and one of my favorite places on Earth) cut a 24” diameter piece of 1/4” Plexiglass for me. It took some extra time and several calls from the glass cutter guy because hardware stores don’t normally make round cuts. I had an image in my head of a perfect acrylic disk, but it obviously didn’t come out that way – it didn’t look bad, but slightly irregular and there were kerf marks on the edges. I am sure you can find actual acrylic disks online, but they will be way more expensive. To cover the rough edges, I sprayed some of the blue spray paint into a cup and painted just the edge with a very small brush, wiping up any mess-ups as I went. Incidentally, spray paint eats through styrofoam, in case you were wondering…

Animal Clock by Just Something I Whipped Up

While the animal heads dried, I marked where I was going to glue them. First I marked the middle and then each hour using a print out of a clock and a ruler. I thought I was being precise but I had to make a lot of adjustments after it was all glued down. If I did it again, I would use a compass and a protractor, or at least I would be a lot more careful. Story of my life.

Before gluing the animal heads down, I screwed a triangle picture hanger to the back of the Plexiglass, right behind the clock mechanism. If I do it again, I will put the hanger at 12:00 so that the animal head will cover it. I used a very small drill bit to drill two pilot holes for the screws so that they didn’t crack my precious plastic. Once I got the hour points right, I glued the animal heads down with a glue gun. Here is a view of the back once it was all put together. You can see the animals at the bottom.

Animal Clock by Just Something I Whipped Up

The last piece was the actual clock hands. I spray painted it gold, moving the hands between coats so that there wasn’t a bare spot. The battery pack is inset slightly so I built it out with a few layers of poster tape (the foam kind) and then attached a piece of sticky-back velcro. I left the two sides stuck together and then, with the hands together in the 12:00 position, pointing directly to 12, I stuck the clock to the plexiglass. The velcro means she can remove the clock from the plexiglass to adjust the time or change the battery.

Animal Clock by Just Something I Whipped Up Animal Clock by Just Something I Whipped Up

It was a pretty risky surprise Christmas present, since I had no idea if it would look awesome like it did in my head, or if it would look 100% crazy person. Luckily it was the former, with the added bonus of looking great with the headboard she and my dad made.

Happy animal beheading!

XO,

Julia

Screen Shot 2014-09-22 at 4.58.00 PM