I have been toting a plain, round Target mirror from residence to residence since I got it for my first high school dorm room. We have had a good run, but on Friday I decided it was time for her to blossom. I really liked the idea of a sisal wrapped mirror in the bathroom and figured that transforming my old buddy who was already in there would be pretty simple. The fact that mine ended up looking just like this $249 version (albeit 12″ smaller) has me feeling good.
Materials
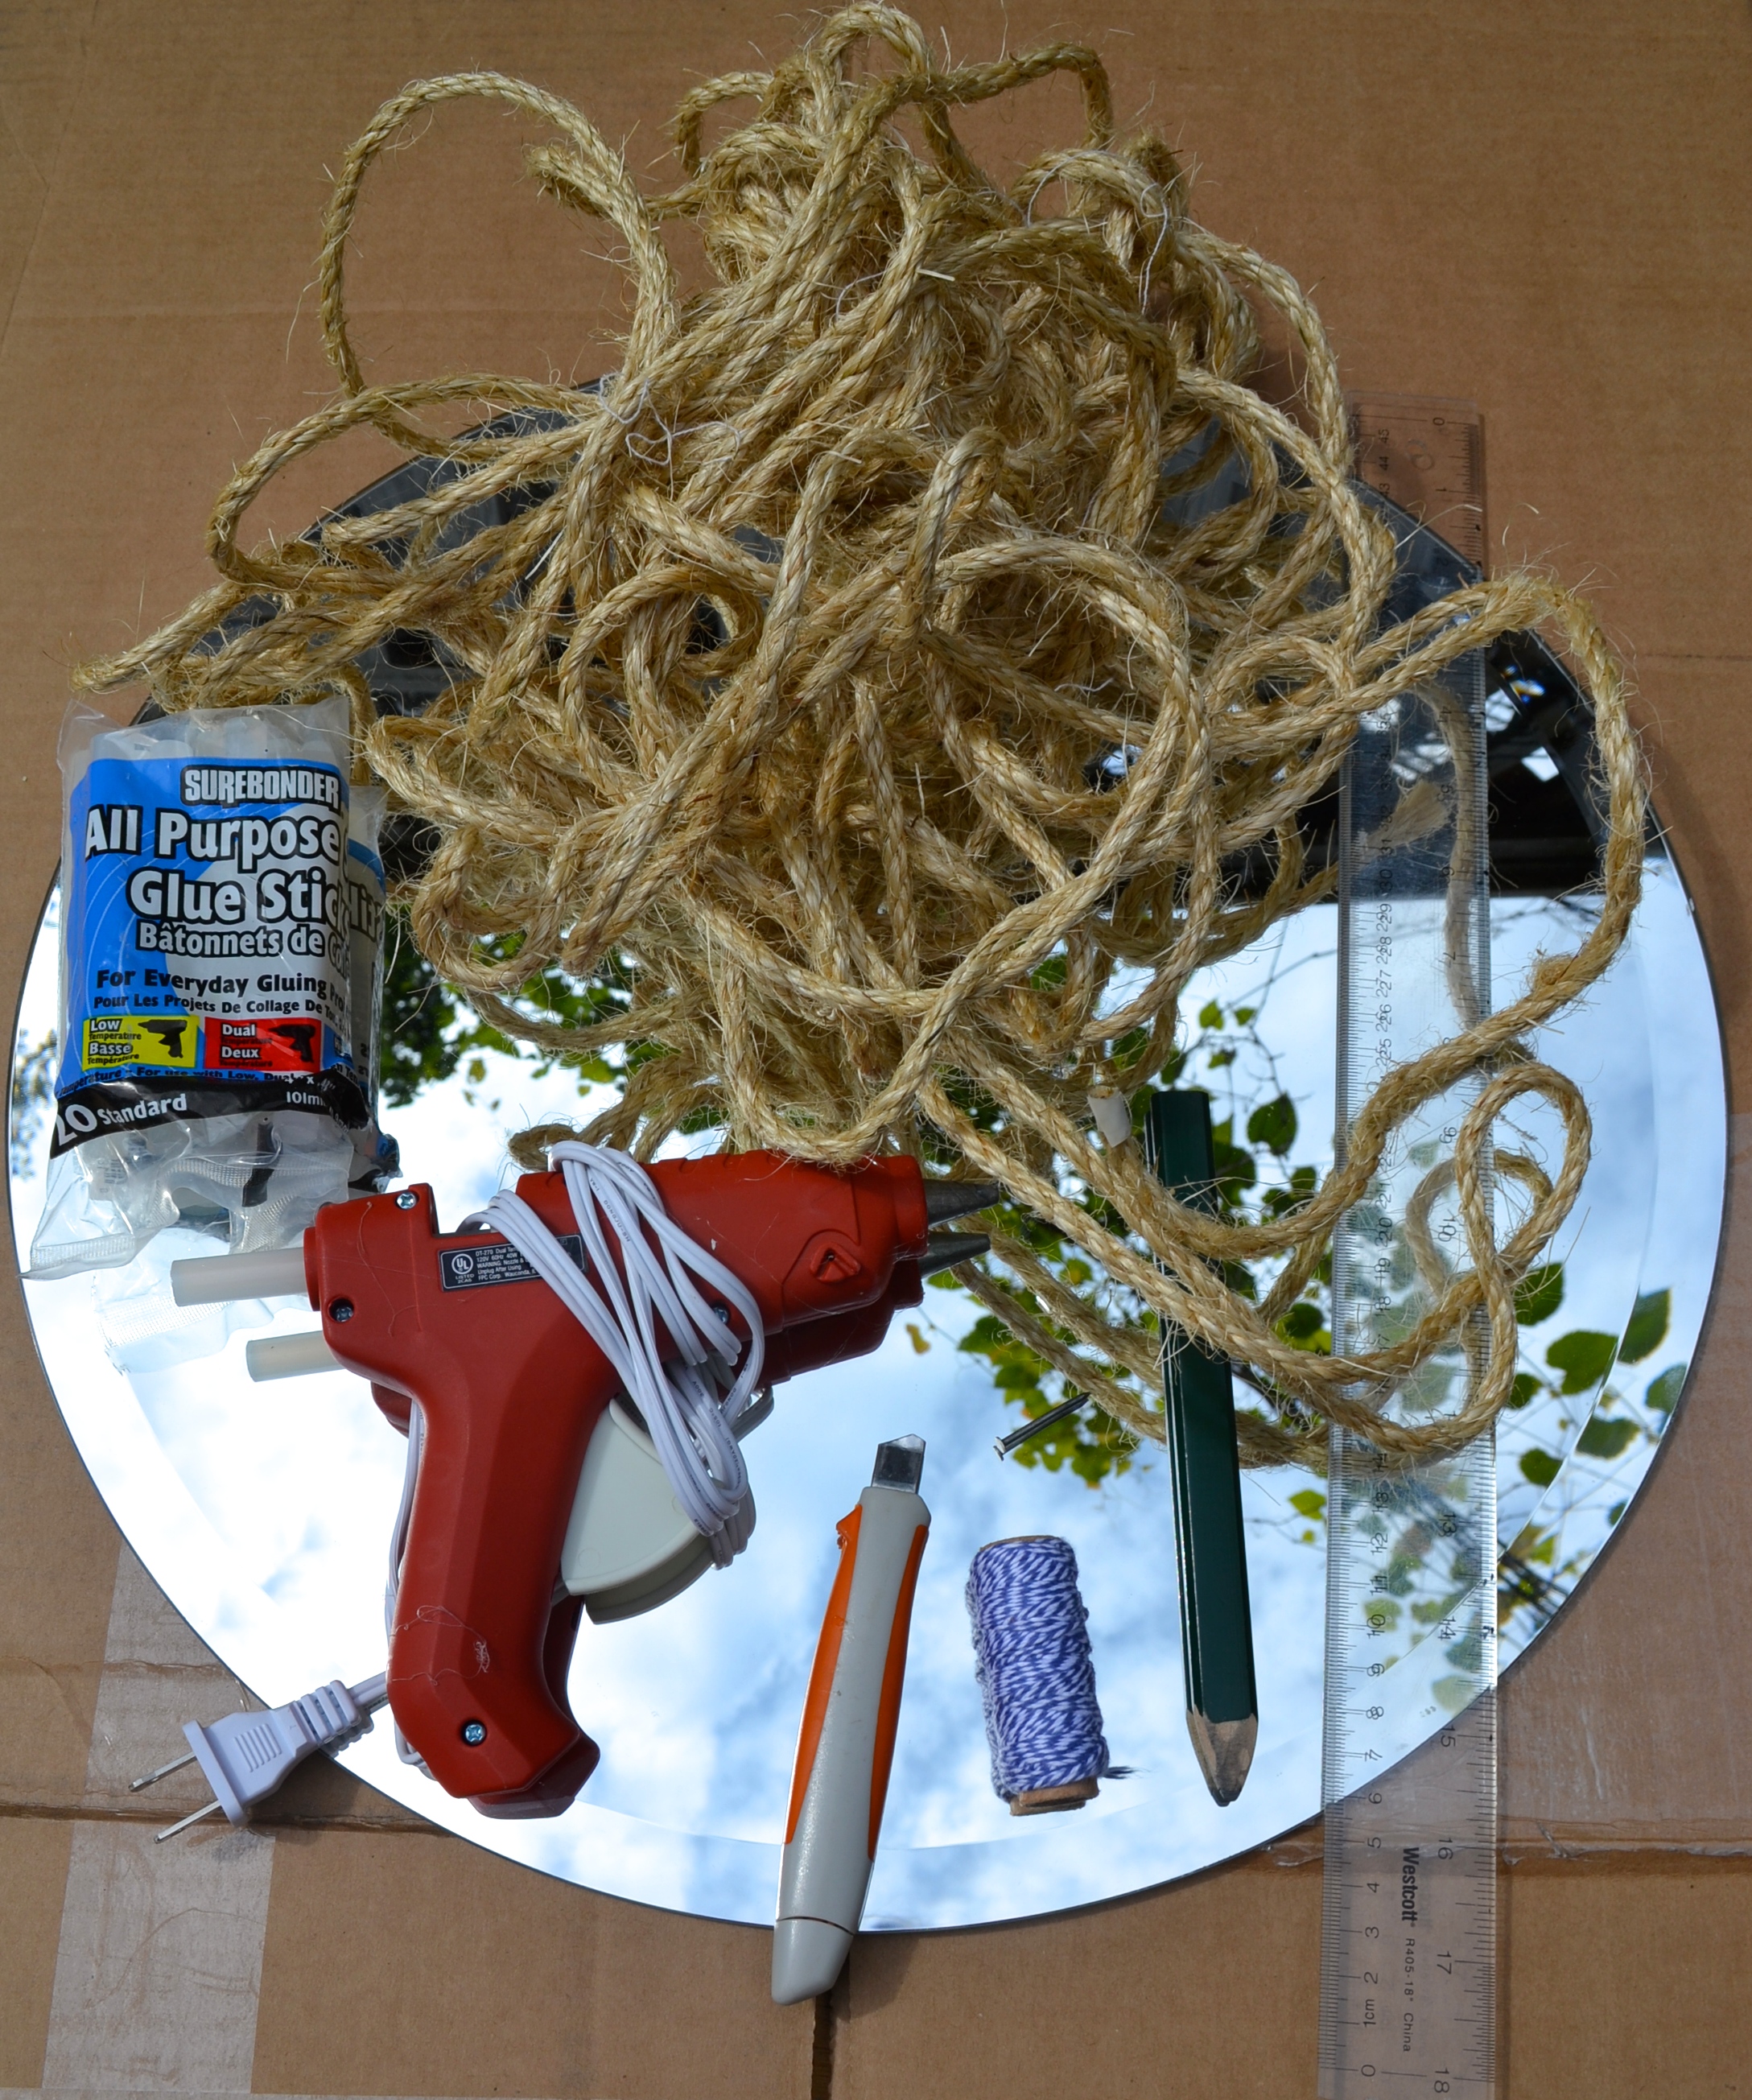
- Round mirror
- Twisted sisal rope – I used this, leftover from a different project
- Cardboard box – make sure it is big enough to accommodate the mirror and a 3-inch border.
- Nail
- String
- Carpenters pencil
- Ruler
- Glue gun
- Extra glue sticks
- E6000 glue
- Scissors
- Utility knife
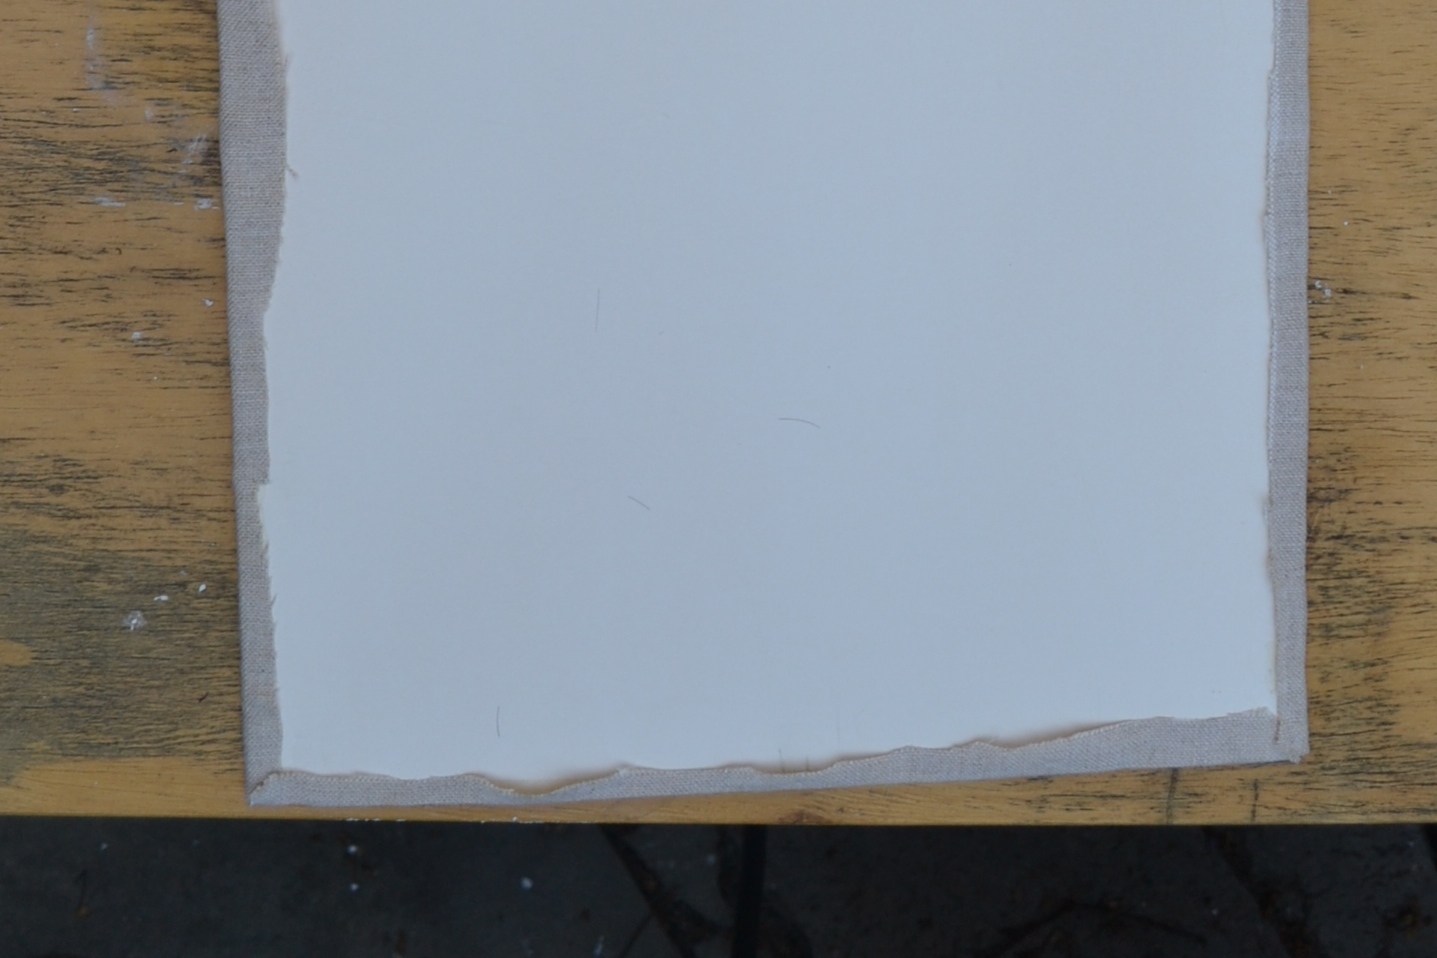
First I measured the diameter of the mirror and added in a 3″ border all around – I needed a cardboard circle 24″ in diameter. For the cardboard I used a box with a side at least that big – it is fine to go across a fold. To get a perfect reasonably round circle, I cut a piece of string a bit over 12″ and tied one end to a nail and the other to a carpenters pencil with a couple of notches in it to prevent slipping. I made sure that the string between the two was 12 inches and then punched the nail into the center of the cardboard. Making sure to keep the string taut, I drew a circle around the nail, going around a bunch of times until a dark circle – let’s call it the average – emerged.
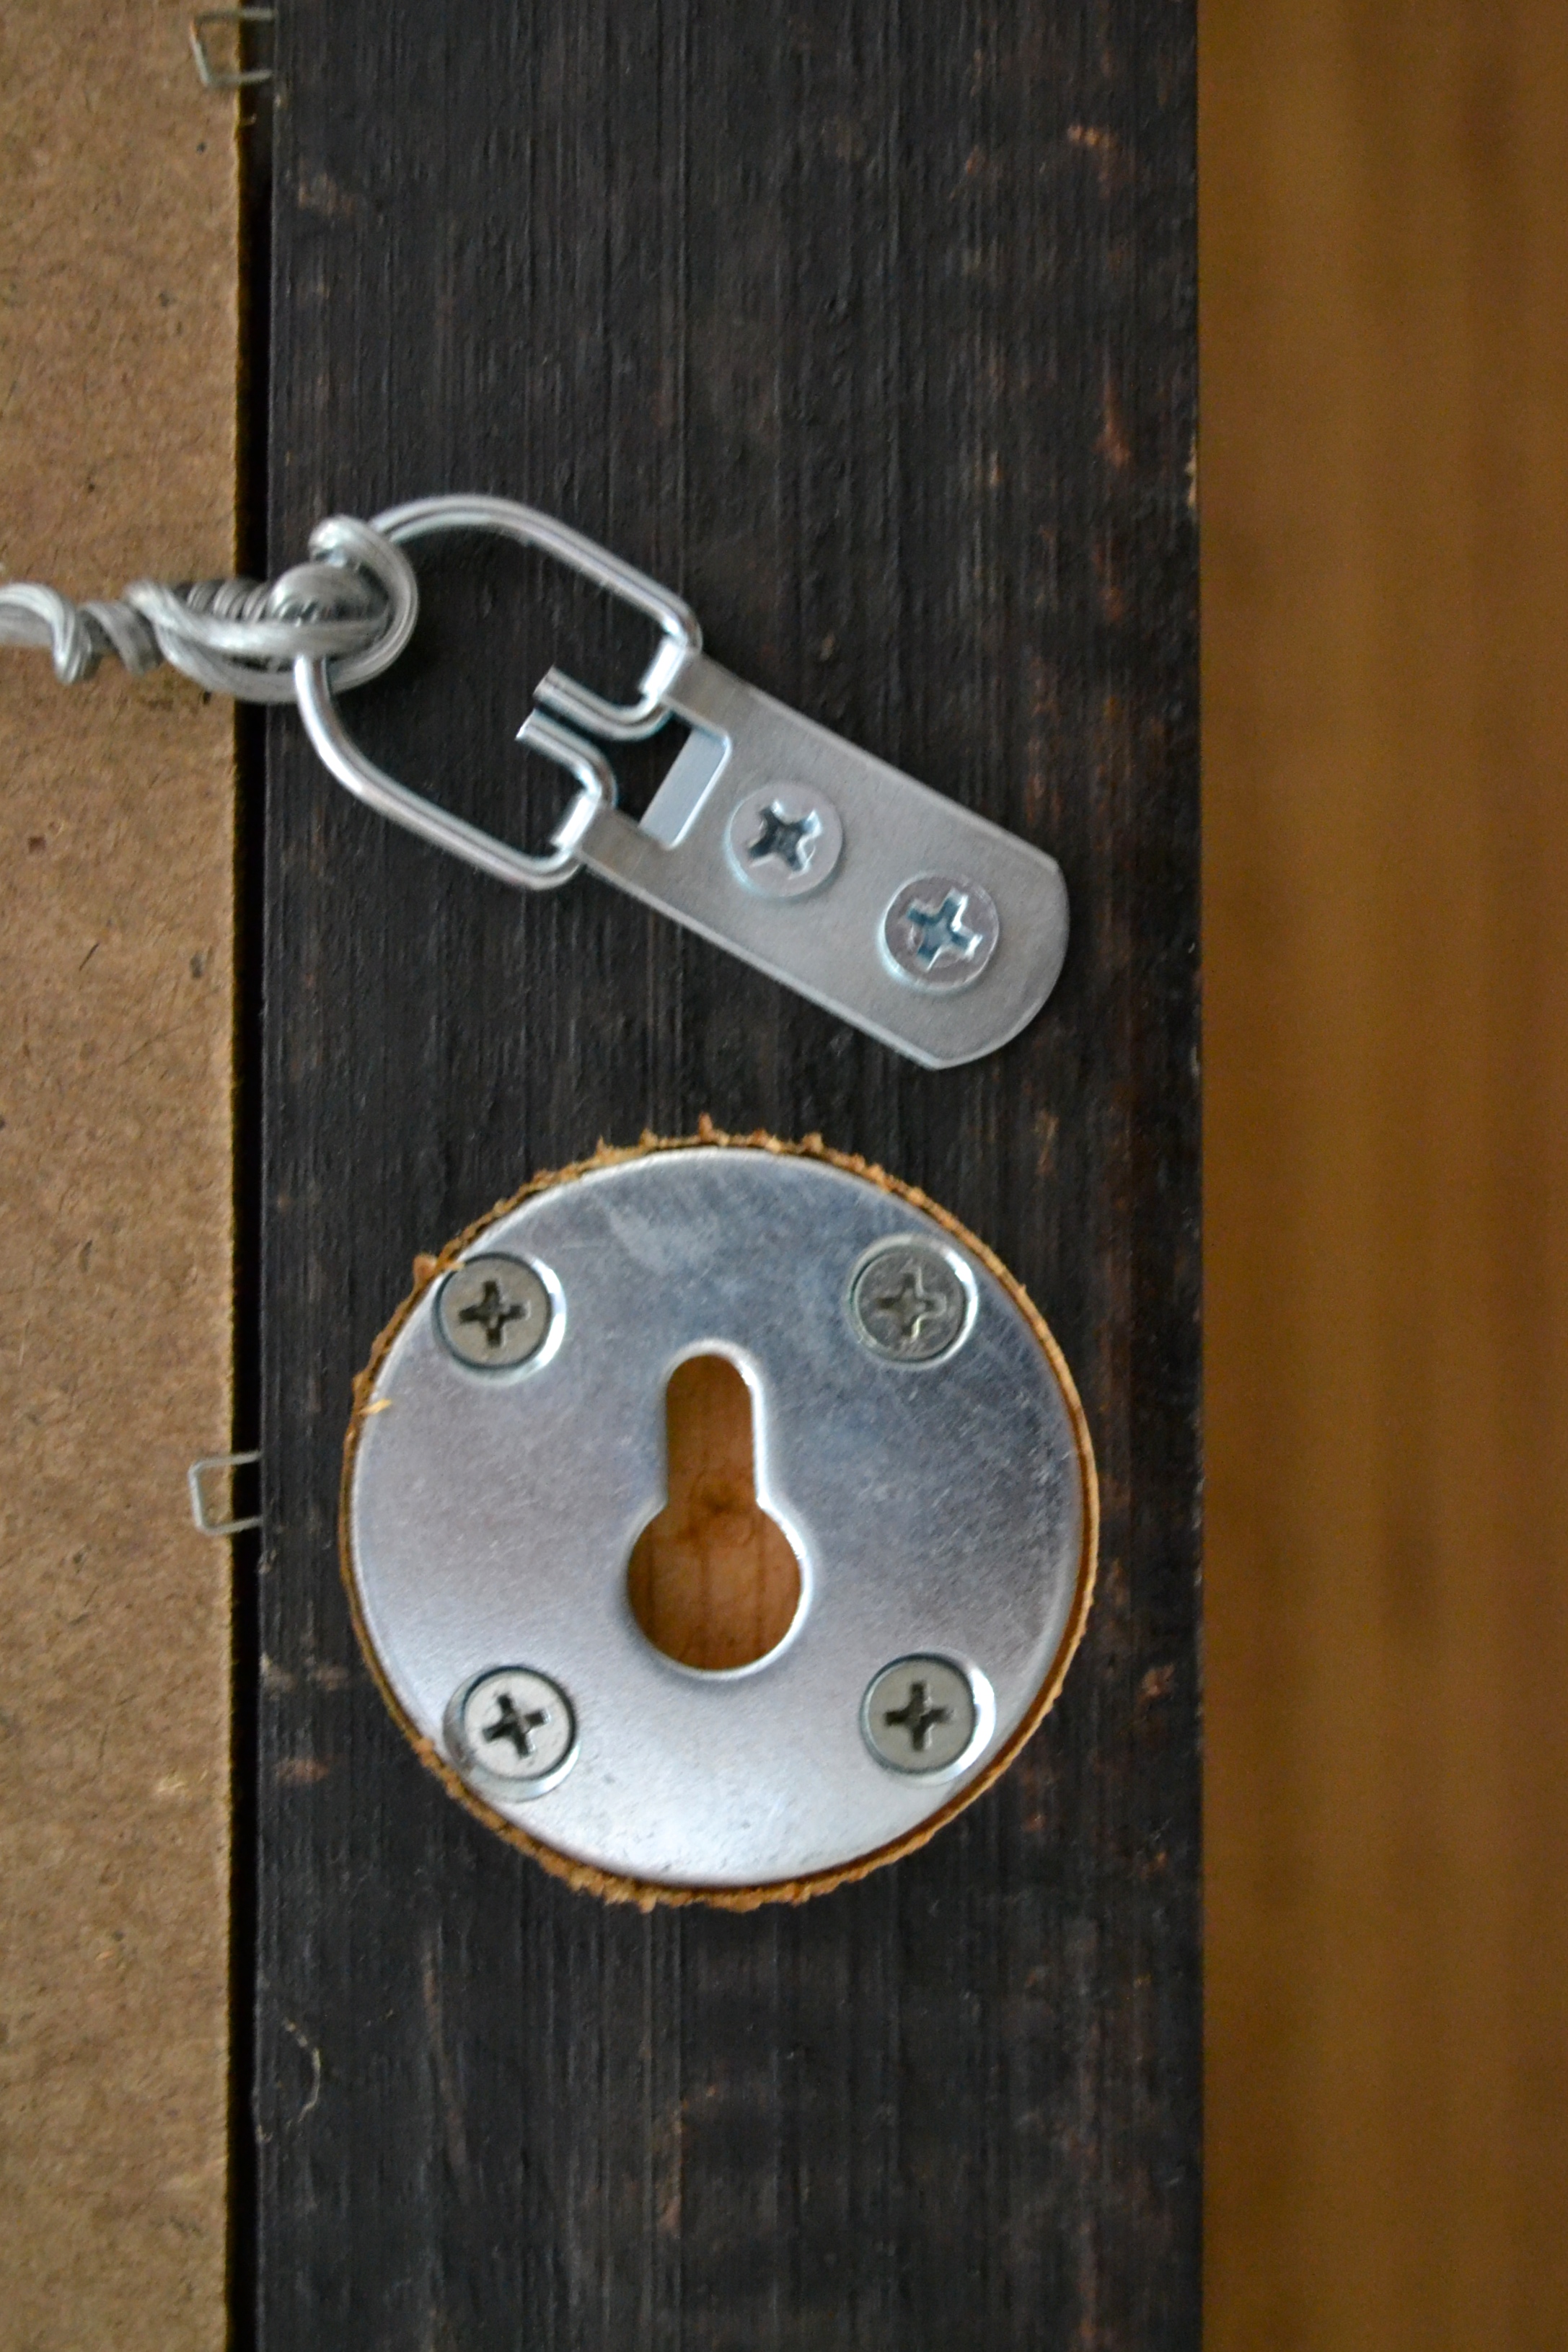
 I cut the circle out with the utility knife, following the darkest pencil marks. I wanted to use the same hanging method, so I also pressed the mirror down onto the cardboard to transfer the position of the hardware so that I could cut out around that too. You can see the indents (not the big rip, slightly below and to the right of that) in the picture below.
 I glued the mirror to the center of the cardboard with E6000. I thought hot glue might dry too quickly and it is a pretty big surface. There isn’t much load on the cardboard since I cut a hole in it to use the existing hanging mechanism, but I did use enough glue to make sure there were not gaps around the edges.
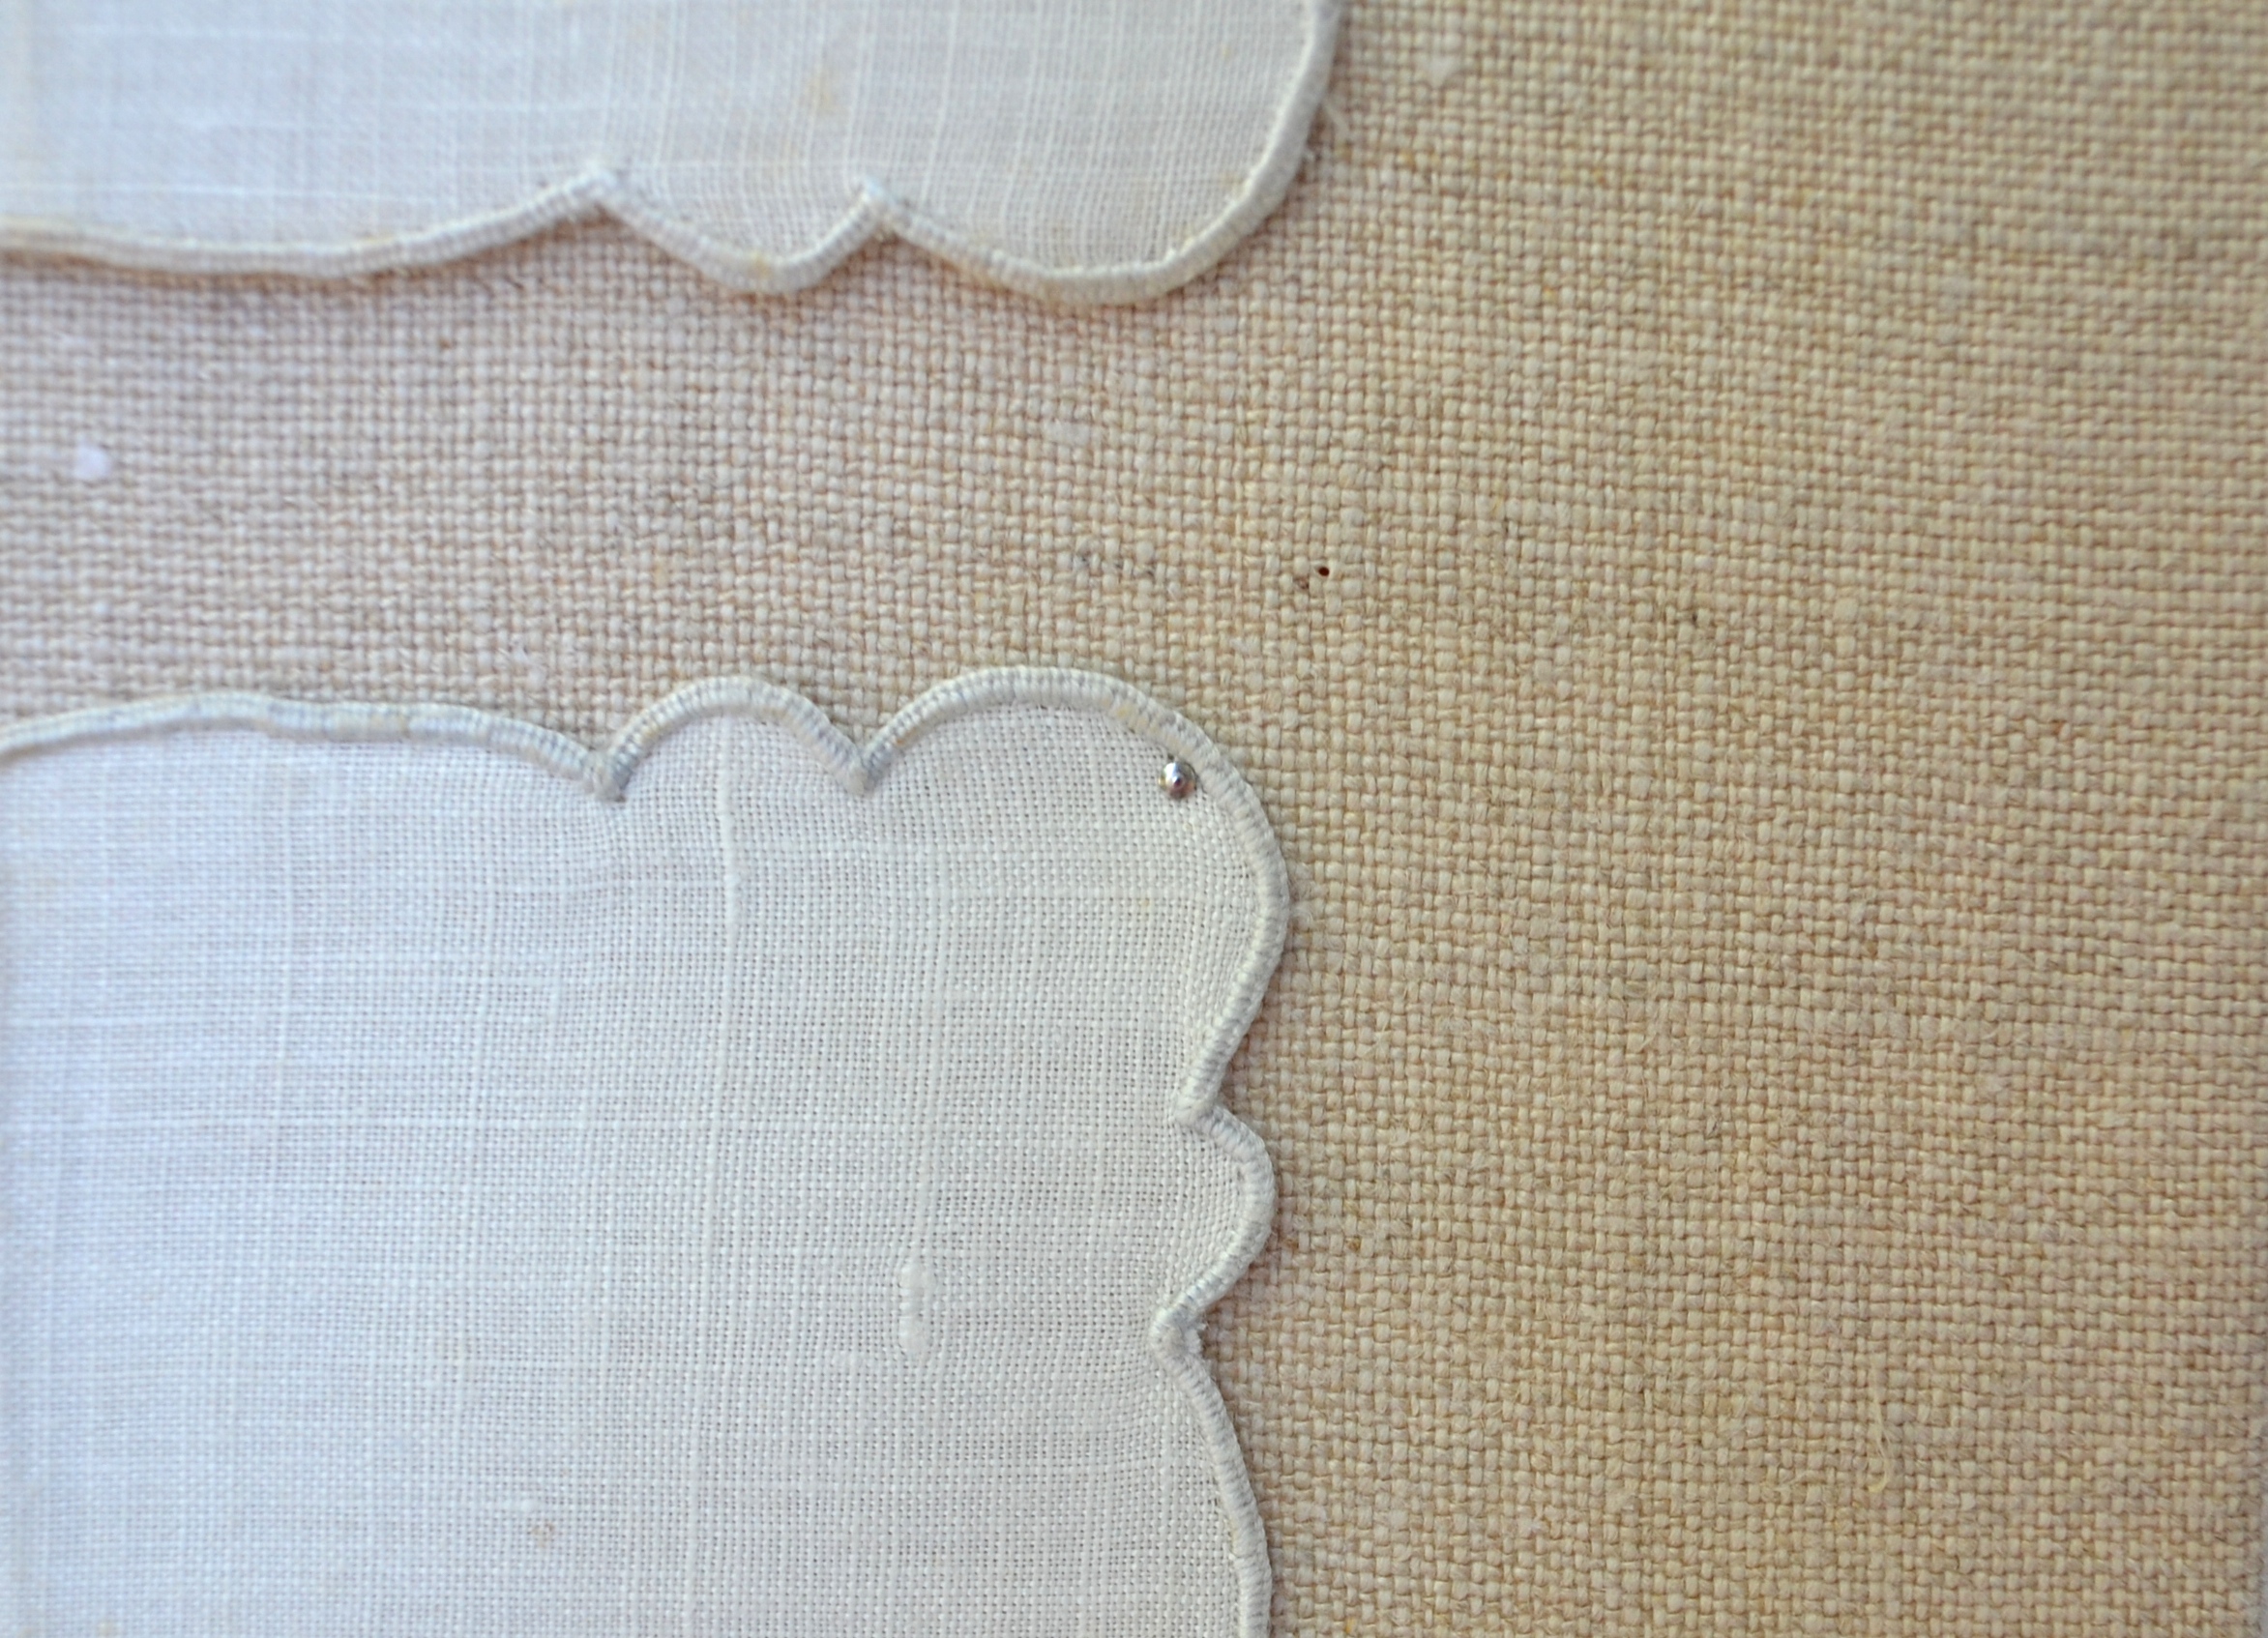
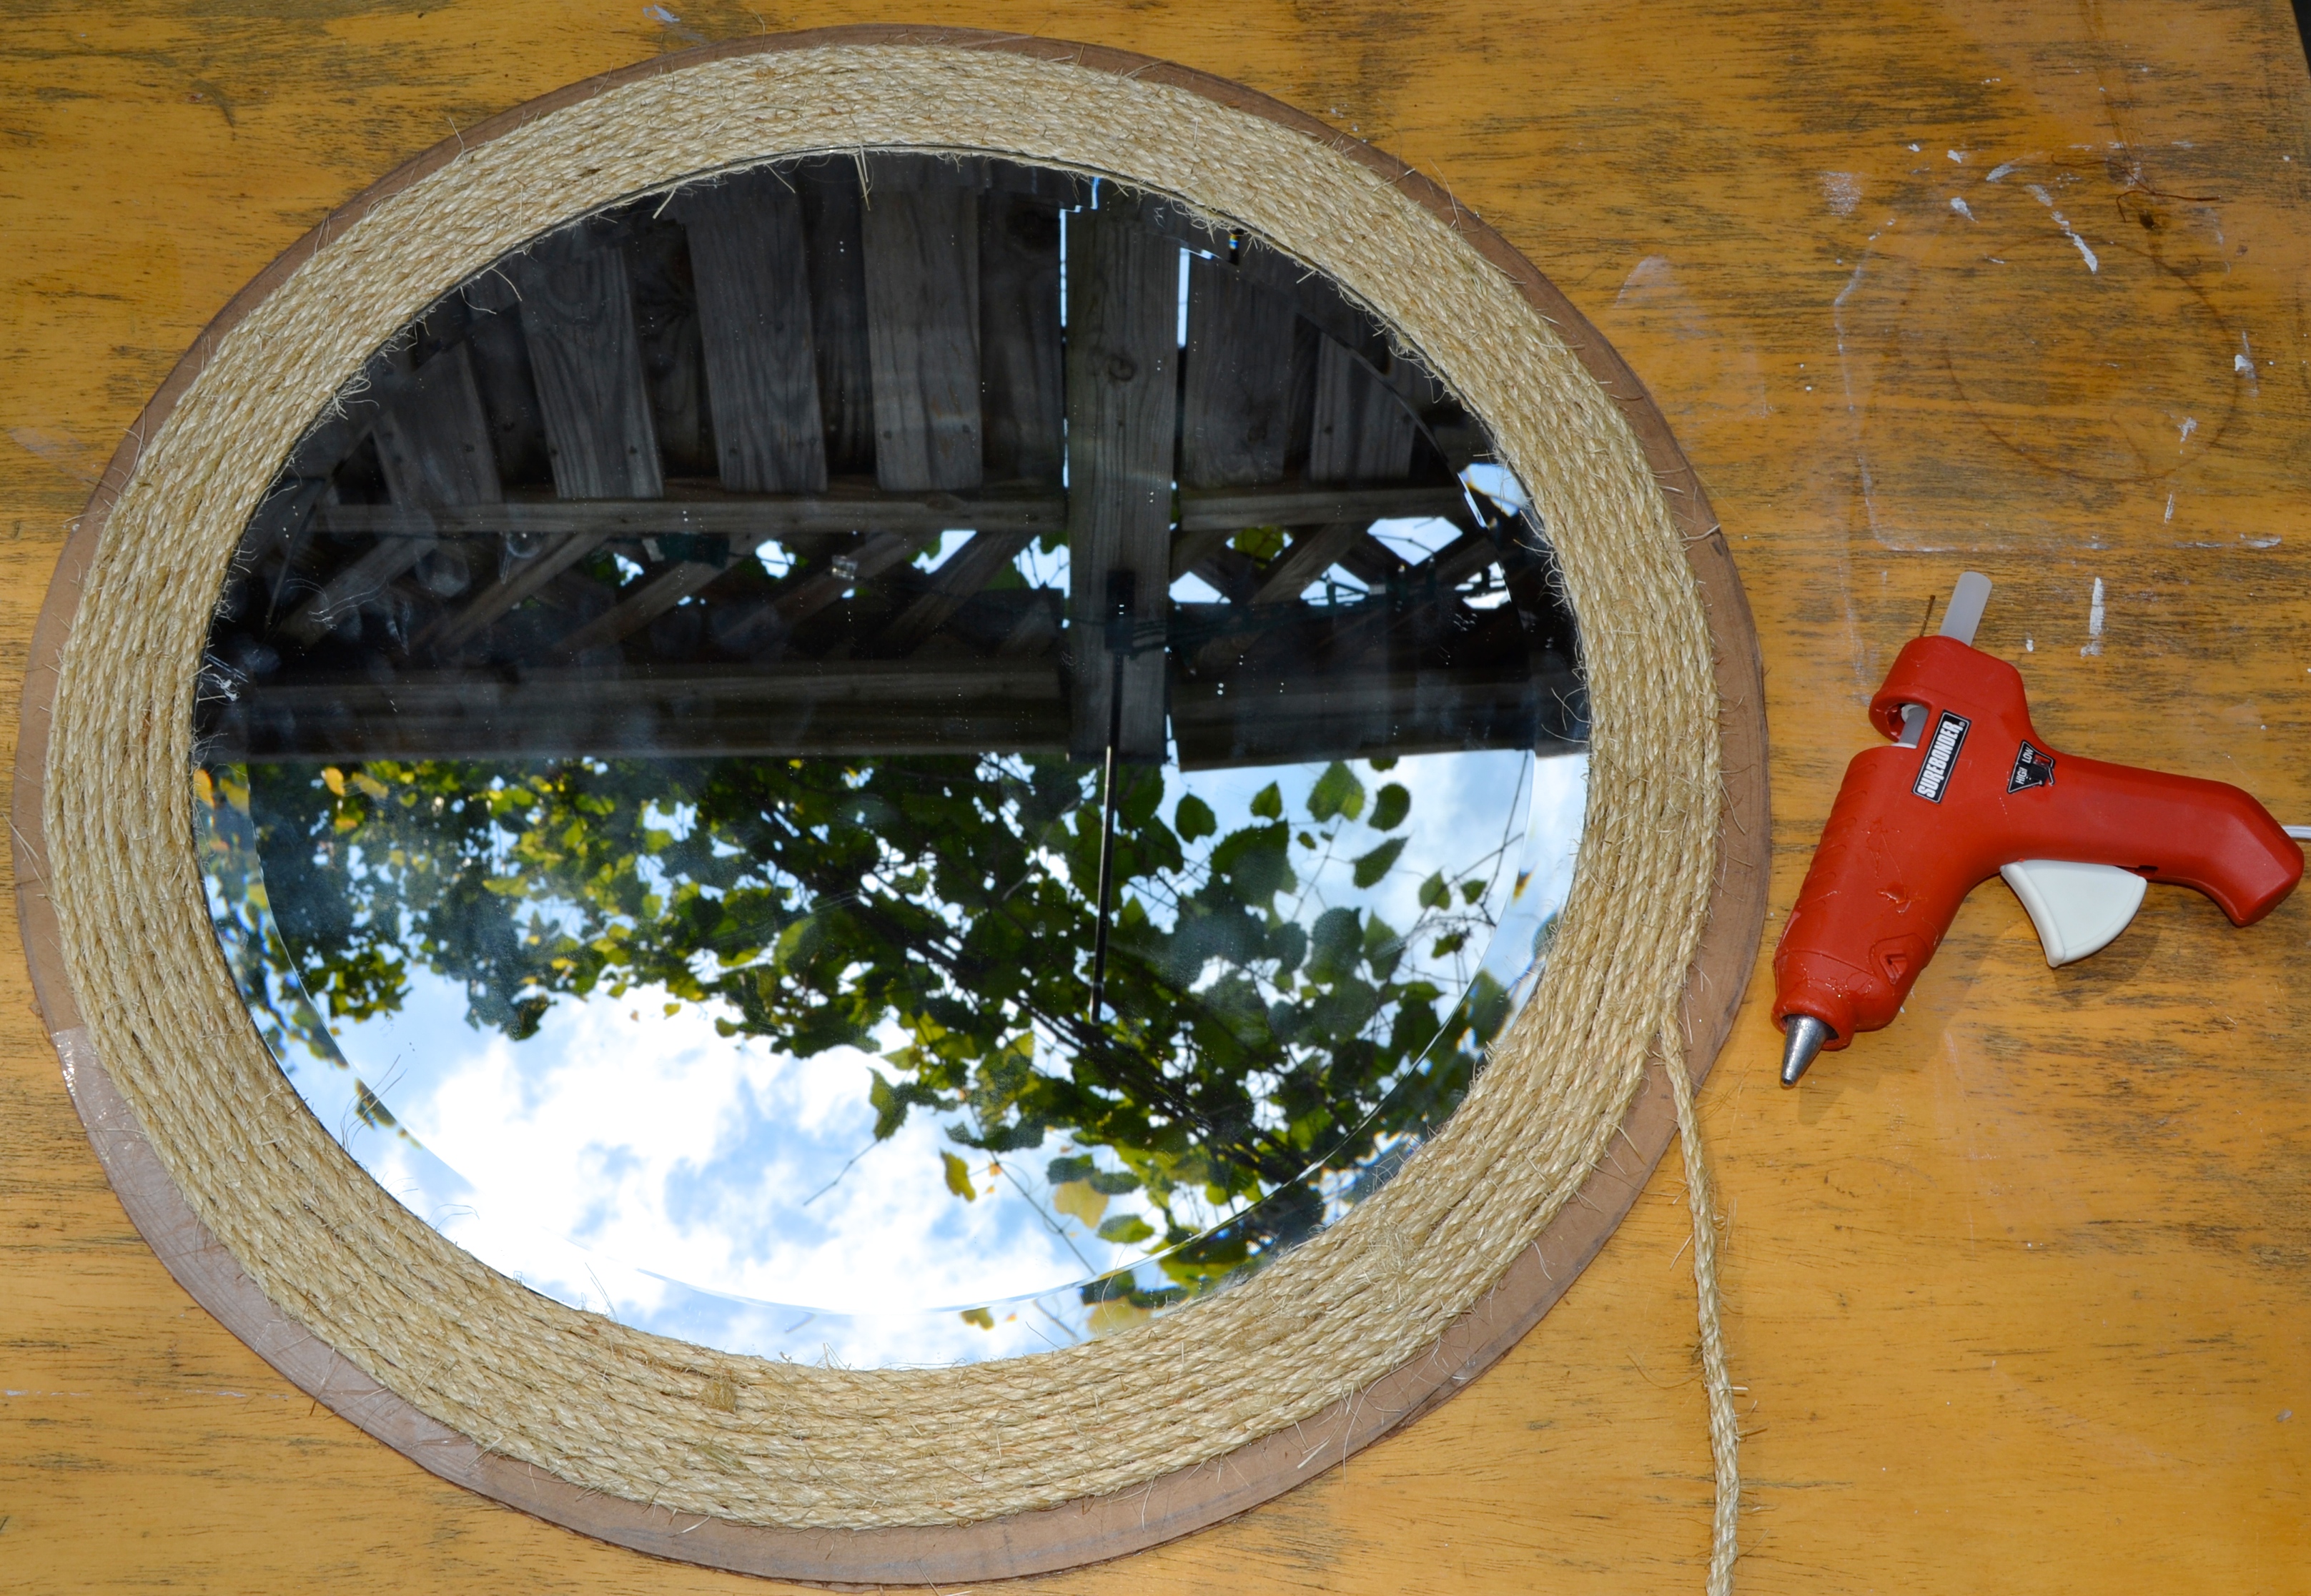
Finally I got to hot gluing the sisal. It is a simple but tedious process, but I have a couple of tips for making it look cleaner and more professional. First – I cut the sisal at an angle so that there is no bump where the first row and second row overlap. I used it everywhere a row stops or starts and it makes a big difference.


Second, on the first row around the edge of the mirror, I found that laying the bead of glue next to the mirror but not touching it – not “caulking” it was how I thought of it – prevents glue from seeping onto the mirror itself.
 Once I had my technique down, I went around and around until I was happy with the width of the border, which turned out to be less than 3″. That and I got really bored, which made the smaller border even more attractive. At that point, I stopped and trimmed the cardboard down with the utility knife.
 After I trimmed the cardboard, I but a row around the outside, concealing the cardboard. The edge still looked messy so I added one more row on top of the one I just did, sort of filling in the gap.

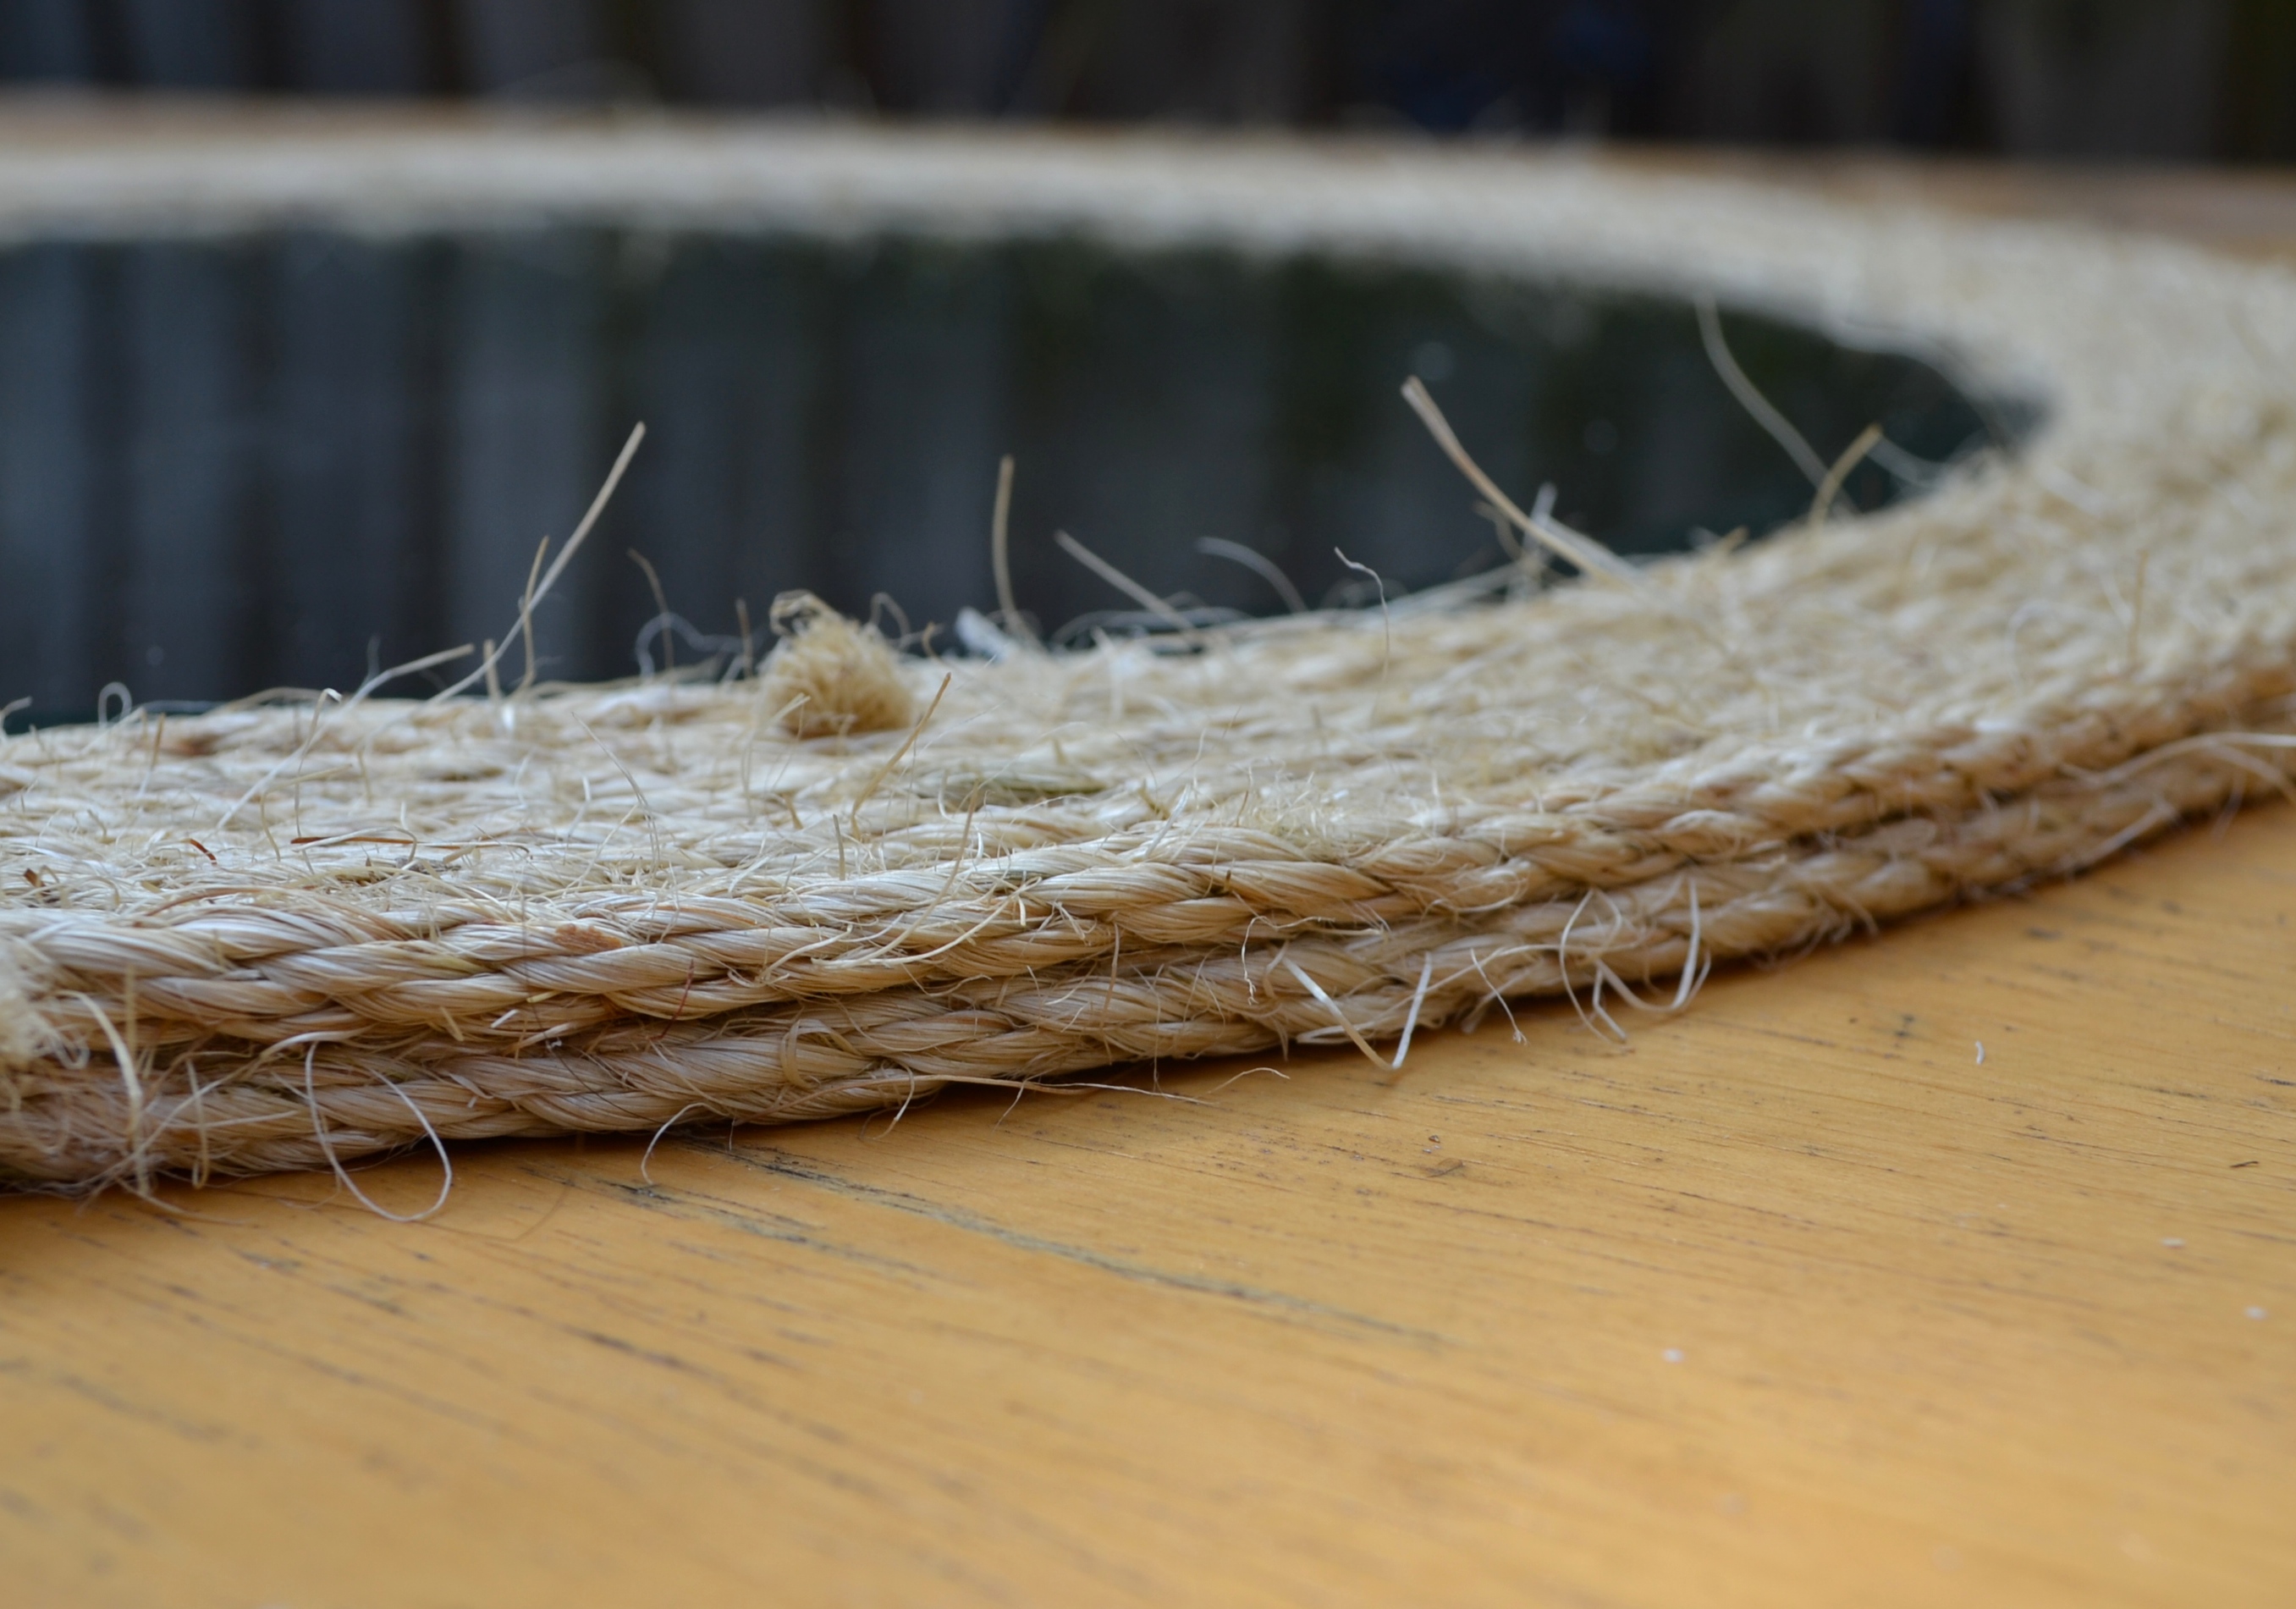
I thought I was done, but realized that the edge of the mirror was visible, so I added a row on the very inside. It would have been really hard to start with the sisal on the mirror itself, so even though it wasn’t on purpose, I would still not do that row first.
The last step was using cuticle scissors to trim the frizzy bits from the inside row of sisal. I had done the right side in the picture below.
 Et voila!
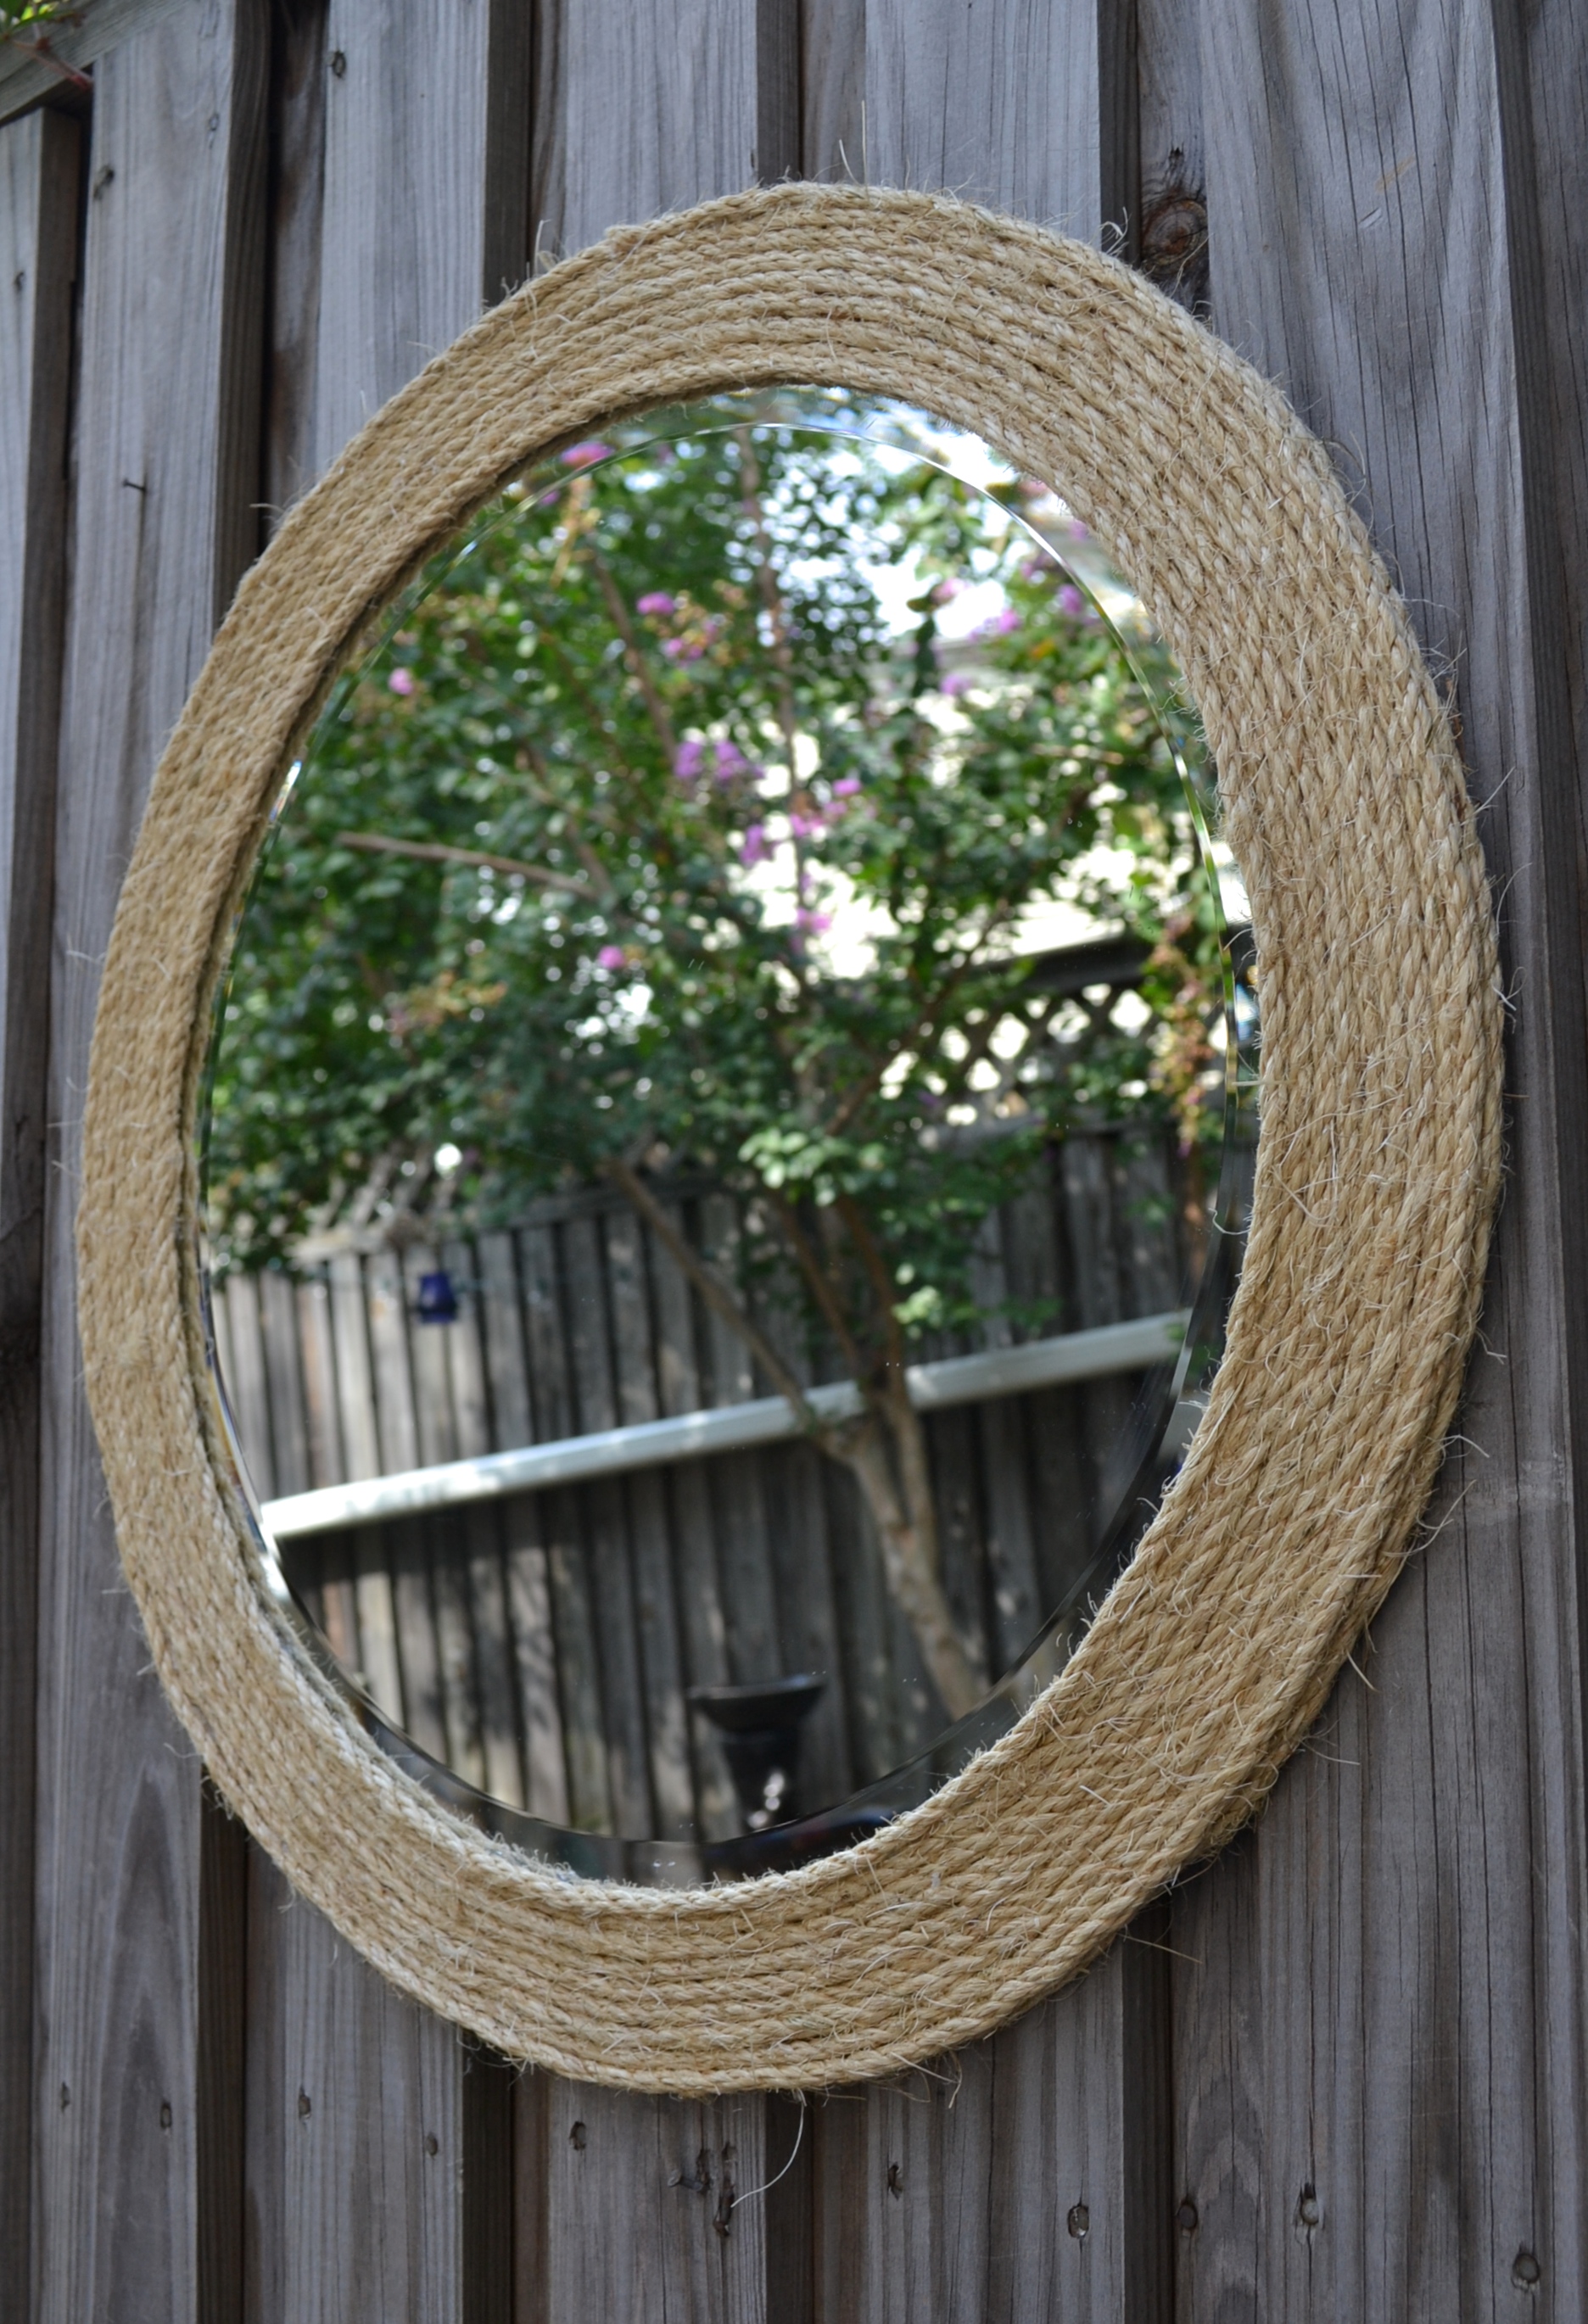


This baby is headed for our poor, neglected, black-toileted downstairs bathroom. I am working on a few other updates in there but I’ll show you once it is in slightly better shape!
XO, Julia